Fireplace Makeover on a Budget
One of the reasons we fell in love with our home was because of the fireplace. There is nothing cozier than drinking hot chocolate (let’s be real…wine) next to a fire on a chilly winter night. Unfortunately, our fireplace needed a serious makeover. We didn’t have a ton of money for the makeover, so we knew this project had to be more of a “freshening up.”
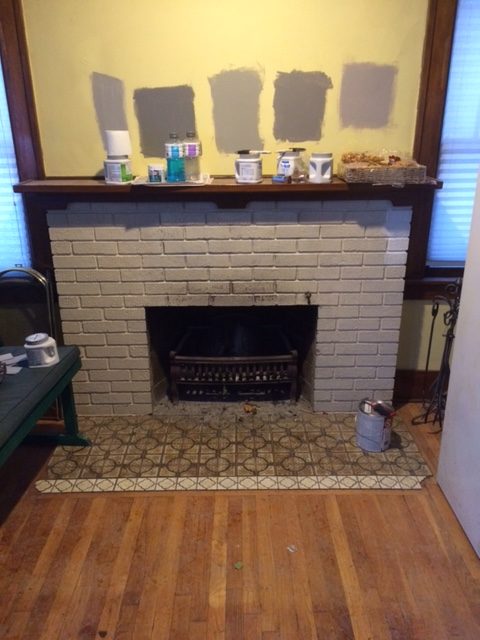
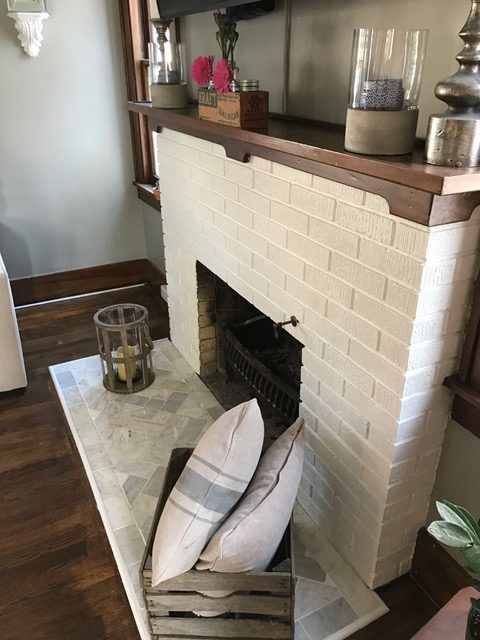
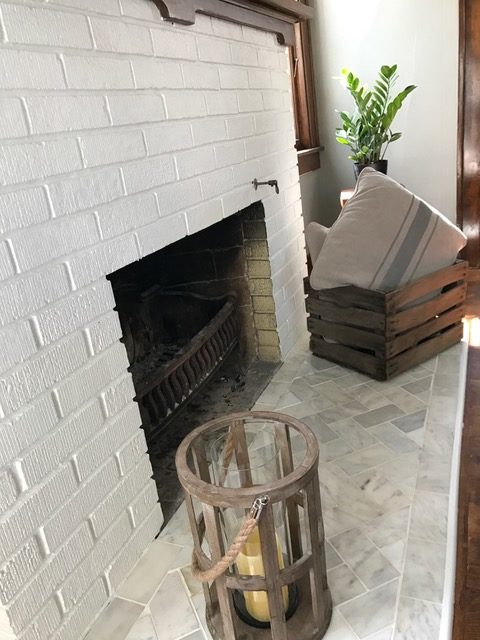
The color of the brick needed a fresh coat of paint, which was painted with Sherwin Williams Pure White. Then, I pried up the tiles. I thought this would take forever, but lucky for me, the previous owners did a lousy job of installing the tile. They used some sort of construction glue, so the tiles popped right up.
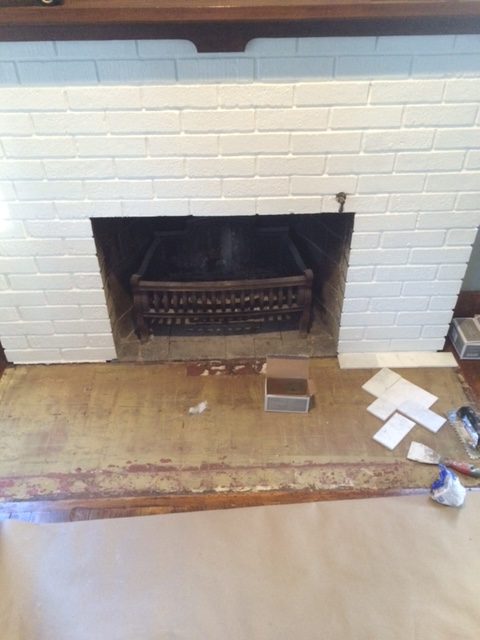
Now for the fun part…tile! I felt pretty confident with my tiling abilities, having tiled multiple back splashes, and a floor to ceiling shower, so I wanted to try something new. After looking at multiple inspiration photos, I decided to go with a marble herringbone pattern. I know what you’re thinking…marble?? That’s so expensive! Since the hearth was such a small area, the tile was inexpensive, only $5.98 a box.
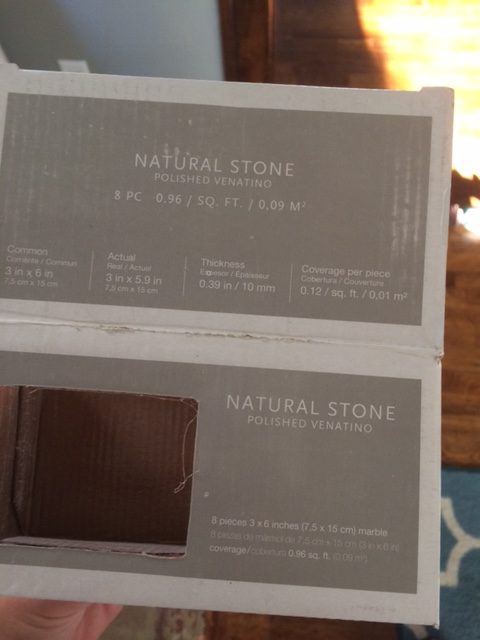
Using inspiration from Young House Love’s fireplace makeover, I laid out the tile to find the pattern I liked. I decided I wanted to have a border of the marble tile around the hearth, then have the herringbone design on the inside. This led to many, many, many cuts with the wet saw. We had to purchase a special tile saw that was specially designed for natural stone. With HGTV playing in the background, it took several hours to set the tile. Once the thinset set, it was time to grout.
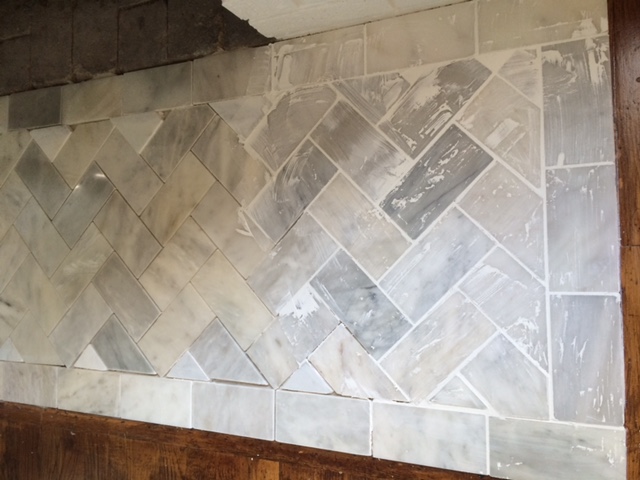
The hearth remained like this for a few months. Again, we get about 90% of a project done, then move onto something else. Fast forward a few months, Jeff added some white moldings around the tile, I ran a bead of caulk between the tile and the moldings, painted…and voila! The hearth is complete!
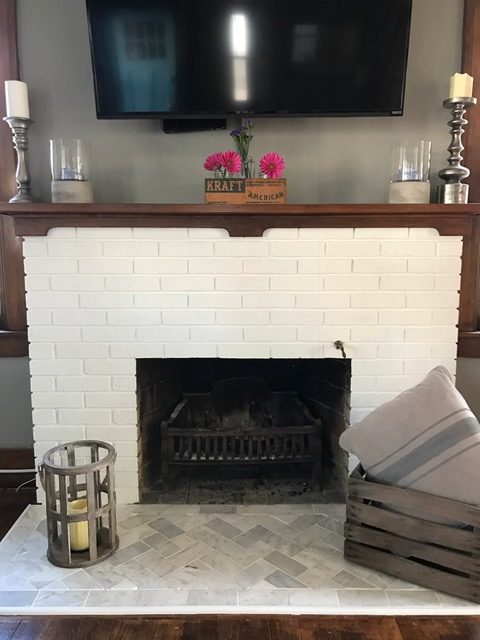
One last time, let’s see the before:

Aaaaaaannnd after:

Overall, the only costs for this update were the tile, grout, moldings, and new blade. We had the grout, paint, and thinset. I think overall, we spent under $100 on this project. Isn’t it cozy?
