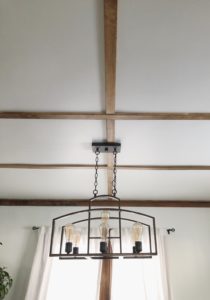
Coffered Ceiling with Plywood
Follow along as we renovate our 1920’s dining room popcorn ceiling and transform it into a coffered ceiling using plywood and molding.
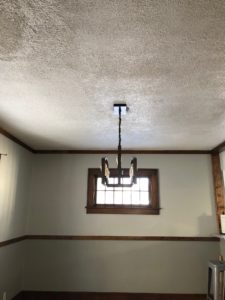
Why We Chose a Coffered Ceiling
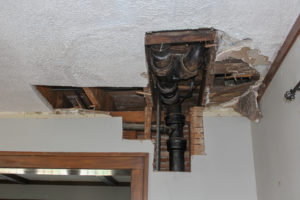
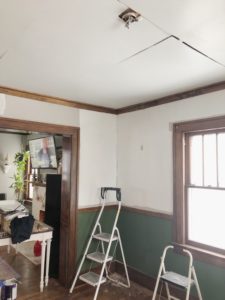
If you are lucky like me, you may have popcorn ceilings in your home. Although most of the major projects in our home are complete, the popcorn ceilings on our main floor have been a thorn in our sides. You may remember when we remodeled our main bathroom, our plumber had to cut into our dining room ceiling to move the toilet stack, leaving a rather large hole in our ceiling.
Well, that hole has remained in our dining room since September. After drywalling our kitchen ceiling, I knew that I wanted a solution that was less labor-intensive and messy. I’ve seen many a tutorial of using board and batten paneling for a ceiling, but that wasn’t the look I wanted. We settled on a simple, coffered ceiling design that would result in less mess, and minimal strain to our necks and upper body strength.
Materials
- 1/4 inch plywood
- Moldings (we chose moldings to match our chair rail)
- Nail gun
- Primer
- Paint
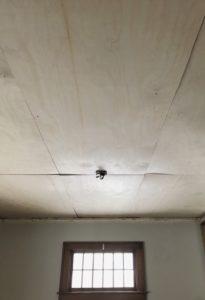
Coffered Ceiling: Demo
First, we had to demo our old ceiling. The previous owners had a water leak from the bathroom above that leaked into the dining room. Their “repair” was to cover the entire ceiling with another layer of drywall and use popcorn spray instead of taking the time to mud the seams and sand correctly. So, we essentially had four layers of ceiling that needed to come down. Woof.
Coffered Ceiling: Measuring
If you are bad at math, ignore the next section. But, if you are actually trying to use this idea, pay attention. Our dining room was 11 x 13, and our plywood was 4 x 8. I wanted the shortest seam to run right through the light fixture for symmetry’s sake, so I took two pieces of plywood (8 feet + 8 feet = 16 feet) and subtracted that from 13 feet (the length of dining room) and knew that I needed to take 3 feet off total. So, if you’re still with me, that is 1 1/2 feet from each piece of plywood. I’m already bored writing this paragraph.
So, that handled the length. The width of our room is 11 feet, and the width of the plywood is 4 feet. So, 4 feet + 4 feet = 8 feet…not enough to cover the width. We ended up putting up the full piece of plywood on the edge of each wall, so there was a three foot gap in the center. The middle pieces ended up being roughly 3 feet by 6 1/2 feet.
Coffered Ceiling: Paint
Once the plywood was installed, I had to fill in the nail gun holes with wood putty, wait for it to dry, then sand. But before we put up the moldings, I wanted to make sure the plywood was primed and painted. I did NOT want to be up on a ladder with a tiny brush trying to cut in around my newly stained moldings.
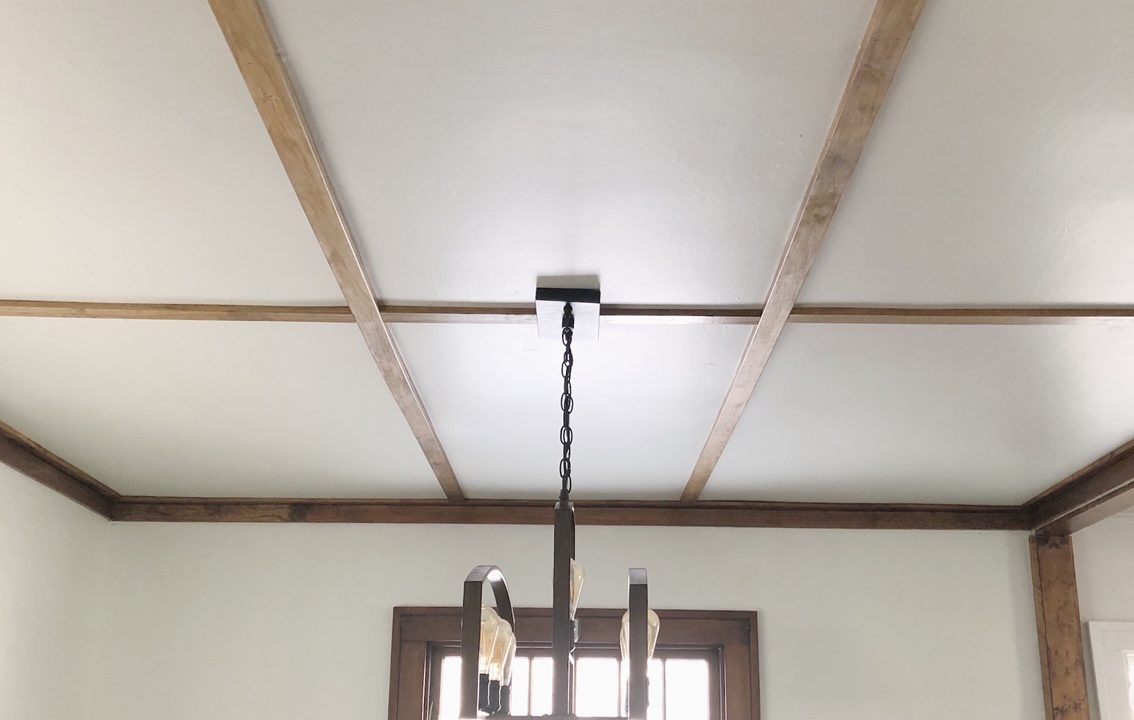
Coffered Ceiling: Moldings
Since the ceiling we demoed had multiple layers to it, we knew that we wouldn’t be able to put our old moldings up and have them look good. There was going to be at least a good half inch of rough looking plaster I would have to fix. What we did instead was put up the ceiling molding first, to eat up some of that space, then installed the wall moldings underneath it.
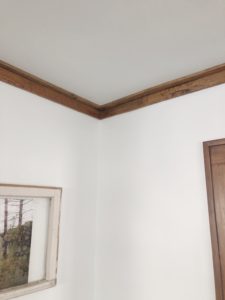
It was pretty easy to cover the seams of the plywood. It was as simple as measure, cut, and nail.
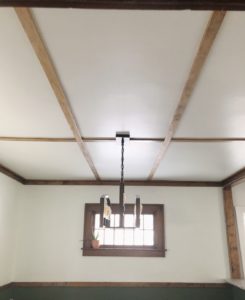
This was probably one of the easier projects we tackled that made a huge impact on our home. We are debating doing the same treatment to our living room, which is also has a popcorn layer. But, for now, you can catch us singing, “We put plywood on the ceiling!”