DIY Christmas JOY Sign
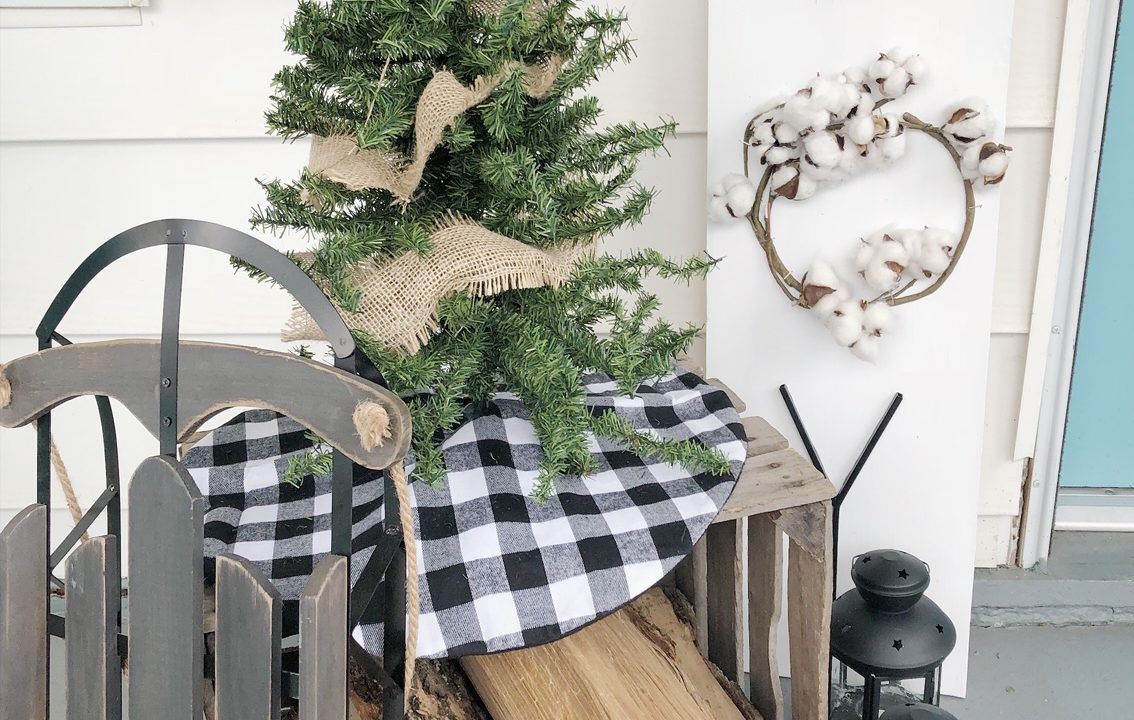
It’s week three of the Deck the Home Blog Hop and this week is focused on outdoor Christmas decor. I’m a busy lady, as are most of my readers, so I knew I wanted to make something fast, easy, and obviously super cute. Inspiration struck me at Hobby Lobby when I saw these black metal letters. I thought they would be perfect for making a modern Christmas sign for my front porch. Follow along with my tutorial in creating a Christmas JOY sign.
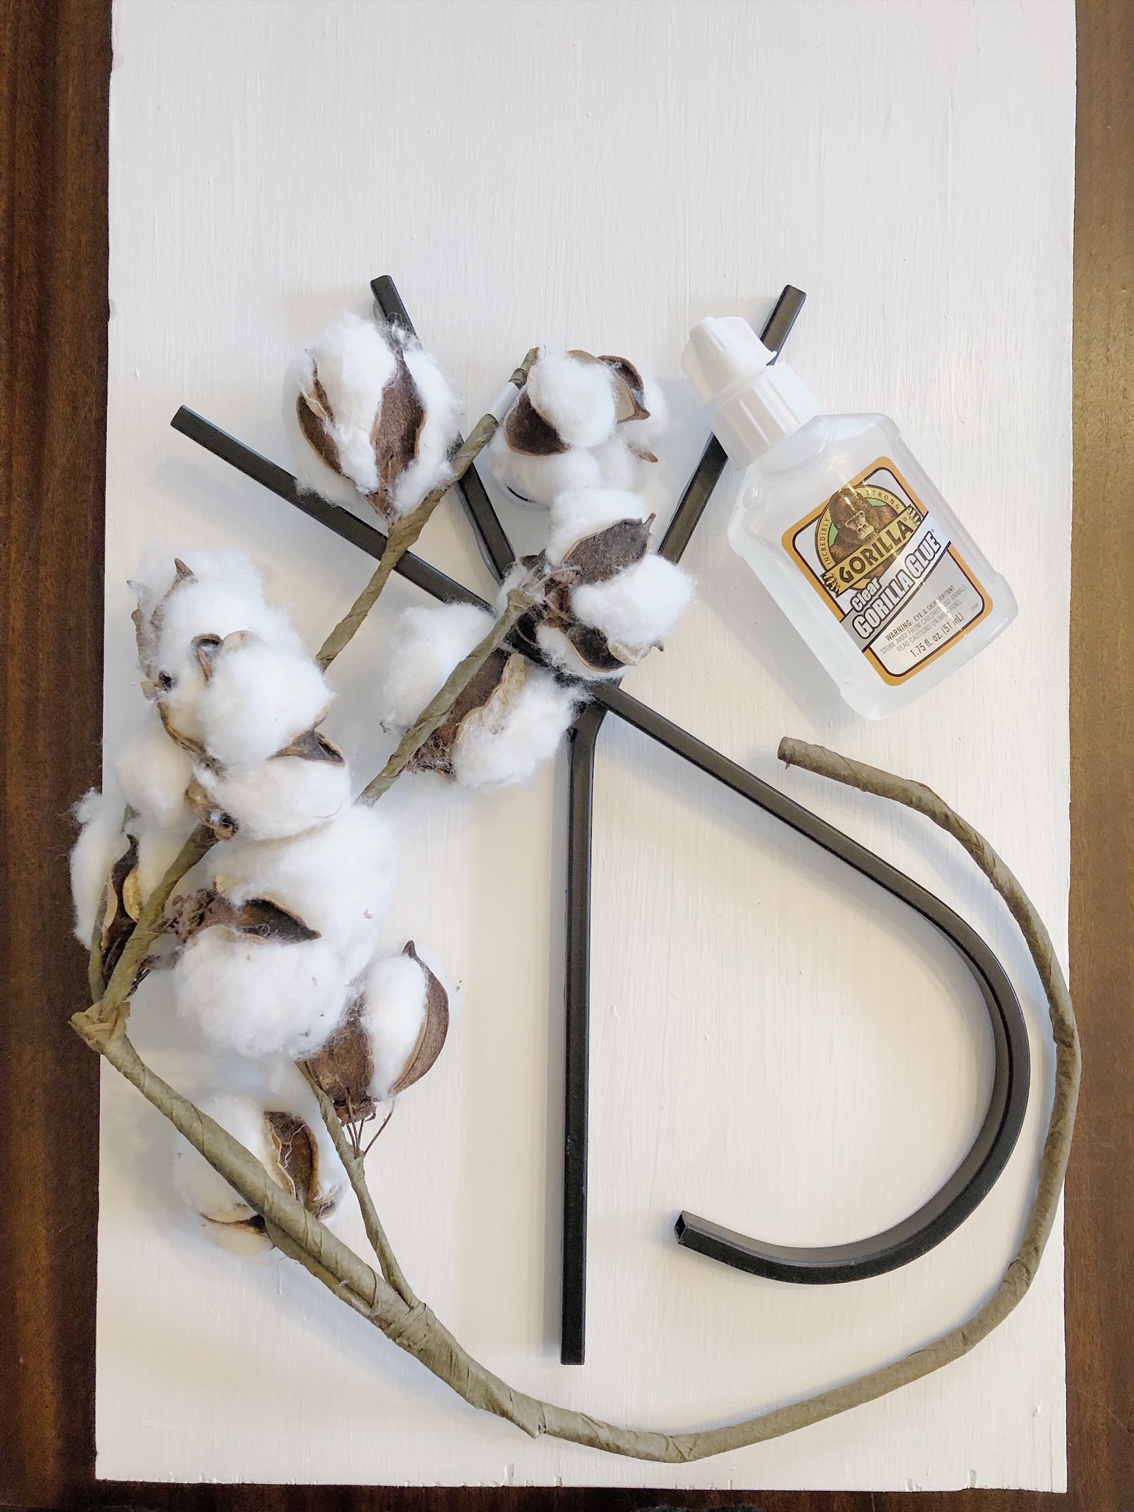
Materials for Christmas JOY Sign:
- Plywood board
- White paint
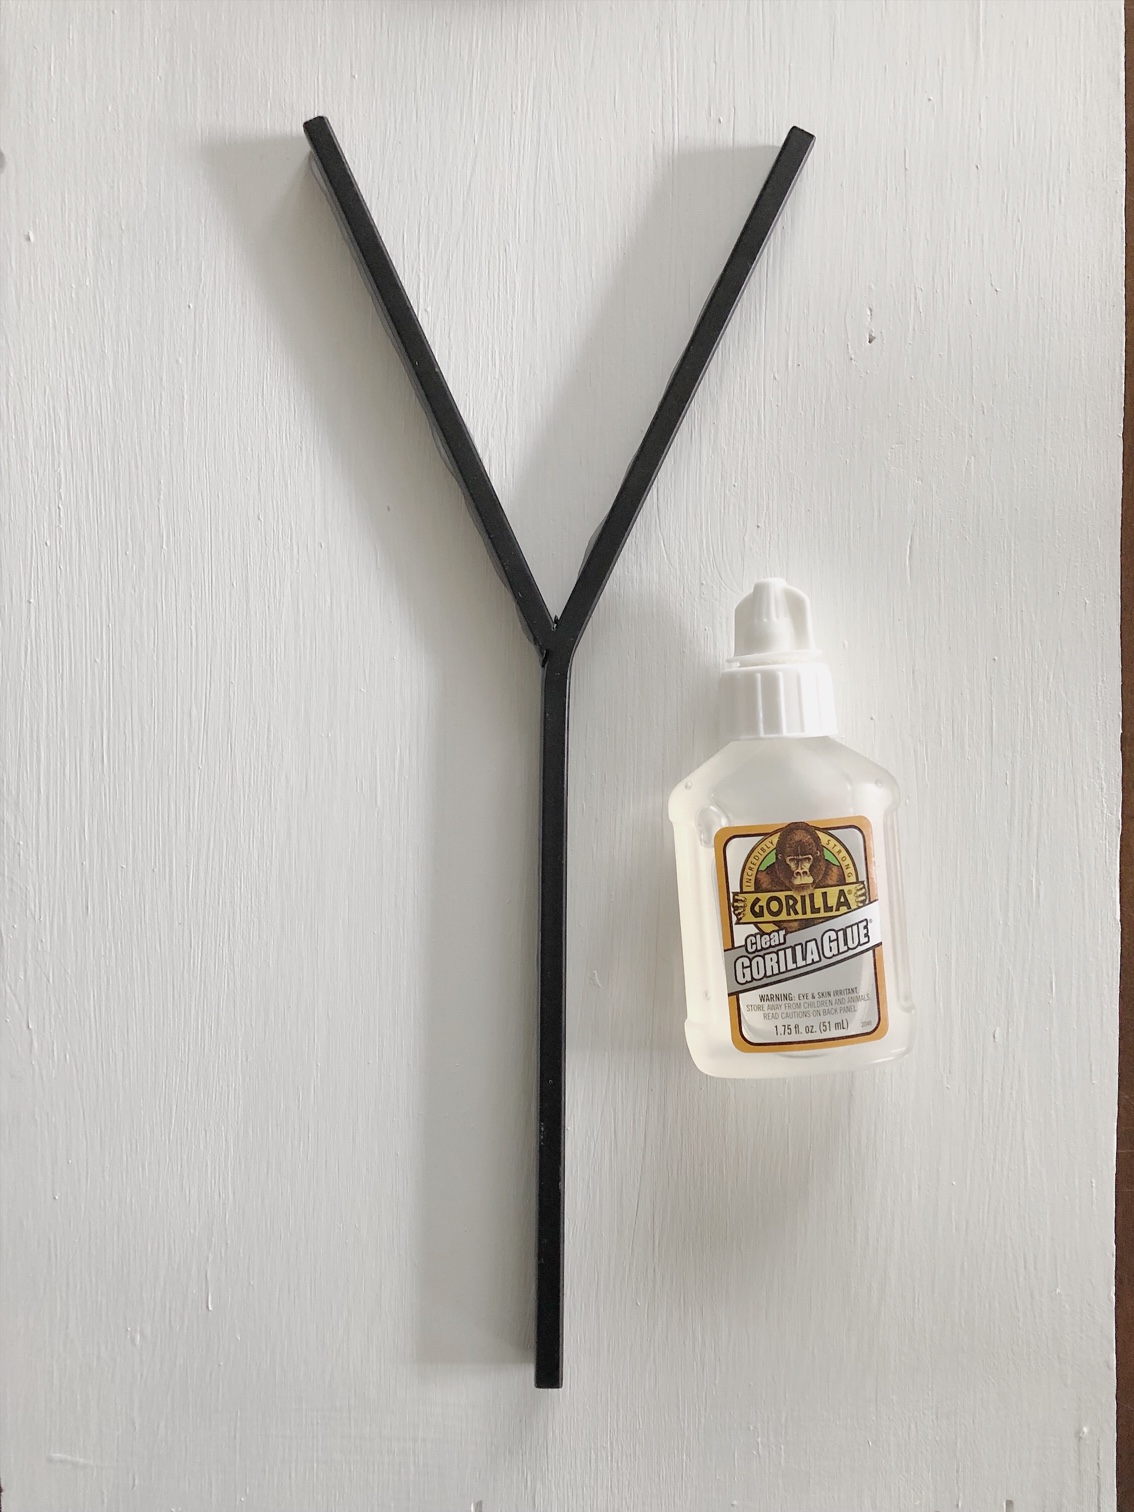
- Metal letters (J &Y)
- Cottonwood stems (I used two)
- Staple gun
- Glue
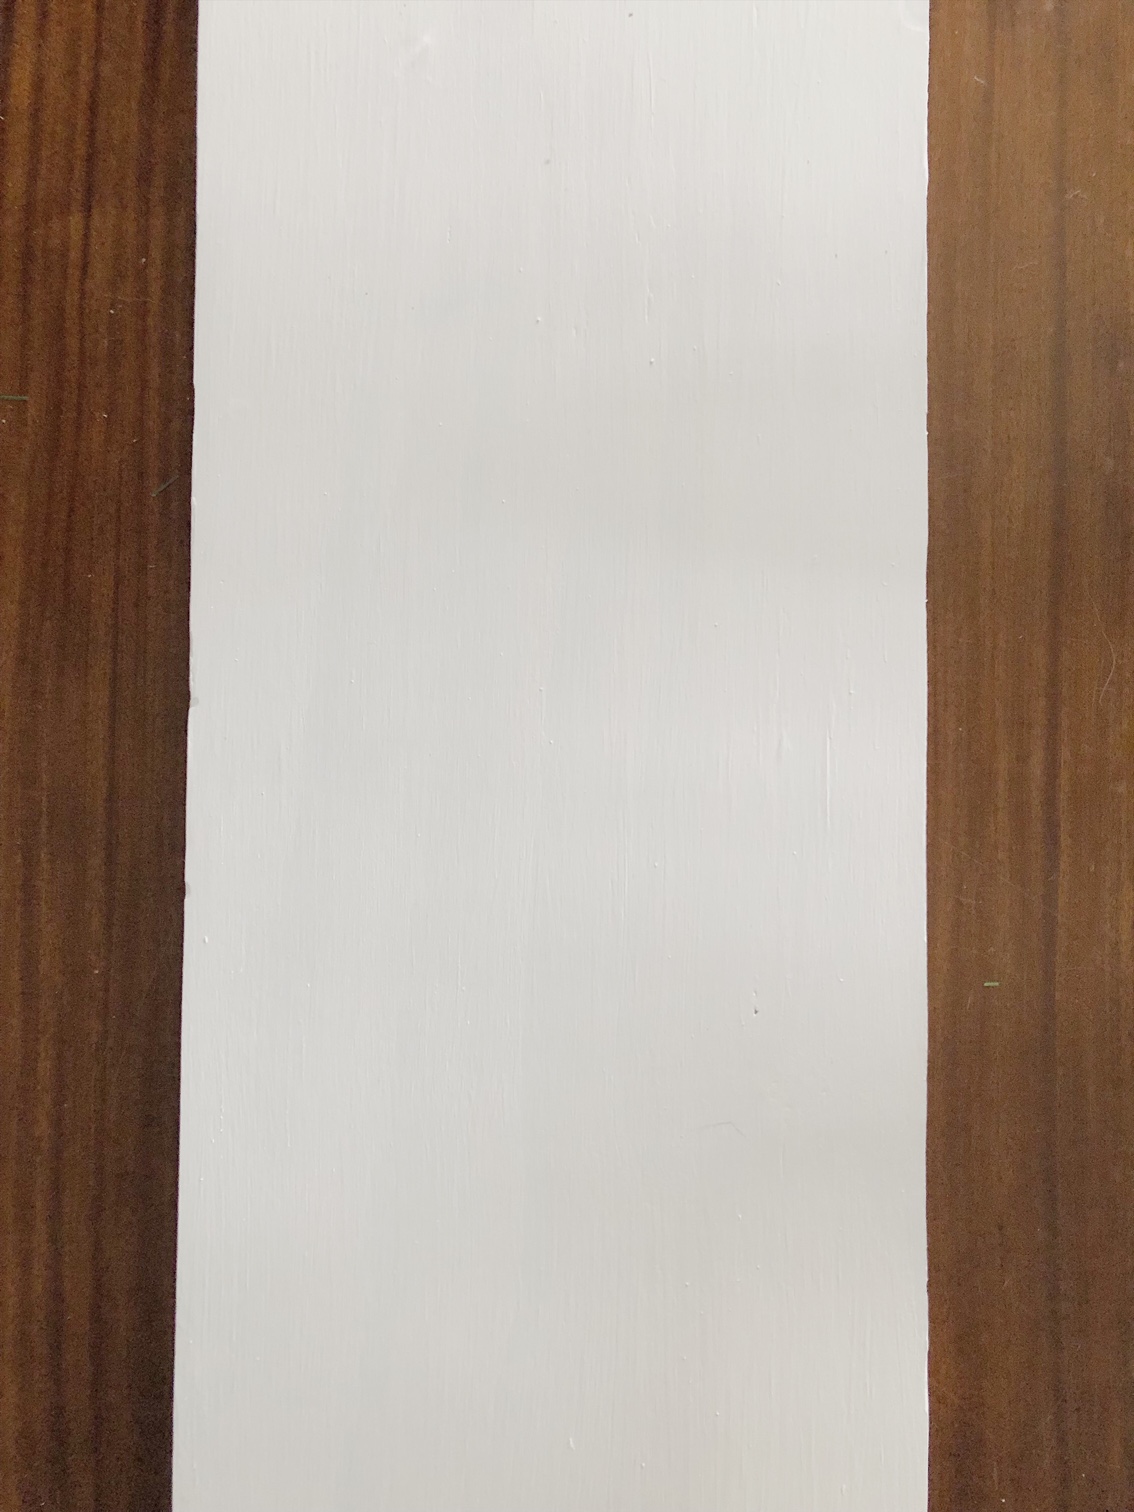
Step One:
Paint your board. I used some leftover white paint I had laying around. Or is it lying around? I should probably know this as an English teacher. Stop judging.
Step Two:
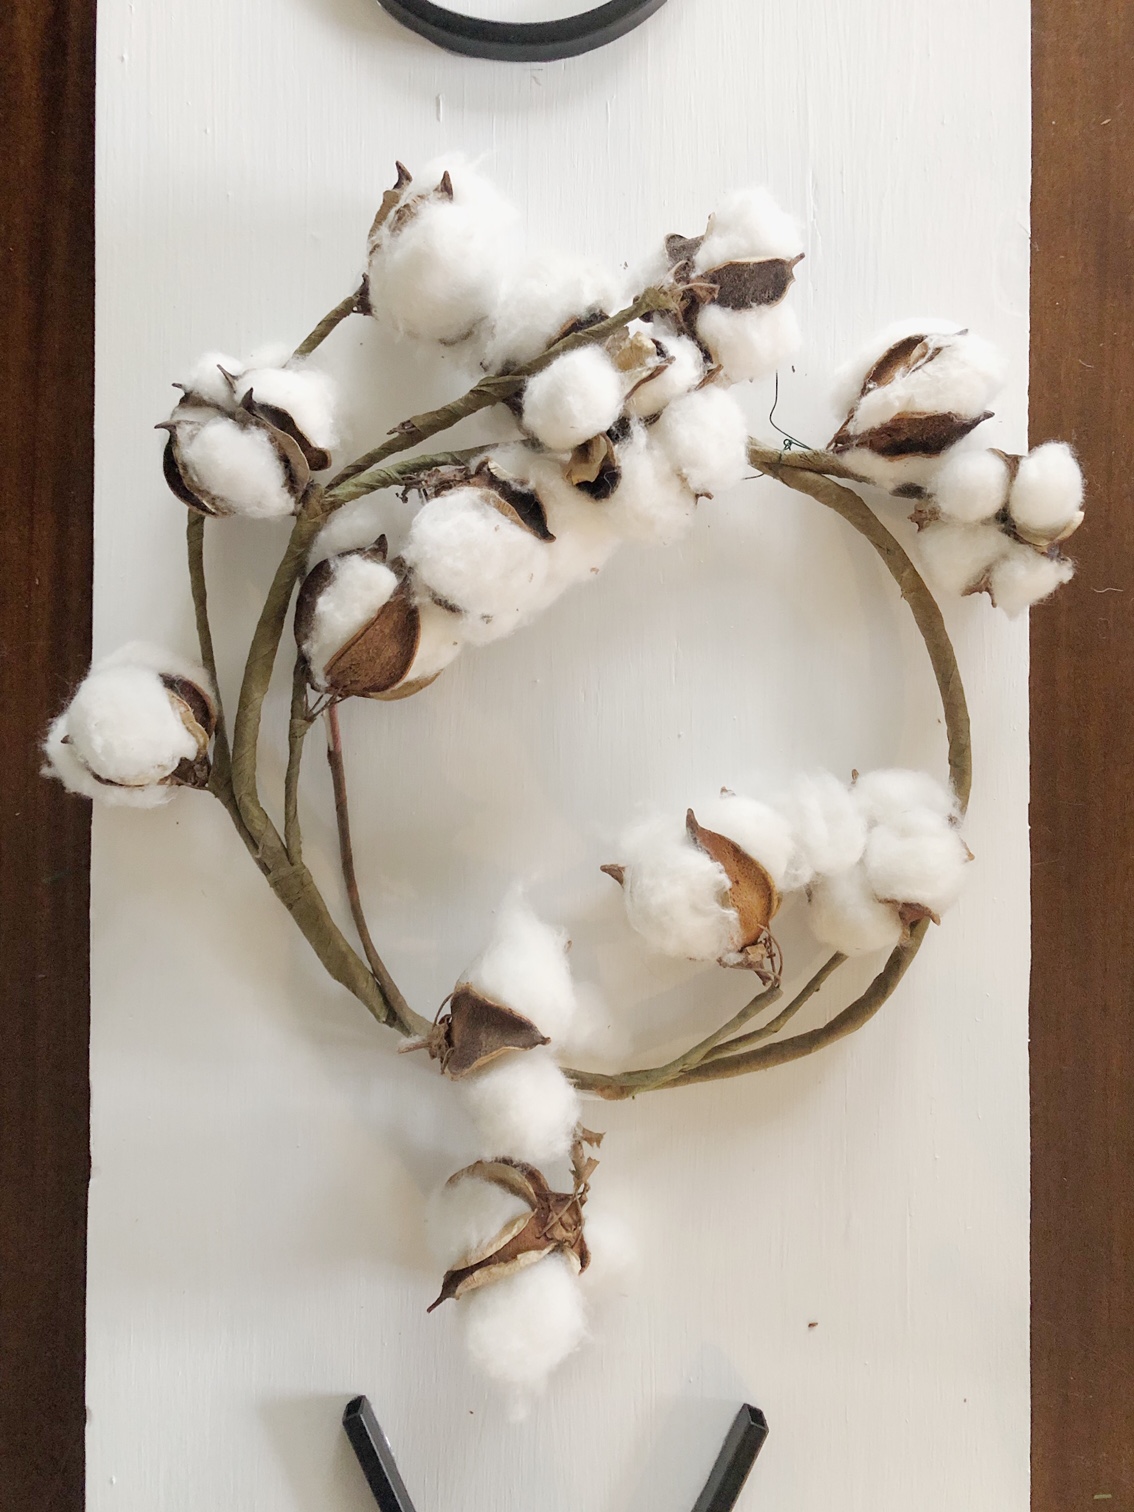
Take your cottonwood stems and shape them into a circle. I took one stem and formed a circle and secured it with some floral wire. You can use twine for this as well.
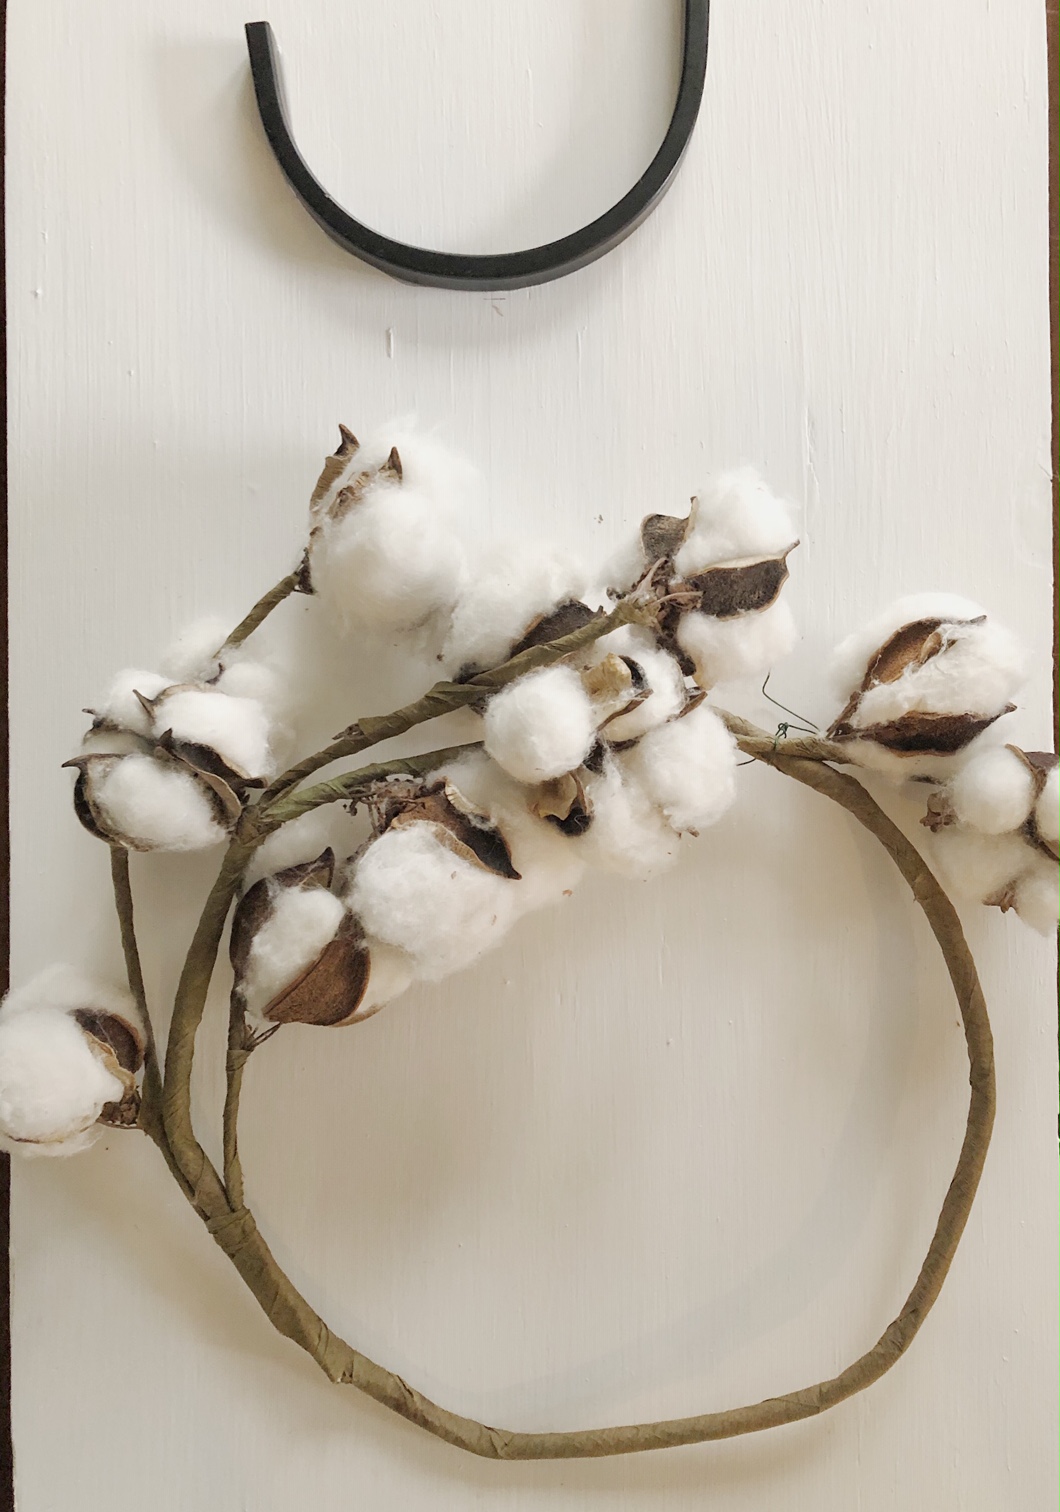
Then I took pieces of cottonwood off of the second stem and formed them around circle.
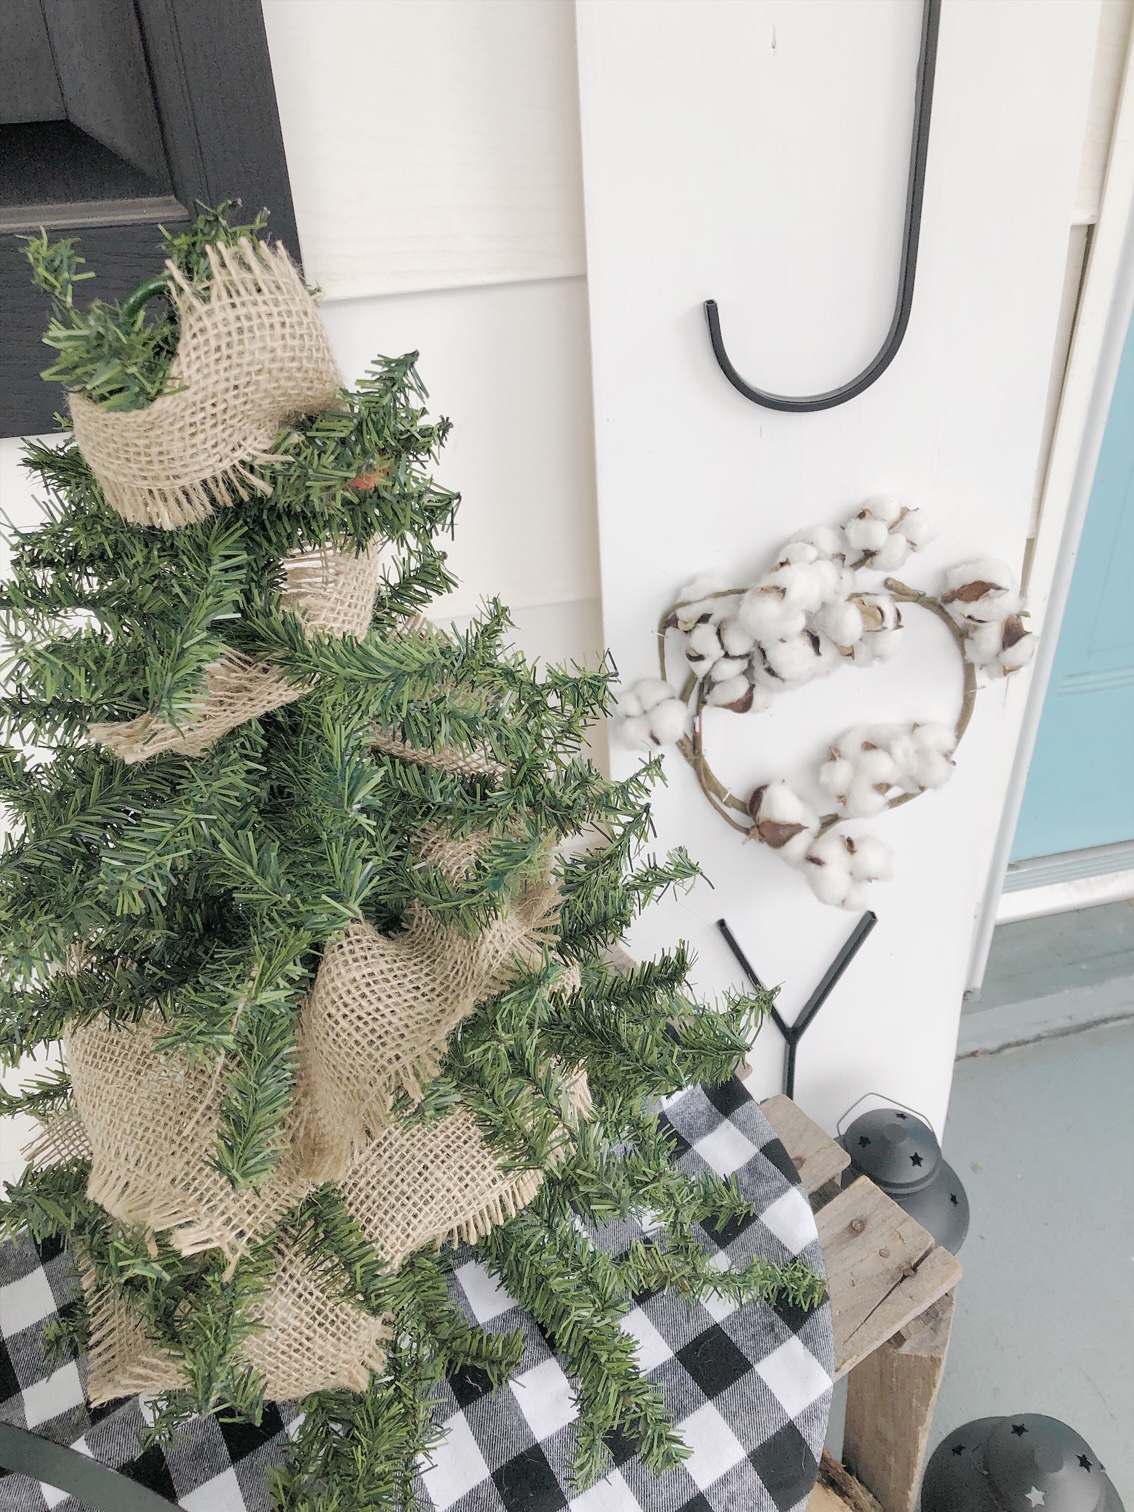
Step Three:
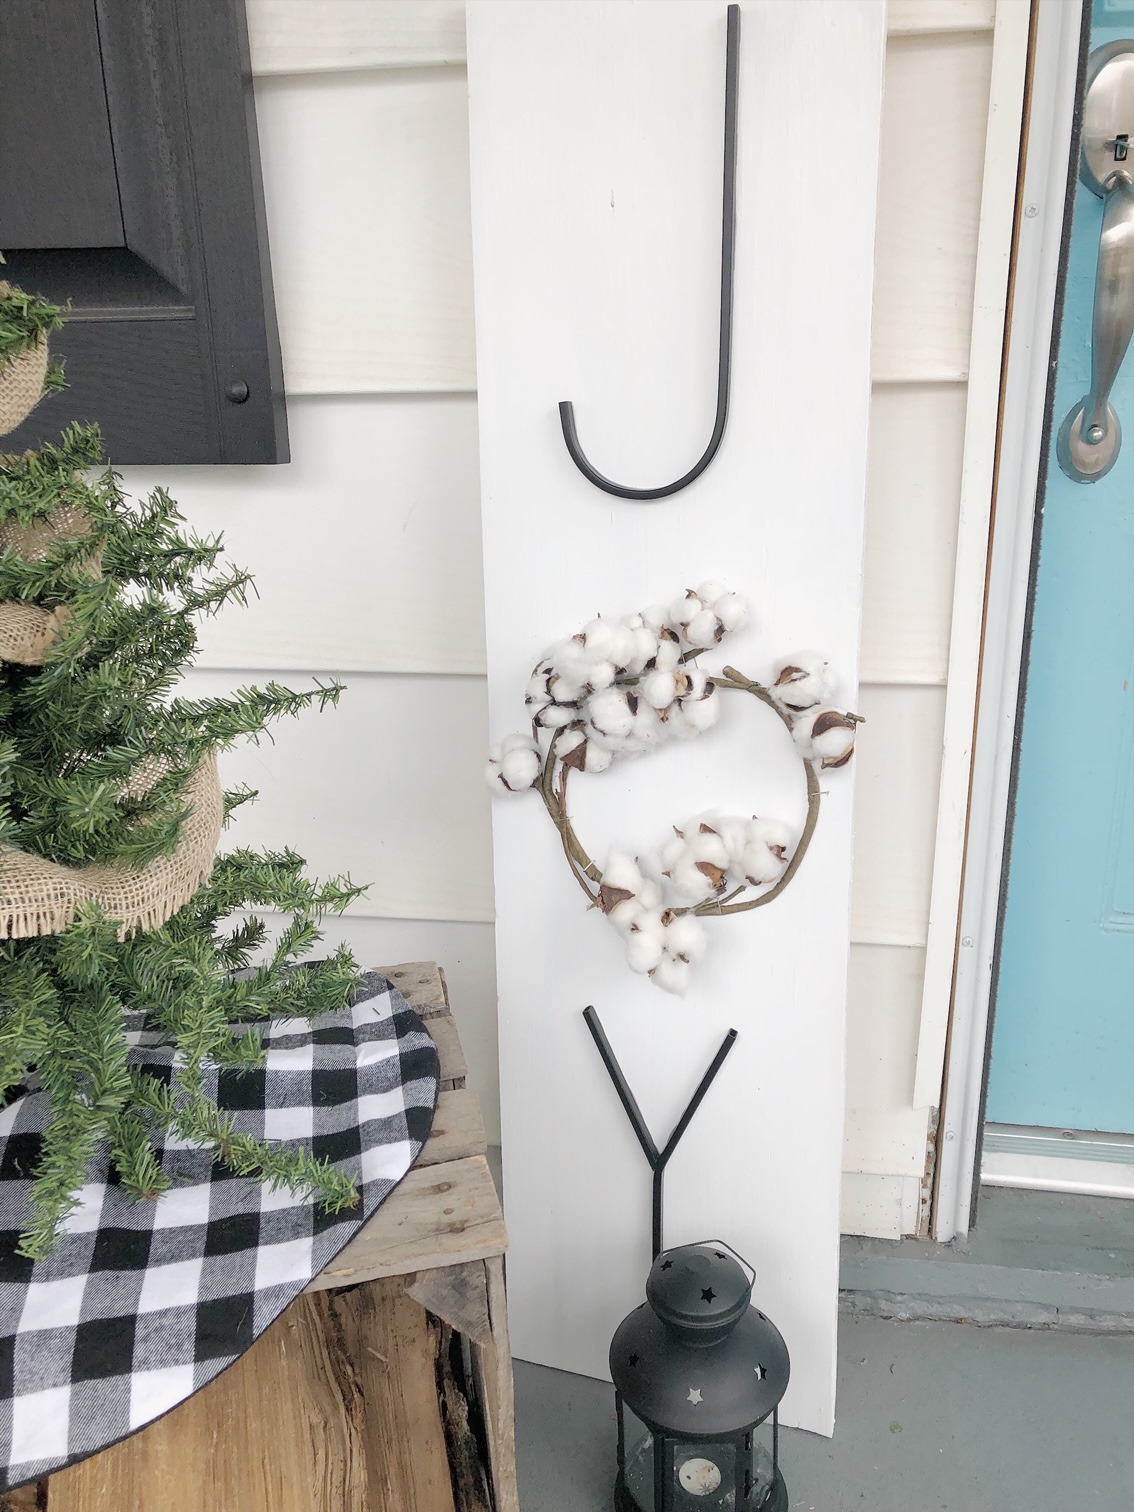
Space out your letters. Once you positioned the letters where you like them, it’s time to secure them to the board. First, staple the O in the center of the board using the staple gun.

Then, take your glue to glue the J and Y down.
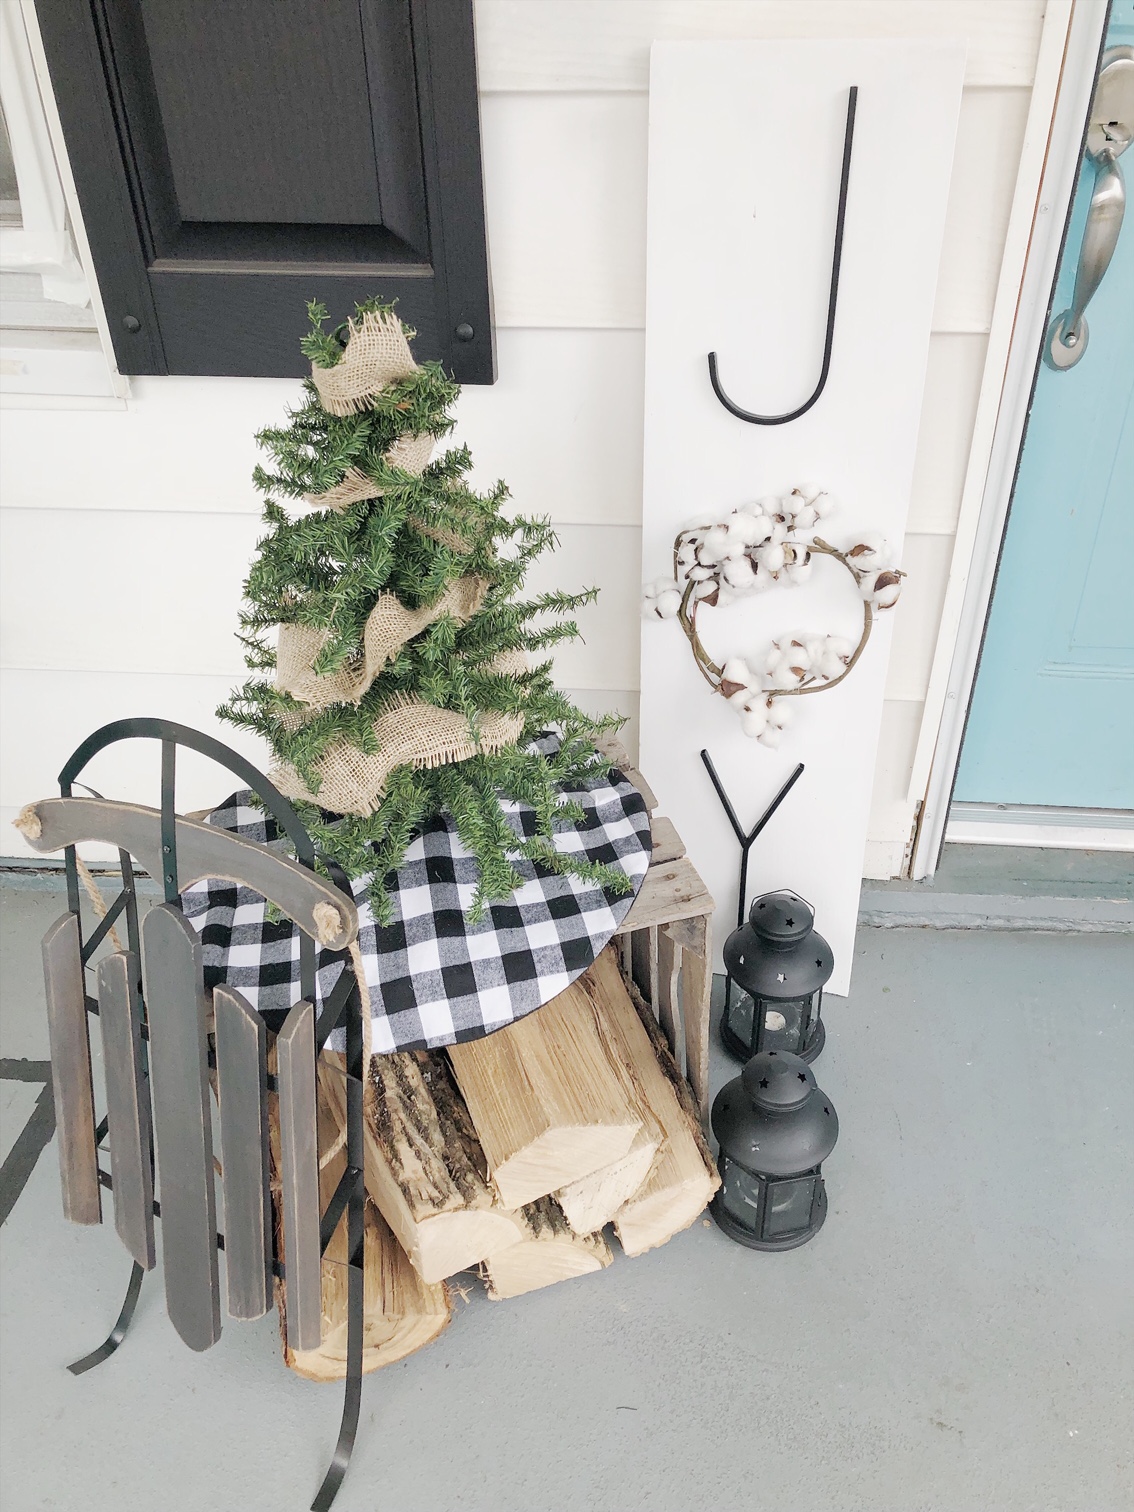
Let dry, then style away!
If you are just joining me on the Deck the Home Blog Hop, you can check out my other projects here: Pallet Sign Ornament or DIY Christmas Wreath.
To see what the other bloggers created this week, check out the photos below. They all did an awesome job!


Using the cottonwood stem makes this Sign so much more Christmas-y. Looks great!
Lovely porch, and what a pretty sign. I love how you used the cotton stems in the Joy.
Love this! I love how you used something other than wood letters for your sign. I’ve never seen those metal letters before, but they are just perfect. So cute!
So simple and festive, I love it!
This is so farmhouse I just love it… plus you could totally use it year round. I love how it looks with all of your Christmas decor on the porch. It looks amazing!
[…] source […]
I love that you used metal letters! This project is one of my favorites so far!
I love this, where did you find the metal letters?
[…] absolutely love this “Joy” sign from Renovating Mapleson Manor. It is so simple to make, yet it makes such an impact. I seriously may have to make one […]
[…] Renovating Maples on Manor […]
This is such a cute idea! I love the cotton as the “o” 🙂
[…] love this cute Joy Sign that Patti from Renovating Maples on Manor DIY’d for her porch. Using the cotton wreath for the “o” is so clever! The […]
[…] am loving this holiday Joy sign from Patti at Renovating Mapleson Manor. She made it with two metal letters and bent a cottonwood […]