DIY Spring Sign
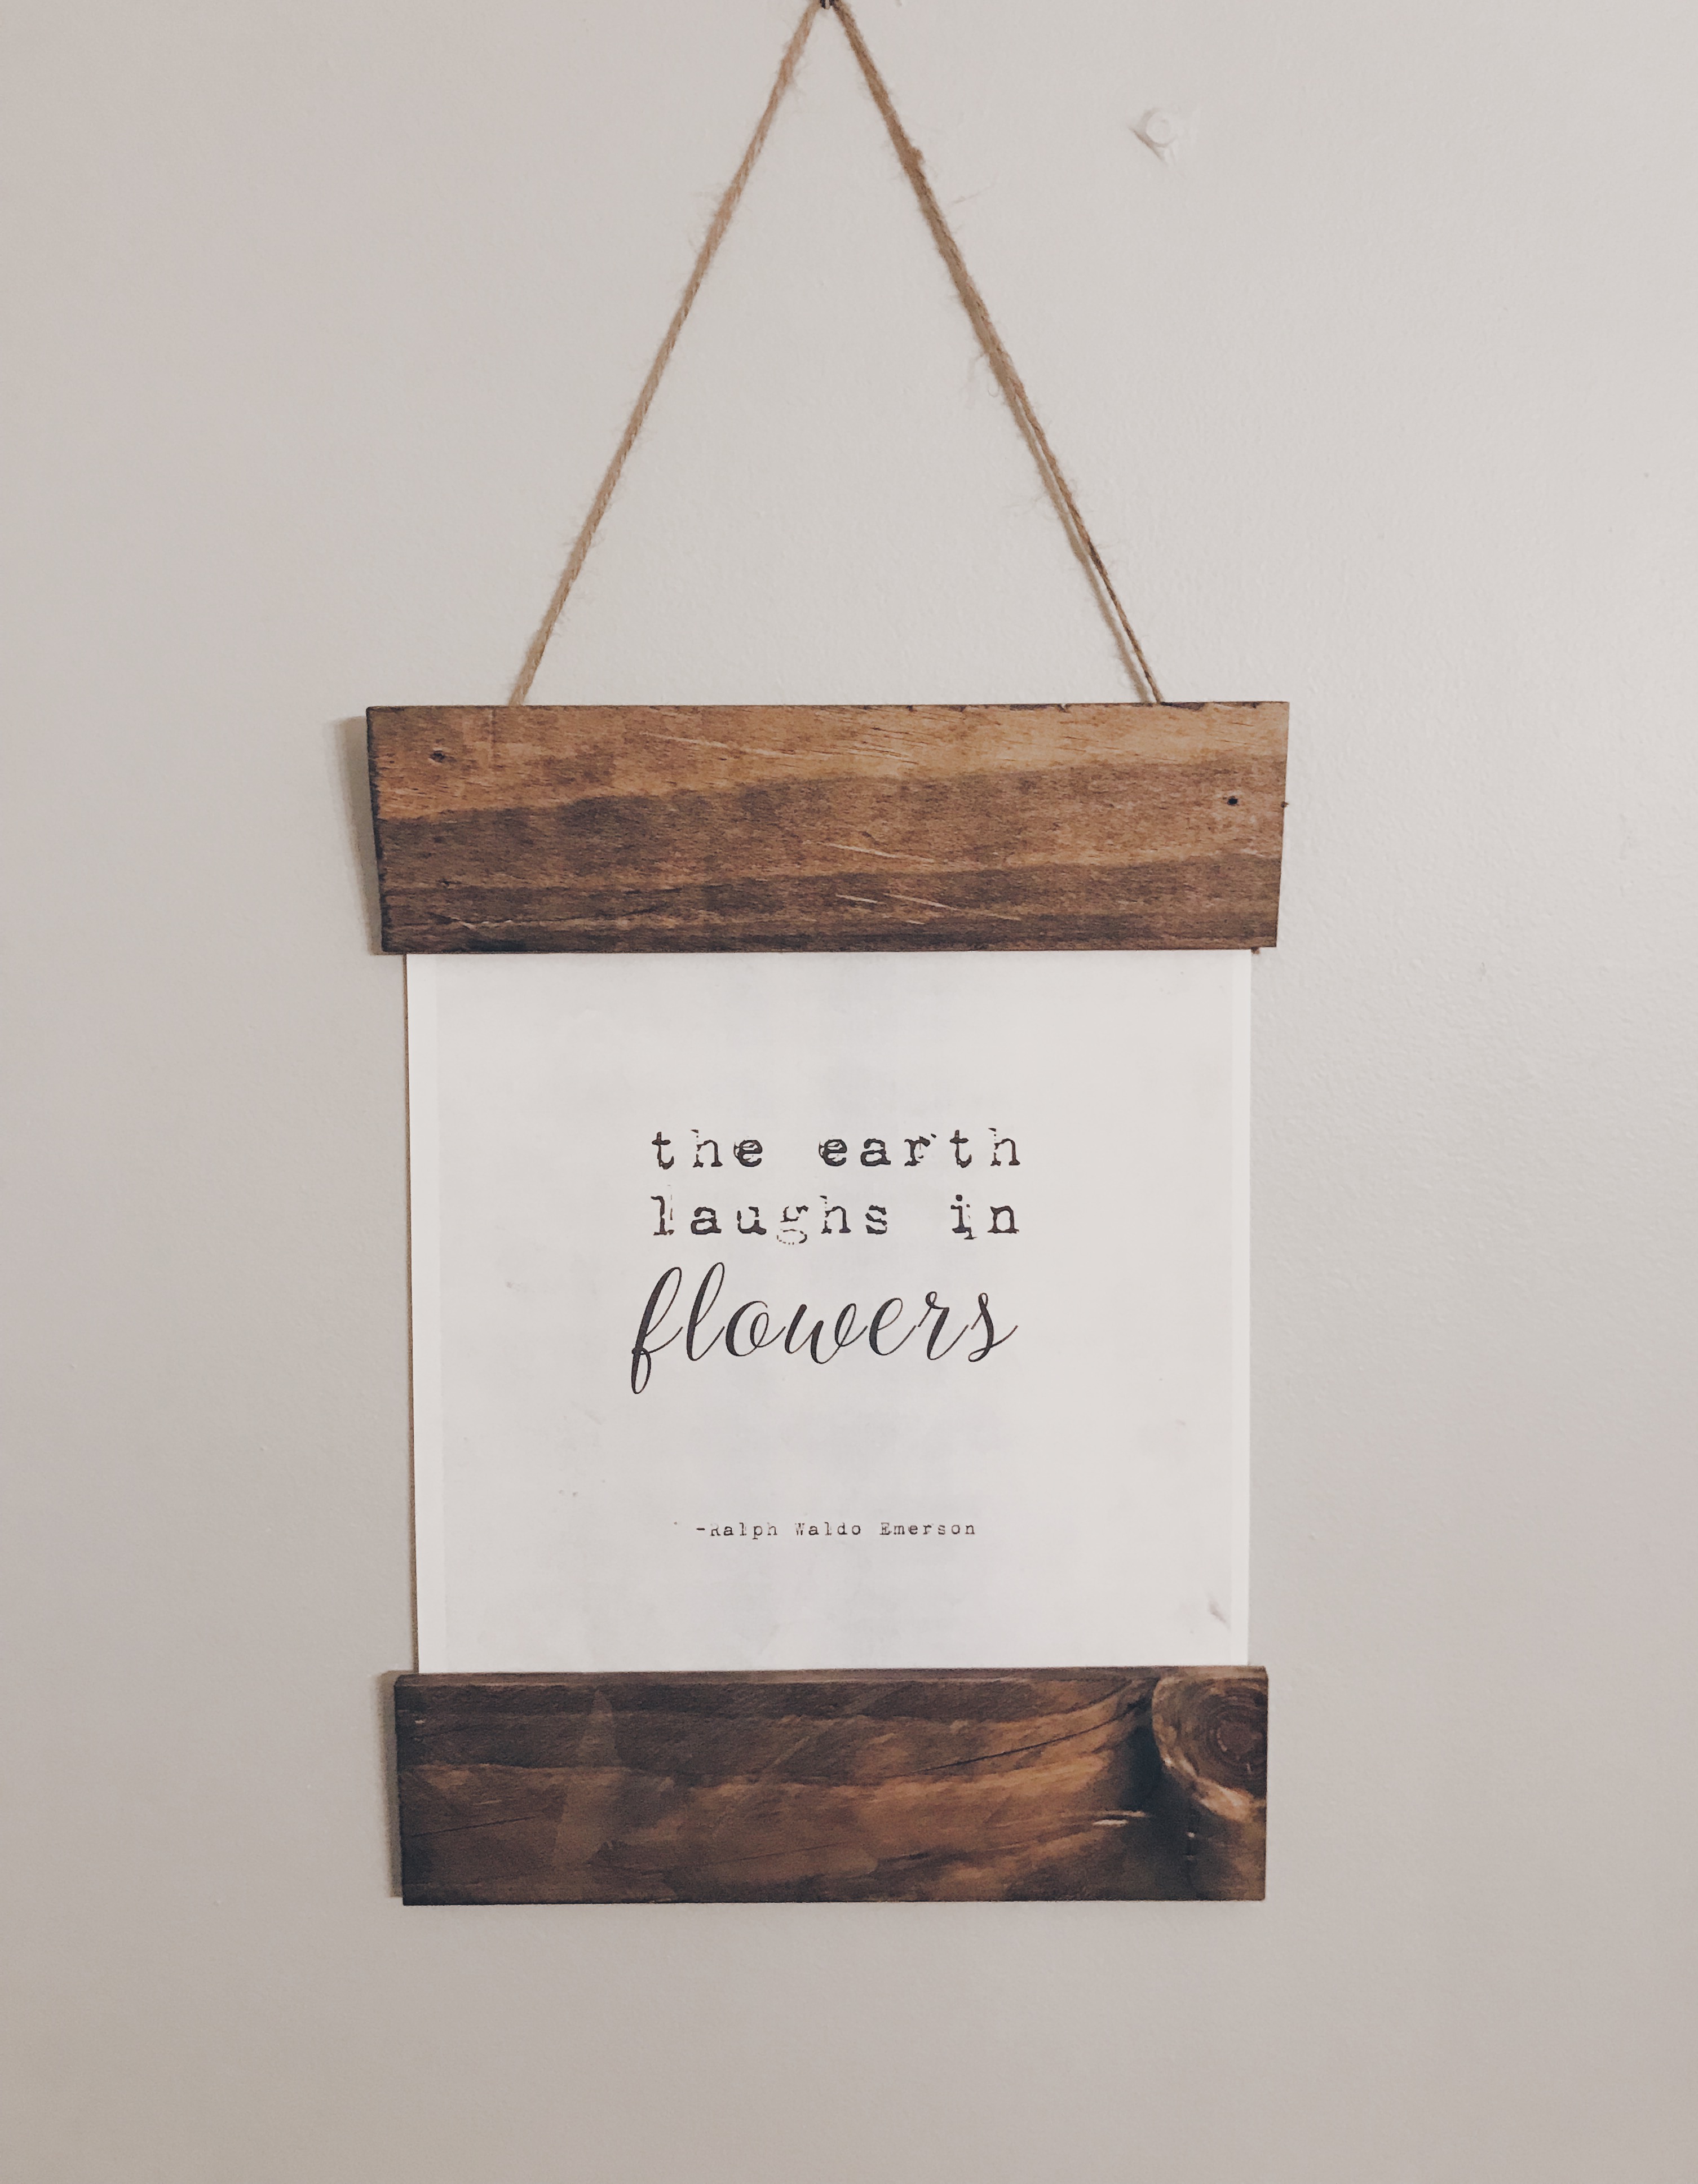
If you followed my last post on updating your home for spring, you may have seen the Spring sign that I created. So many readers were interested in how to make their own, so here is your DIY tutorial!
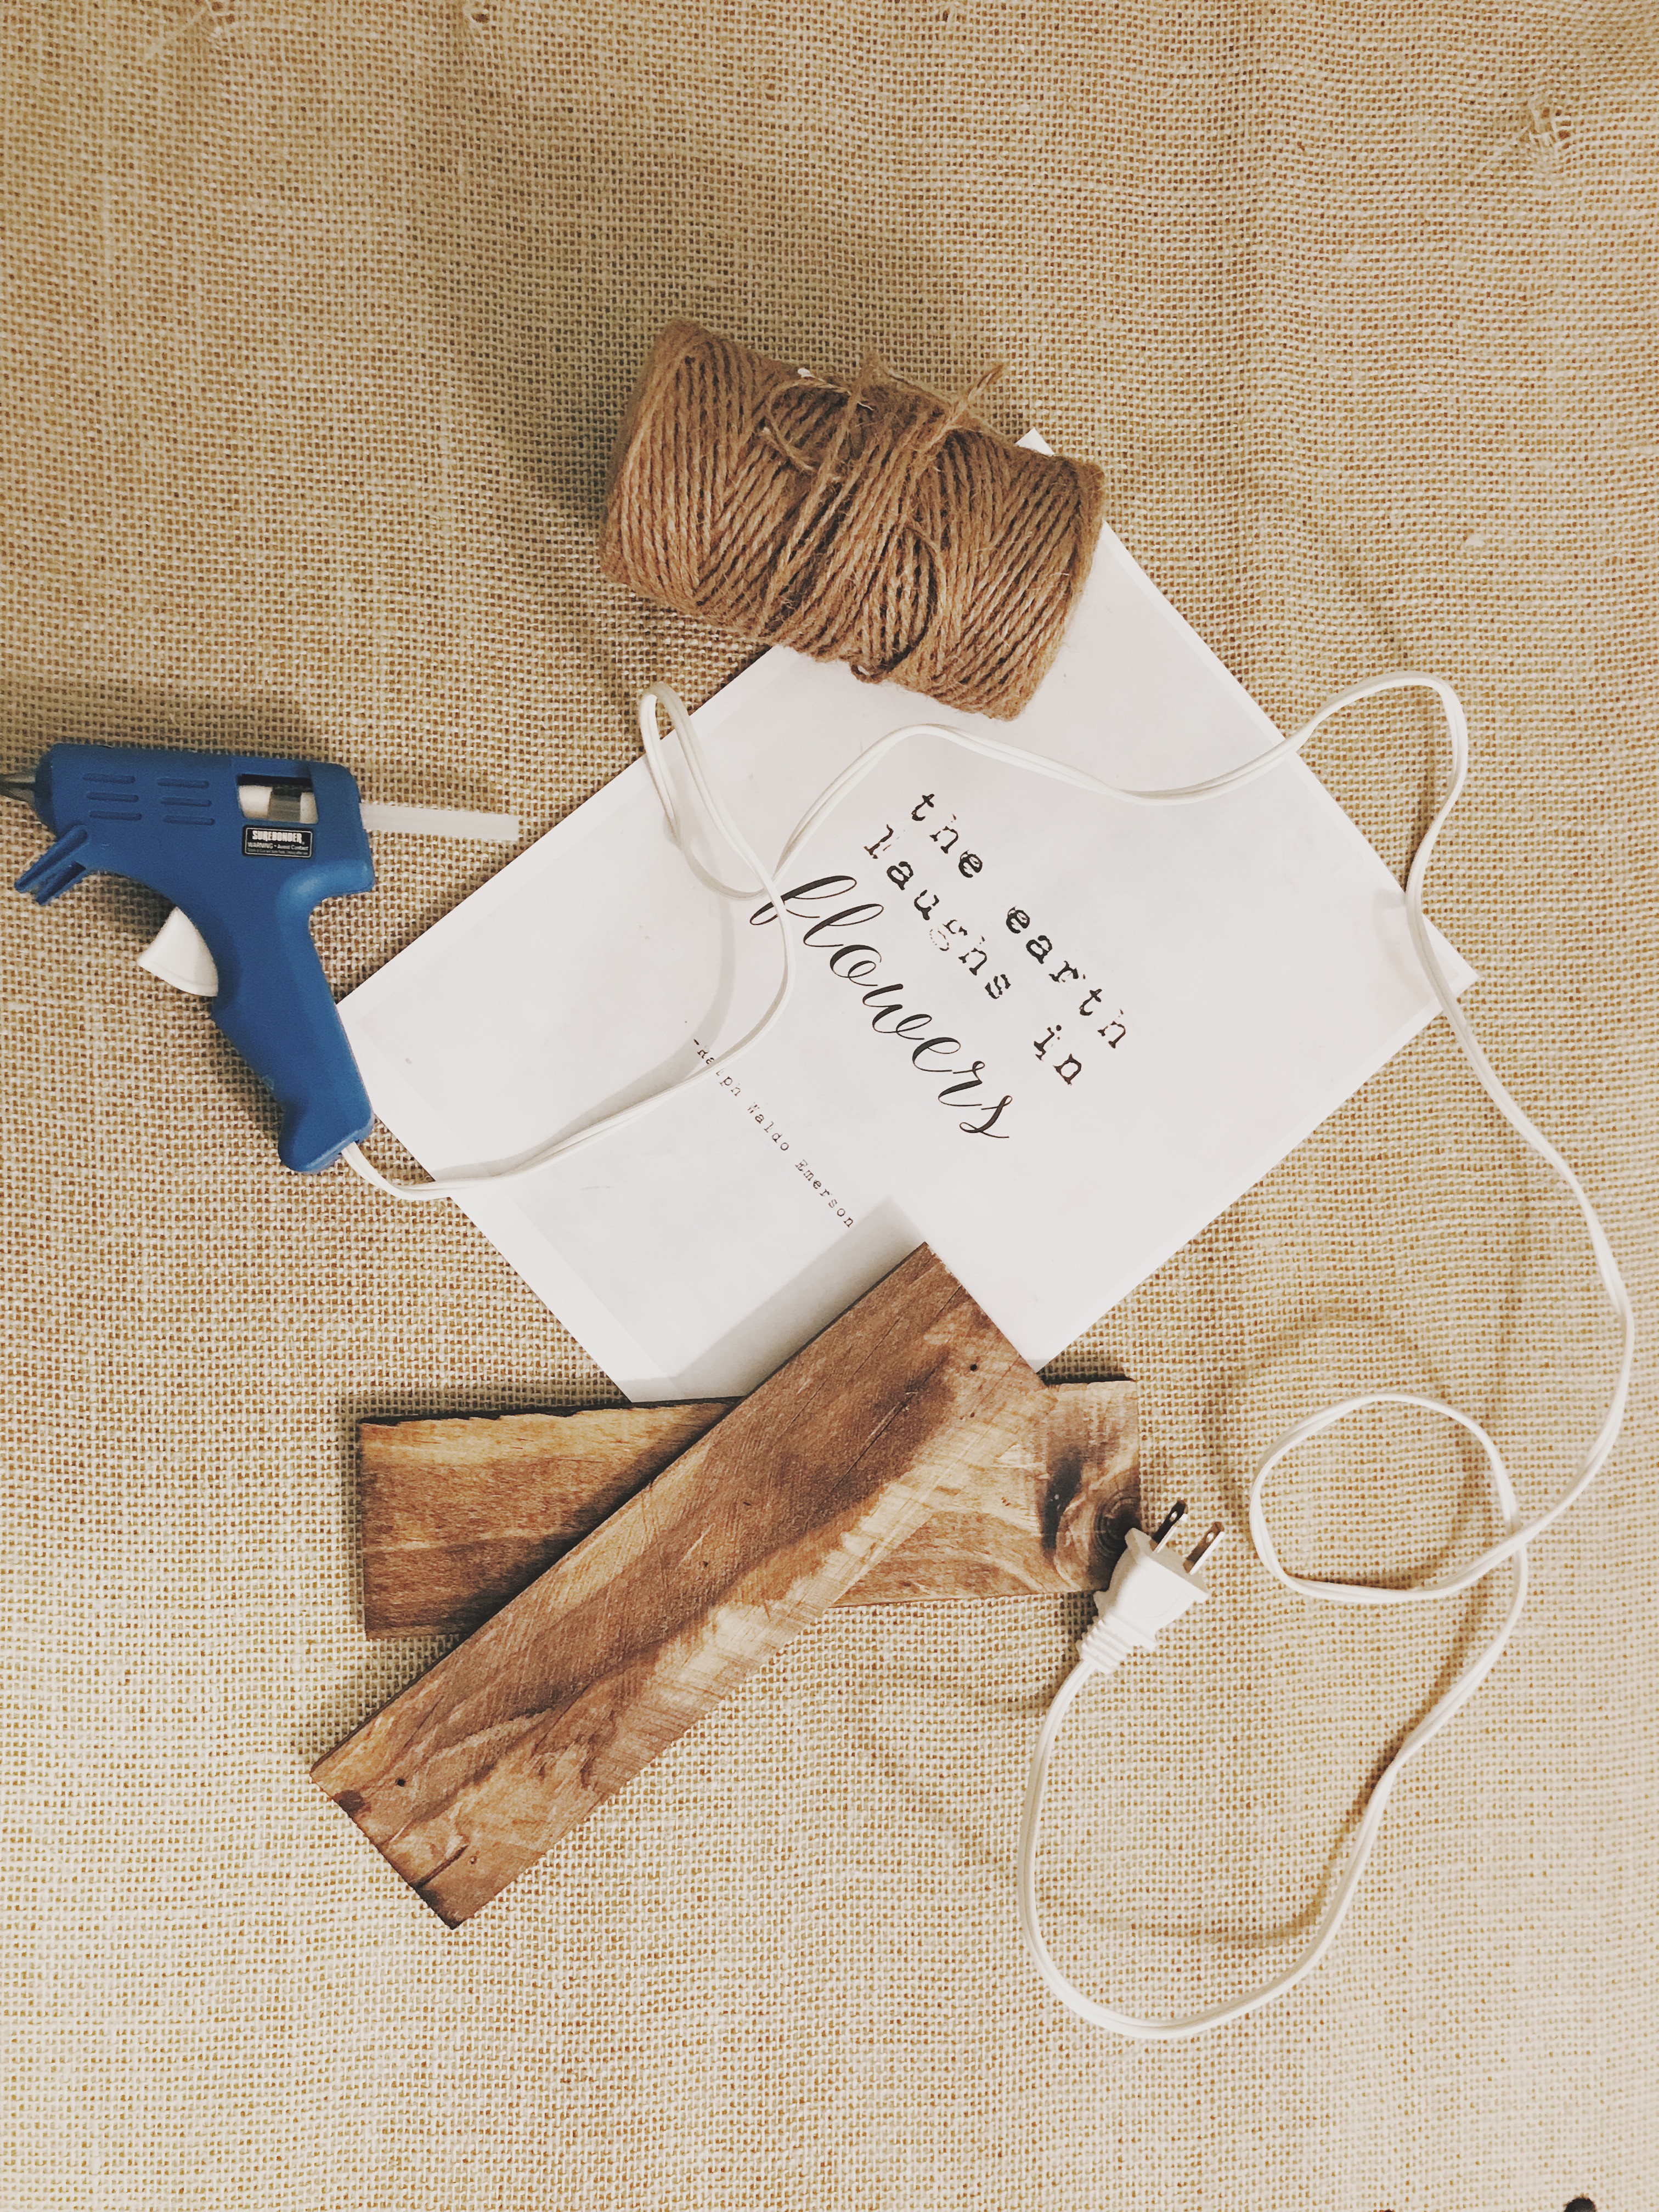
Materials:
*wood trim
*wood stain
*Spring printable
*hot glue gun
*twine
Step Two: Measure and cut your wood. I wanted a little bit of overhang on the top and the bottom of the sign, so I cut mine at 8 3/4 inches.
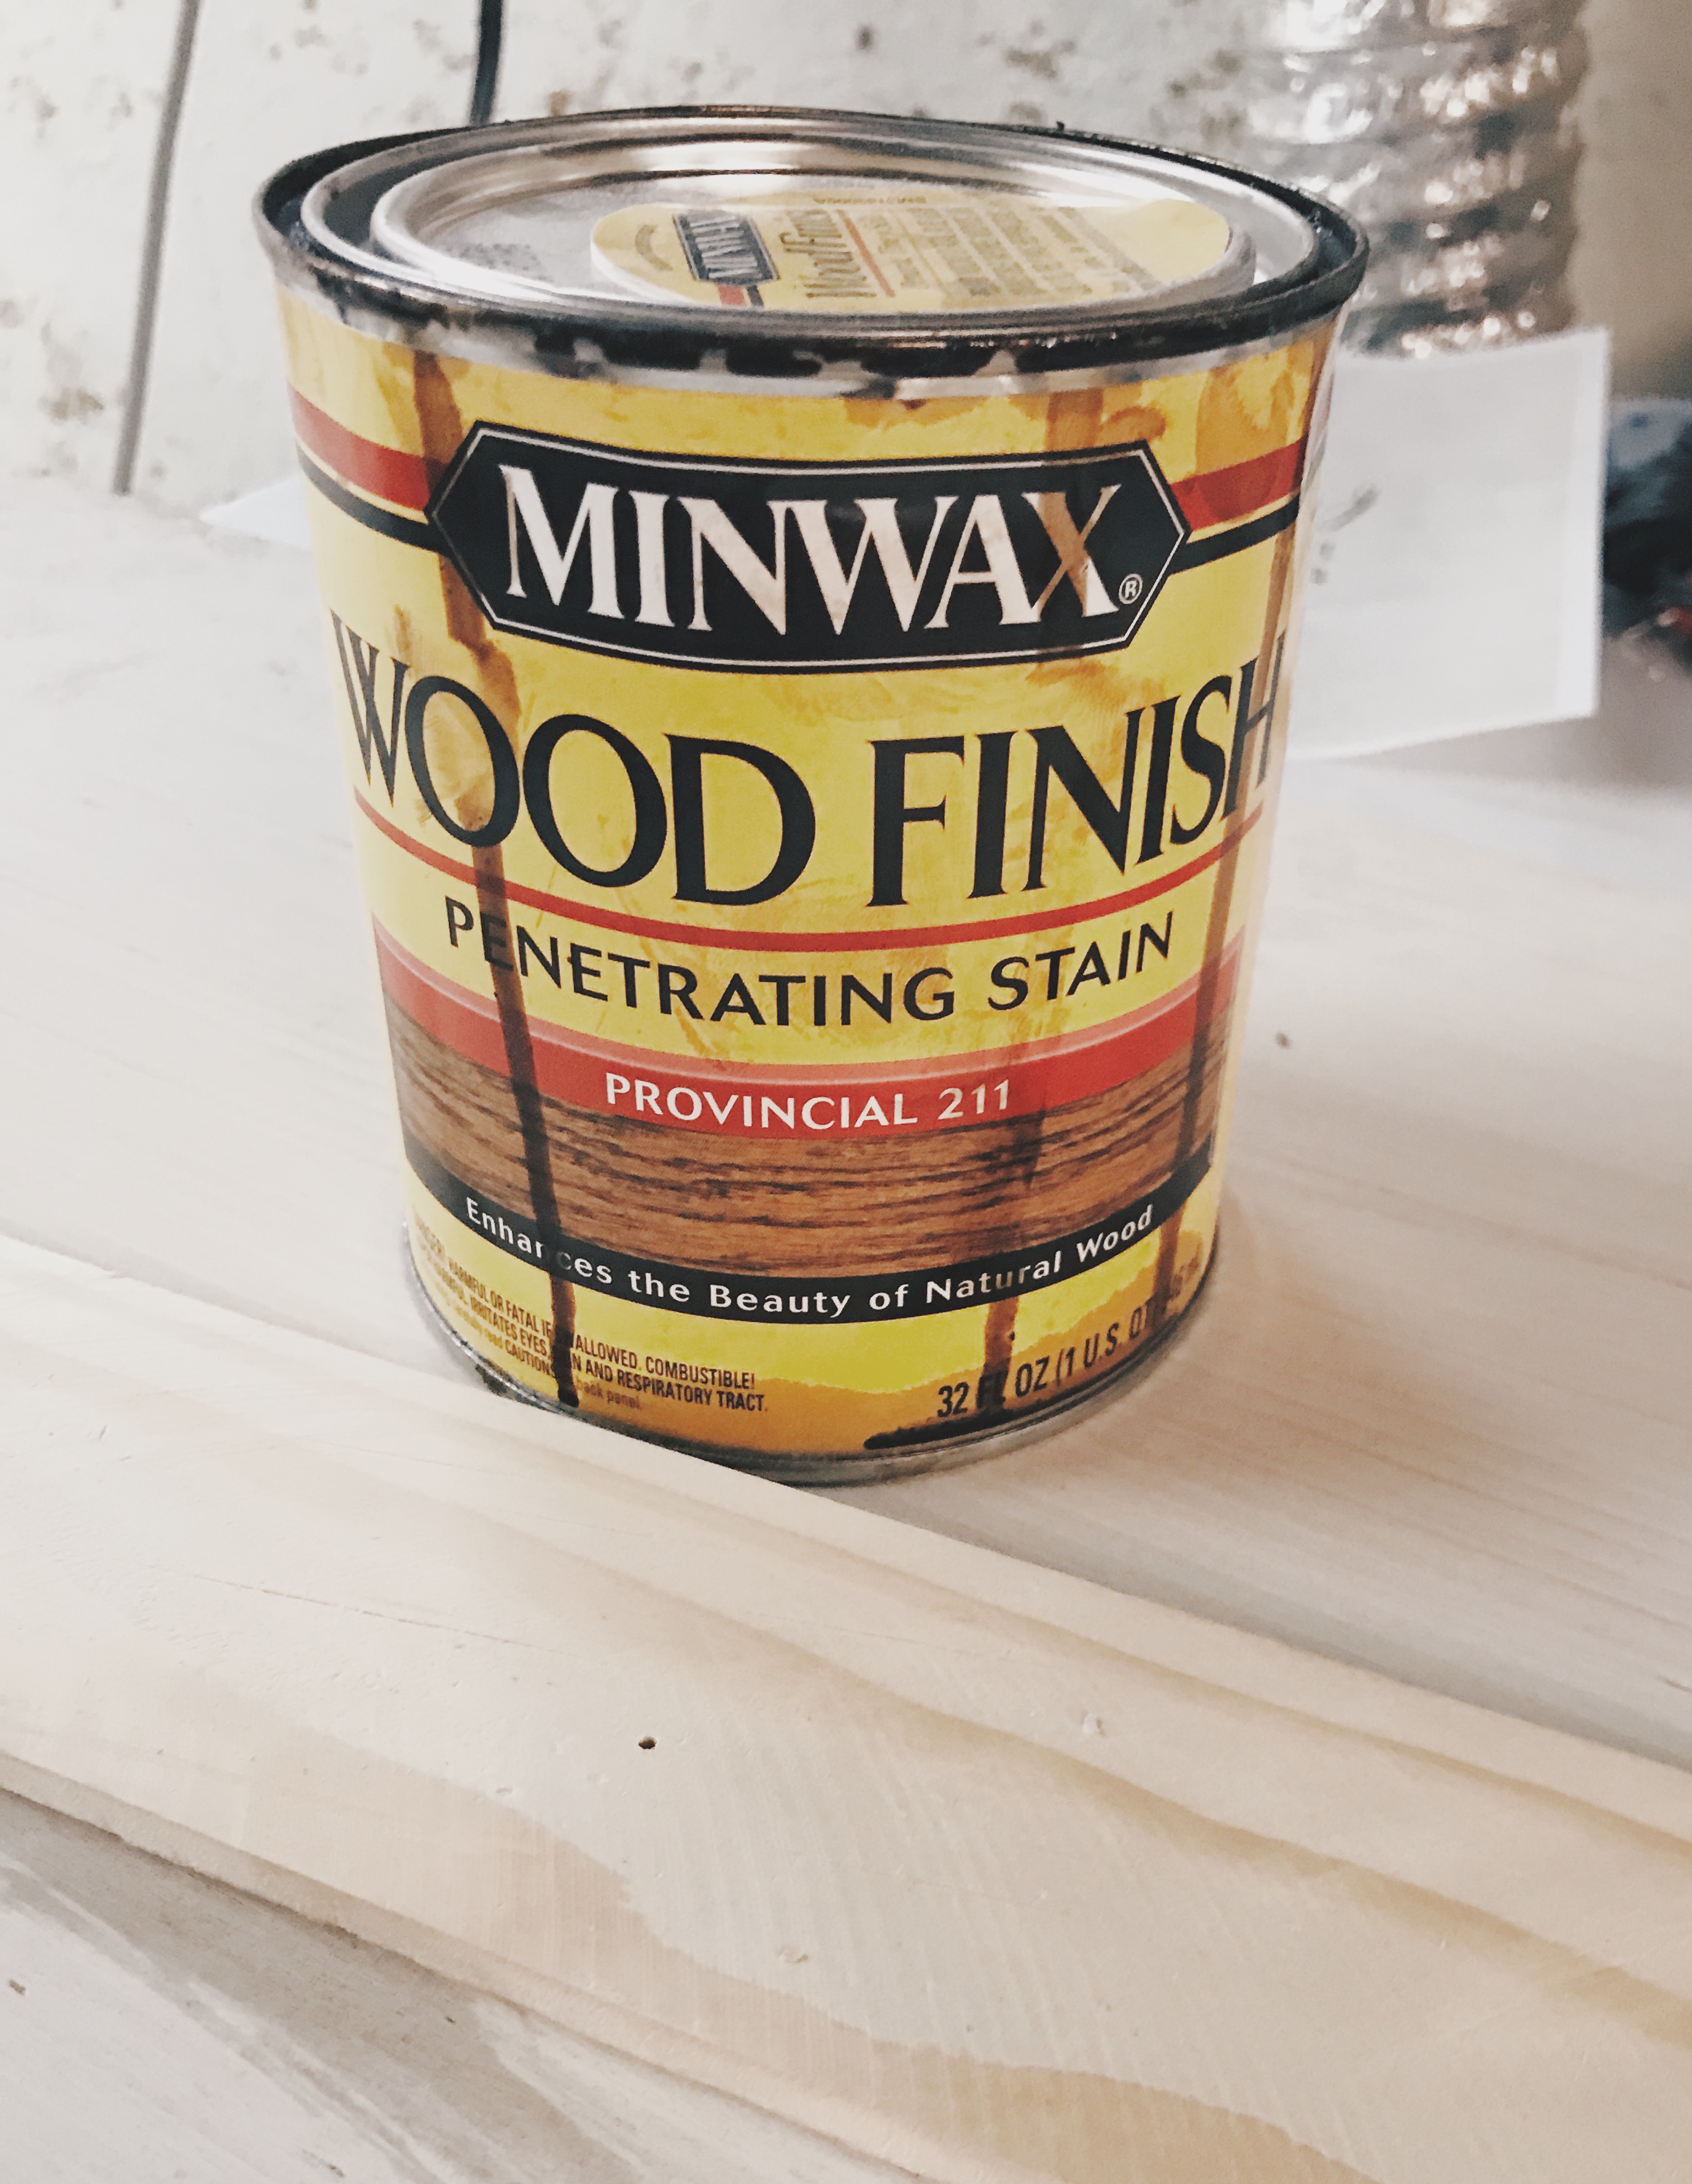
Step Three: Stain your wood. I used Minwax’s Provincial stain that was leftover from our moldings.
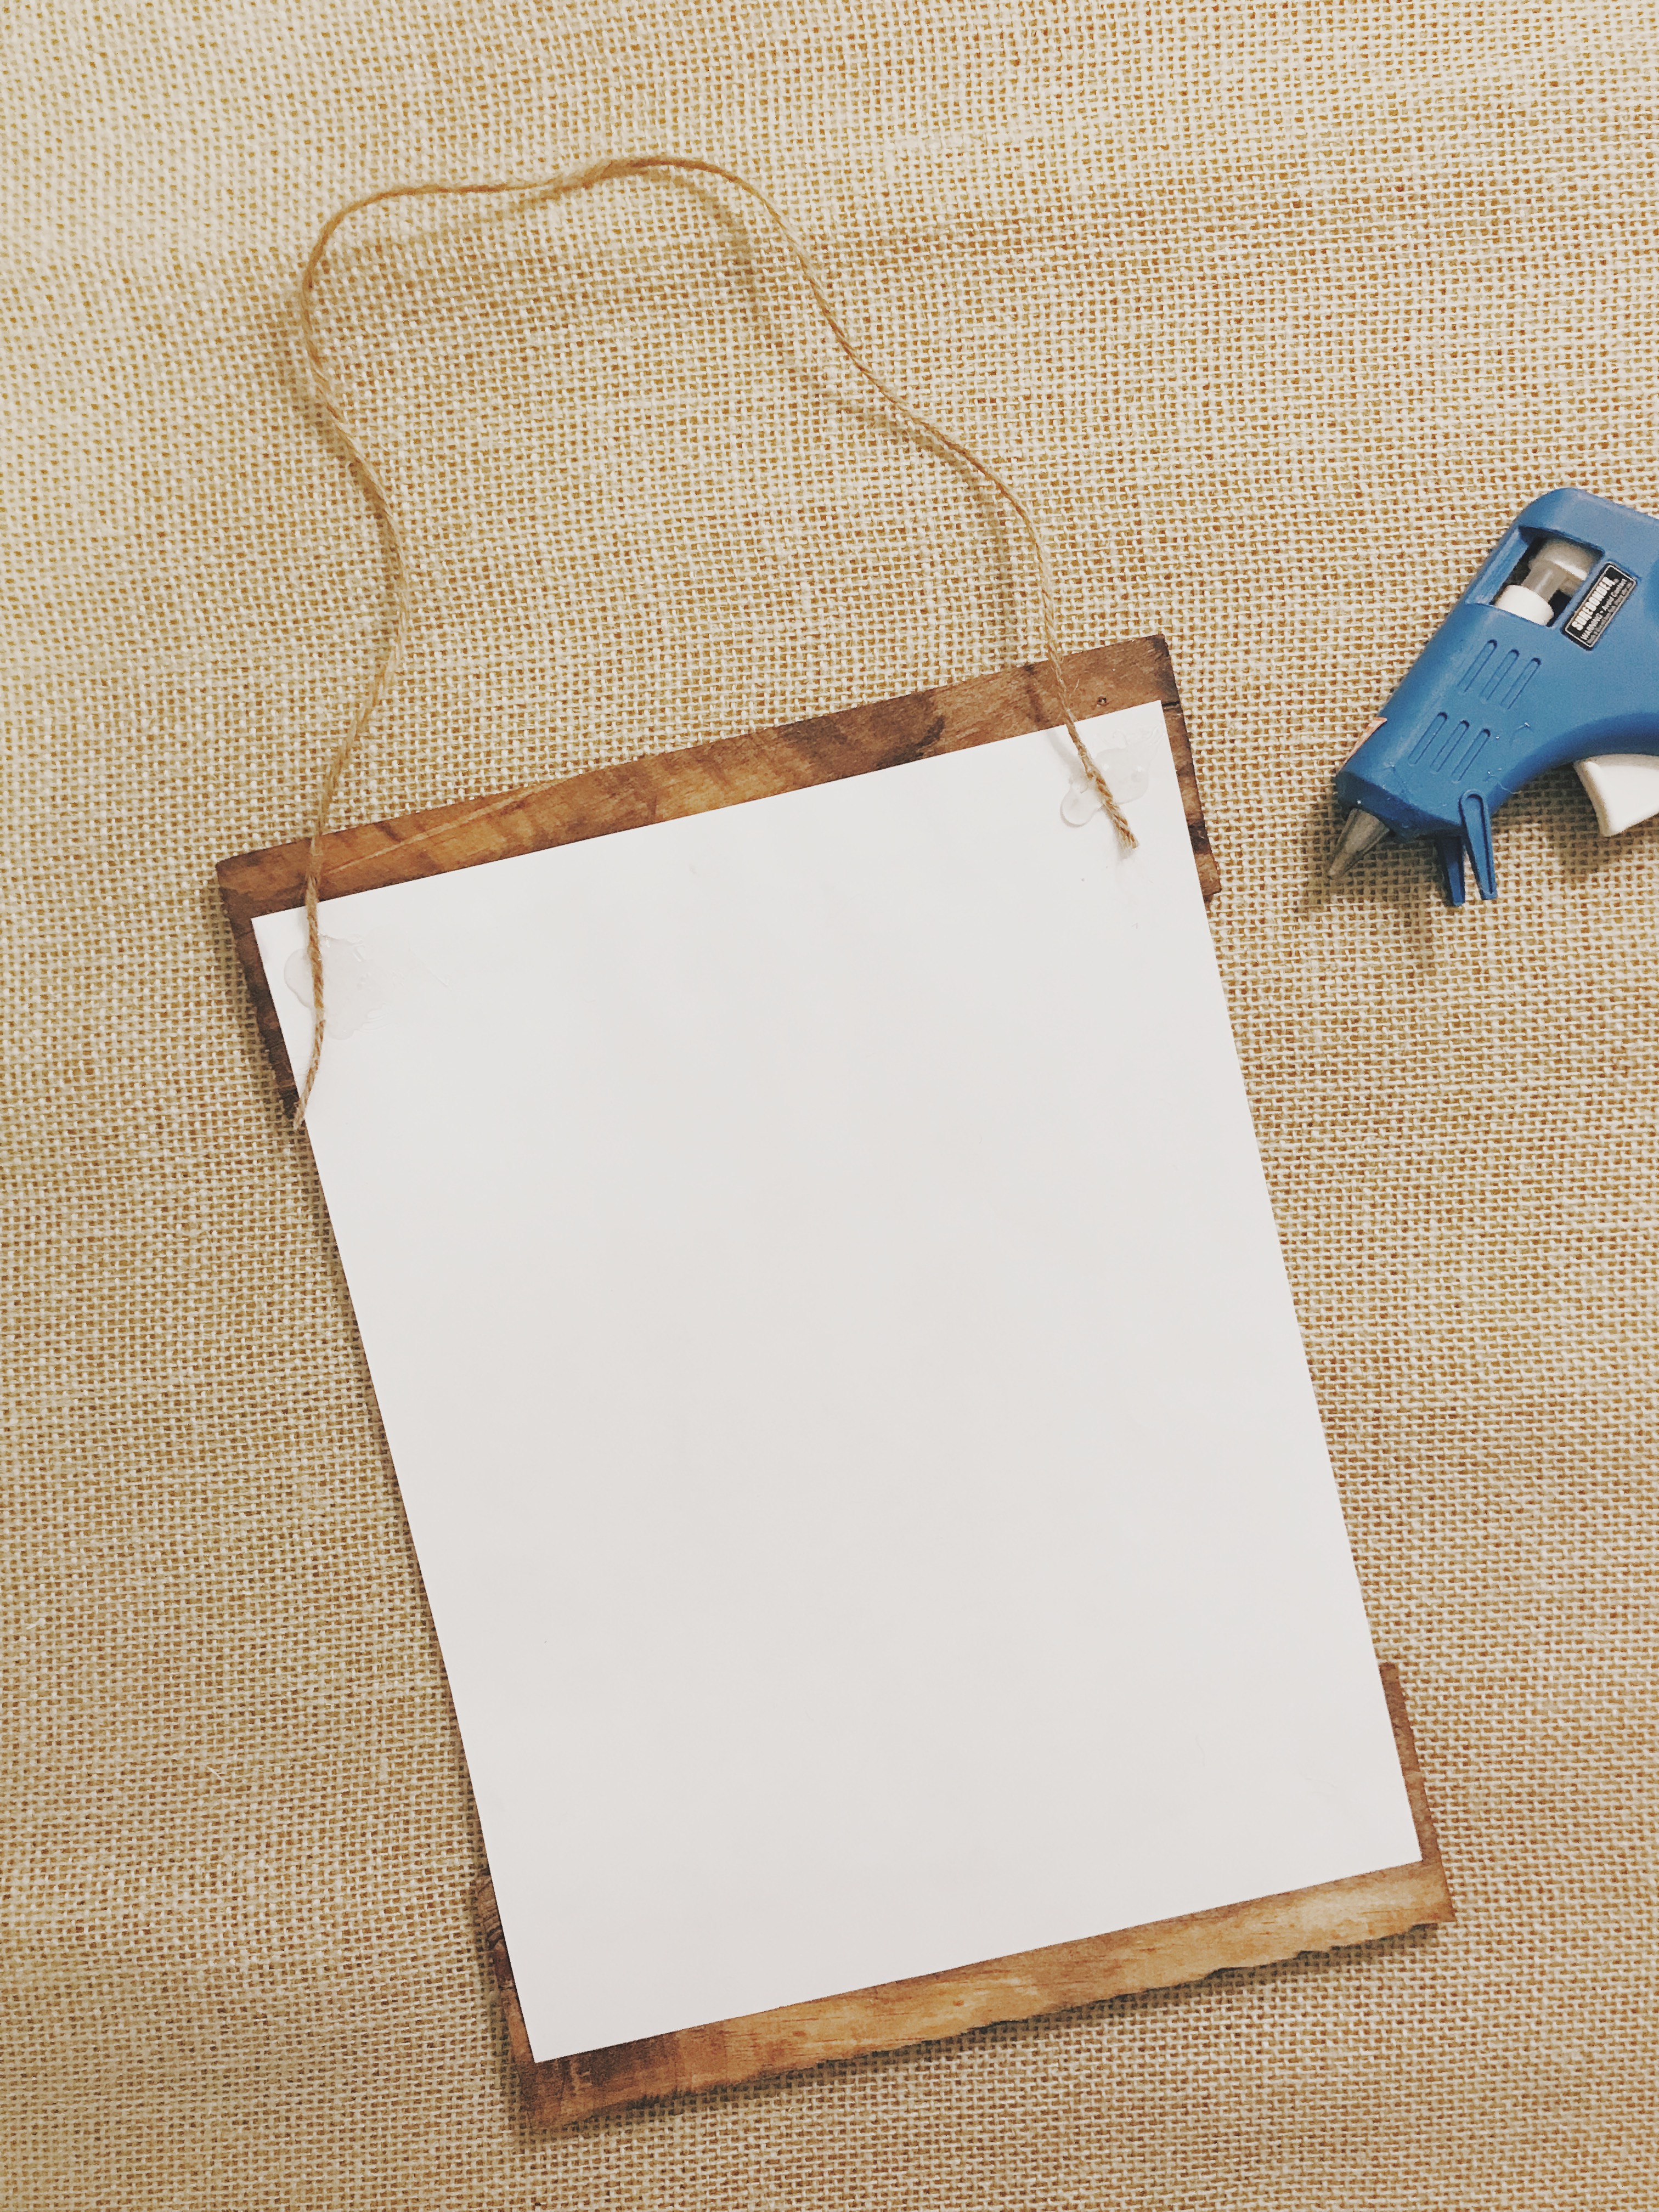
Step Four: Once the stain dries, fire up the glue gun! I glued the molding about an inch from the top and the bottom.

Step Five: Unroll your twine and cut it for the length you like. Hot glue the twine onto the molding.
Step Six: Hang your sign!
If you create this DIY Sign, make sure to tag us on Instagram or Facebook: @renovatingmaplesonmanor.