DIY Wallpaper Tutorial
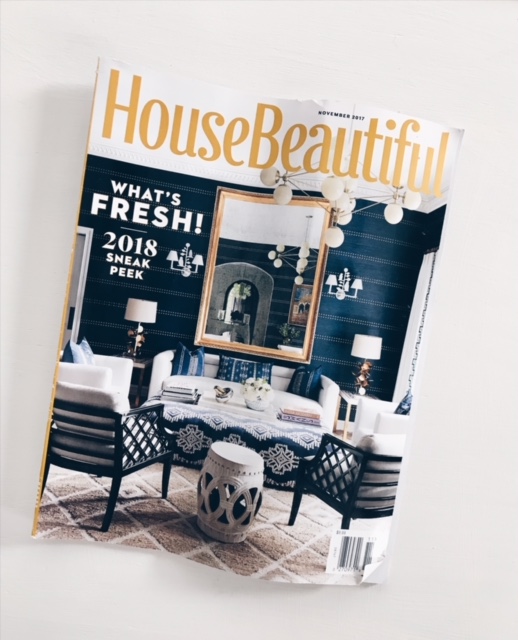
When I saw the cover of House Beautiful’s November issue, I was immediately star-struck. The cover featured an incredible navy, grasscloth wallpaper by Phillip Jeffries that I had to have!

Oh- I just love it so much!
Unfortunately, I knew the wallpaper was out of my meager teacher budget. So, I decided to do what any good DIYer should- figured out how to DIY it!
You guys! It.was.so.EASY! Time consuming, but easy.
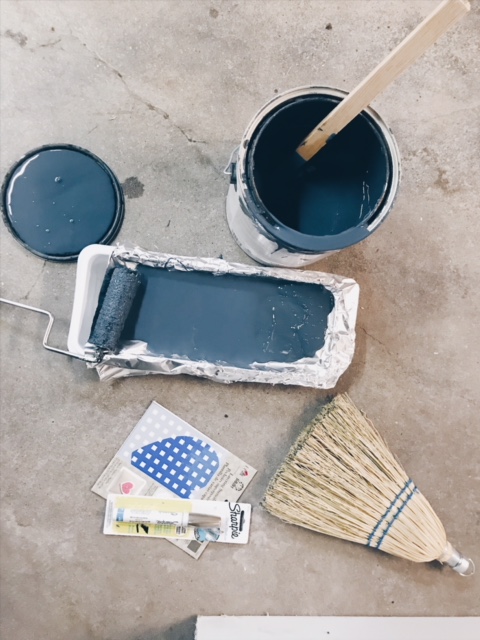
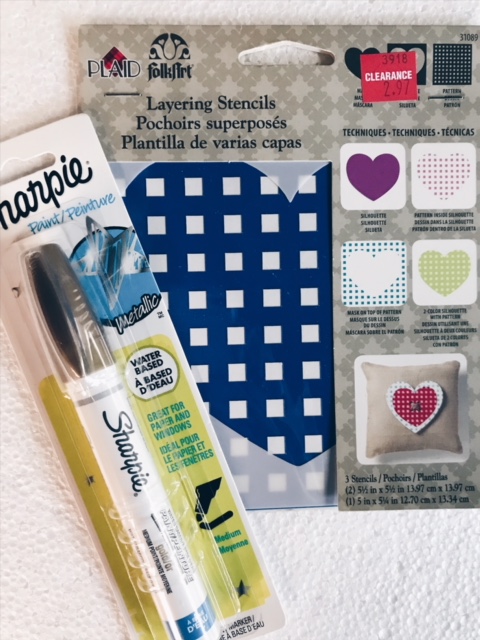
So what do you need to get started?
*A can of navy paint ( I used Valspar’s Dutch Licorice)
*A stiff-bristled broom
*A square stencil (I got mine at Michael’s)
*An X-acto knife
*A gold Sharpie paint pen (water-based ONLY)
*A level
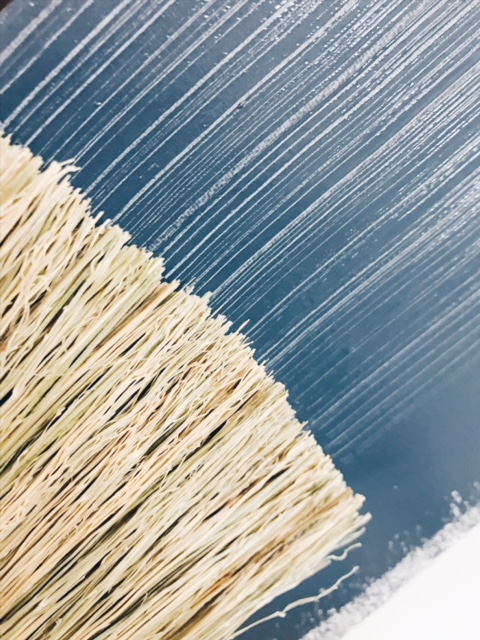
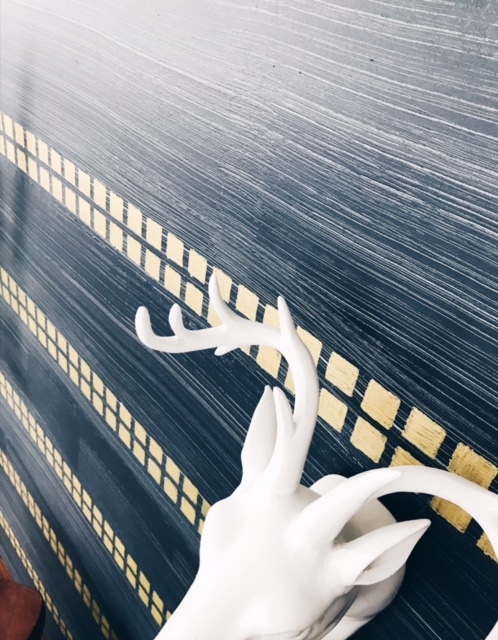
After you assemble all of your materials, it is time to paint your walls. I did this part in stages, because I didn’t want the paint to dry. Side note- Make sure when you paint, it goes on nice and thick; you want to be able to see the texture. Start at the top of the wall and roll horizontally. Now, take the stiff-bristled broom and fan it out. Start on one end of the wall and drag it horizontally through the paint. The key is to keep a steady hand throughout the whole process, otherwise it will look wobbly. Repeat this step all the way down the wall. Let dry.
While the wall dries, get your stencil prepared. The only square stencil I could find was one with mini-squares. I had to cut out the a few of the smaller squares to make the square-sized pattern I wanted.
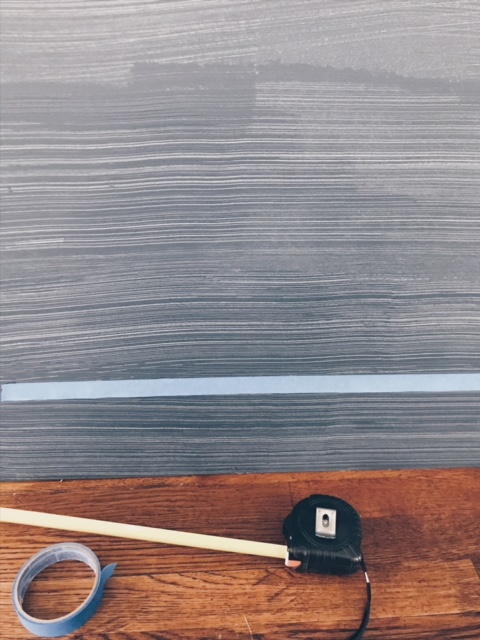
I started the pattern about 6 inches up from our baseboards. I measured the six inches, marked it with pencil, checked it with a level, then used painters tape as a guide. I placed a piece of tape on my stencil to keep it in place as I stenciled.
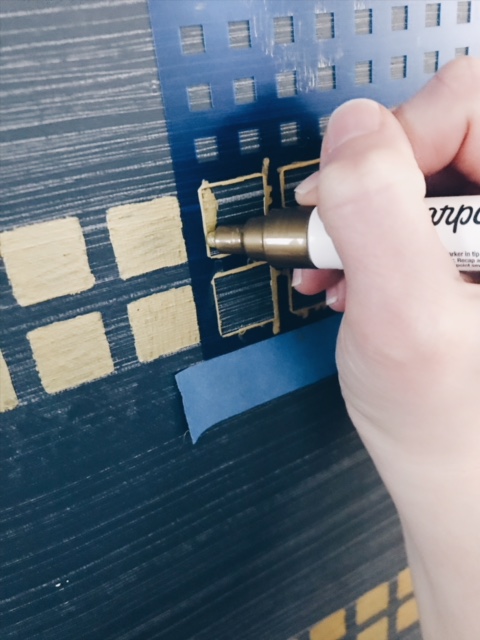
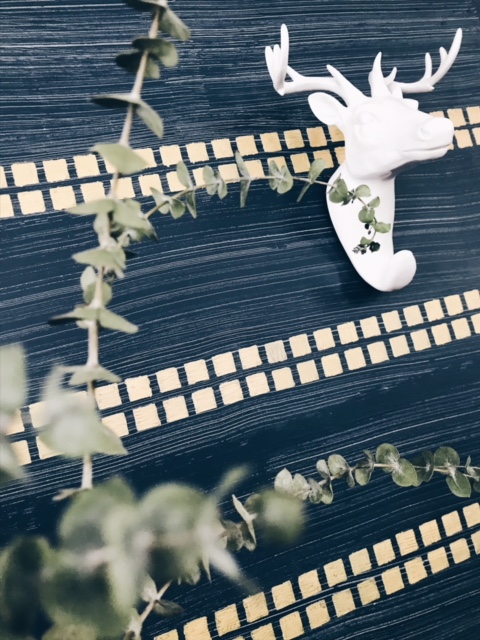
Then, I went to work! Color in the stencil using the gold Sharpie paint pen. *Note- since you are drawing on the wall, gravity will stop the paint from rushing to the tip every so often. Just press the tip to a piece of cardboard to get it running again.
After the initial row, I measured another 6 inches up, and repeated the process.
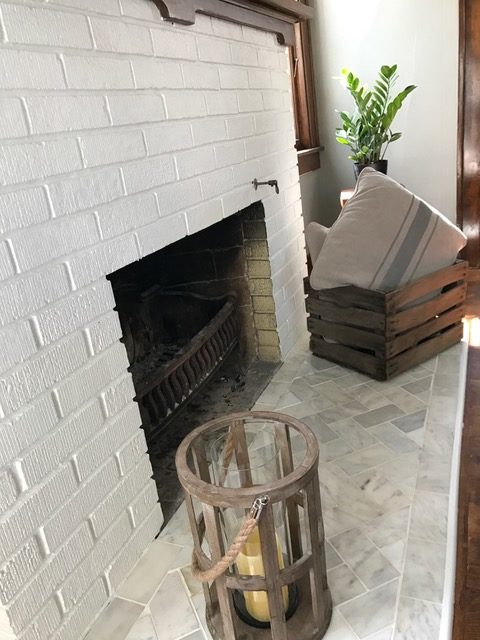
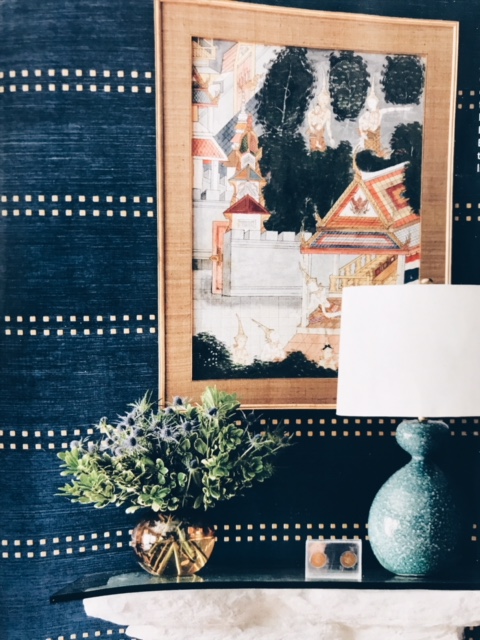
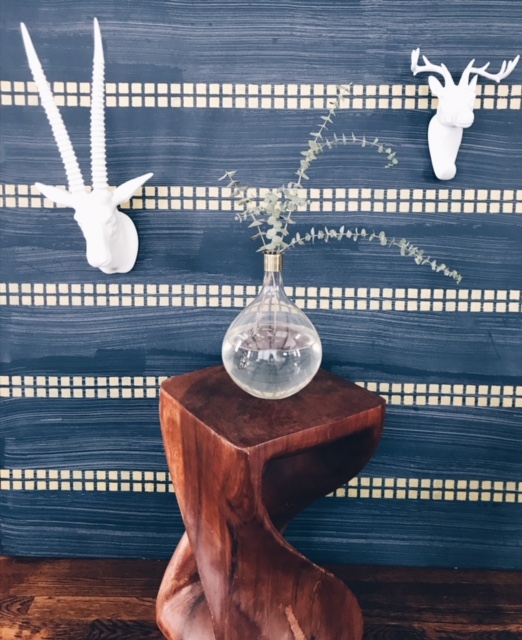
After a little bit of styling, she’s all done!
This tutorial really took me out of my comfort zone. I hope to create more tutorials in the future that give homeowners on a budget a way to get a high-end look. Happy painting!