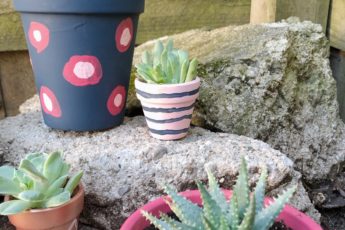
DIY Planter Box with Trellis
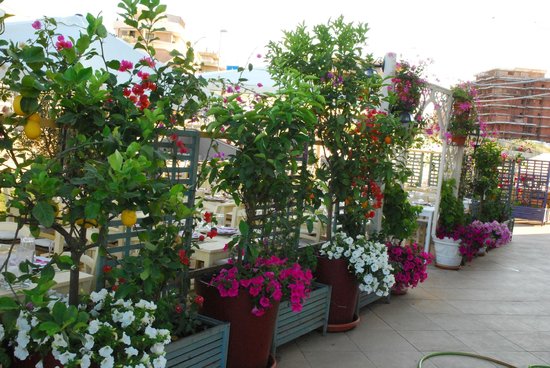
It’s finally getting warmer in Michigan, which means we can finally go outdoors! My backyard is a mess, and needs a major revamp, but I wanted to create a smaller DIY that would improve the overall look. In my recent trip to Rome, I saw these beautiful trellis planters covered in mandevillas throughout the city. I decided that I would try to make my own DIY planter box to bring a bit of Rome to my home.
DIY Planter Box Materials
- Treated fence boards
- Deck screws
- Furring strips
- One 8 foot 2×4
- Power screwdriver
- Chop saw
- Eye hooks
- Galvanized wire
- Wire snips
- Potting soil
- Climbing plants
First, I picked up a bunch of these 6 feet picket fence pieces for less than $1.50 a piece. These are pressure-treated, so they are perfect for an outdoor planter. I cut the dog-eared ends off of the ends of each piece, then cut the long part of the board in half. You will end up with 2 3 foot boards. Do this until you have 8 3 foot boards total.
To make the sides, cut the 6 foot fence board into three equal pieces. Do this until you have 8 2 foot boards total.
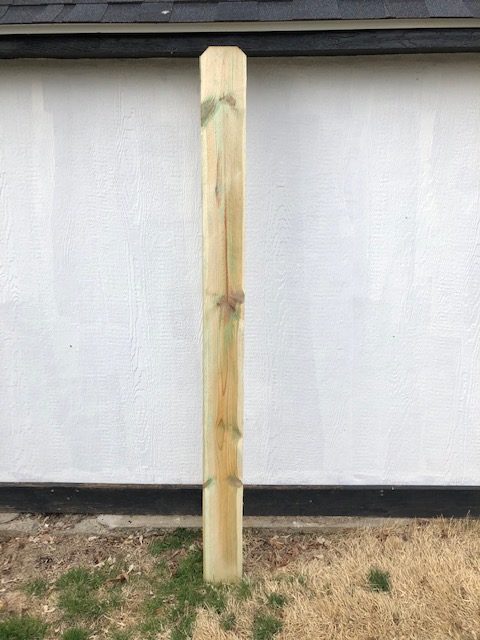
Take your 2×4 and cut it into 2 foot pieces. These will be the supports for your planter box.
Now it’s time to assemble the planter box!

Lay 2 of the 2×4 pieces on the ground parallel to each other. Lay a 3 foot board over the 2×4 and make sure the ends are flush. Screw the board into the 2×4. Repeat this process with three additional boards, until you have the first wall of the planter box.
Repeat this process to create the other wall. Then, connect the four walls together using the deck screws.
To create the trellis, you will need to cut two of the furring strips to 6 feet. Secure those to the inside of the back of the planter using the deck screws. Measure the distance between the strips and cut the third furring strip to that length. Secure with deck screws.
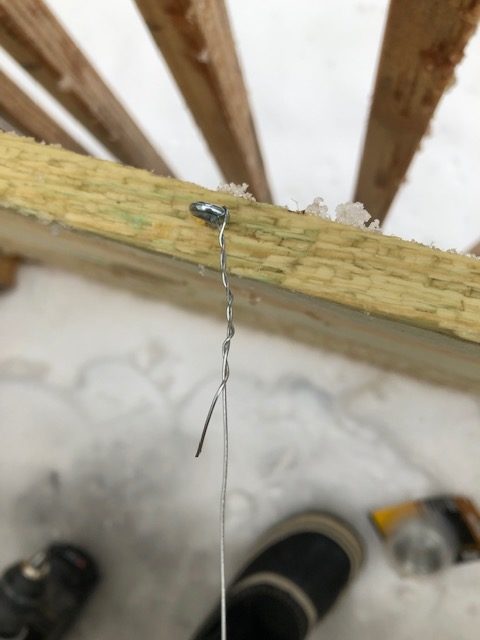
To create the trellis, you may have to do a bit of math. I pre-drilled a hole in the top of the trellis smack dab in the middle, as well as at the top of the planter back. Next, I screwed in the eye hooks. Each corner of the trellis also got an eye hook. I measured halfway on the vertical poles of trellis and also installed an eye hook.
To create the design, take the galvanized wire and thread it through the eye hooks to create the diamond design.
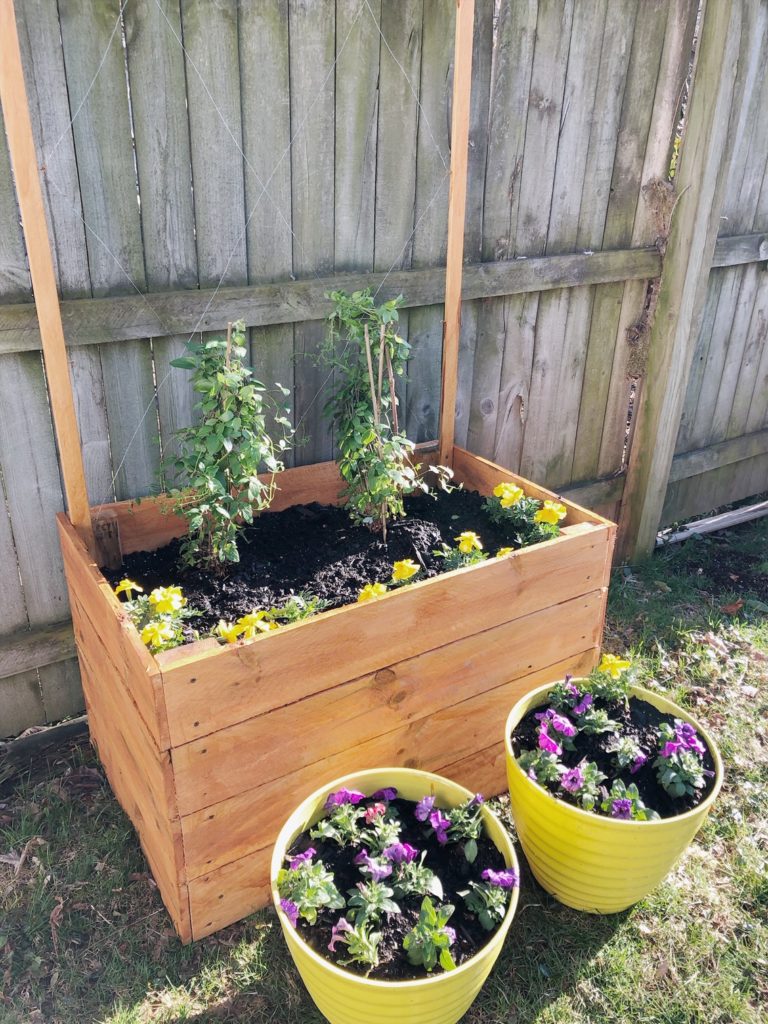
 Once that is complete, put in your dirt and climbing plants, and your trellis is ready for summer! Since the base of this planter is so large, this is a permanent fixture in my backyard. If I was to move this, dirt would be everywhere!
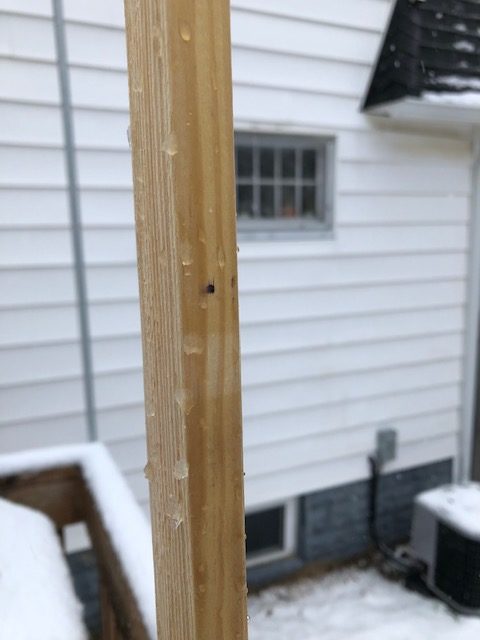
Next up, I added a coat of water sealer, and the planter is ready for planting! 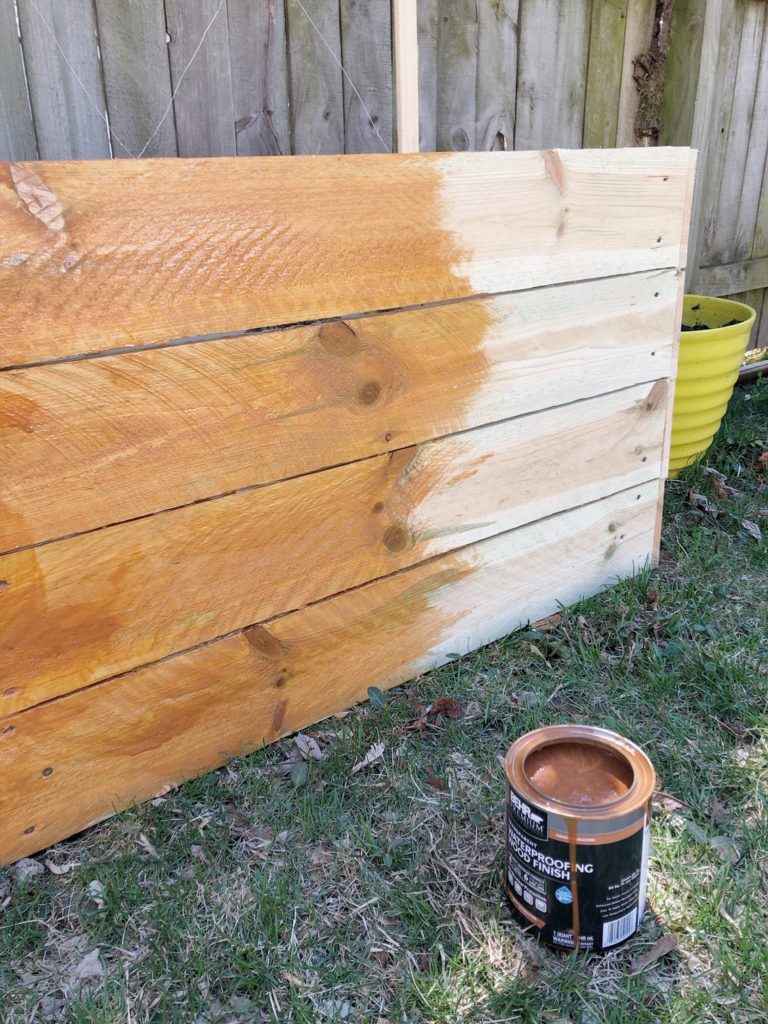
 Side note: As you can see, Michigan did not get the memo that it is mid-April and that snow is so last season. I will update this post once the weather warms up and my plants won’t die.
This project is one of many in the At Home DIY blog hop. This month’s challenge was a home improvement DIY, so if you are looking for more inspiration, check out some of the other participants!