An Ugly Duckling Bathroom Renovation
There has been much progress at Mapleson Manor the past few months! Although we LOVE starting a project, unfortunately, Jeff and I are not so motivated to finish what we started. I call it project ADD. Since we haven’t updated our readers in awhile, we thought we’d reveal our half-bathroom renovation…even though it is not complete.
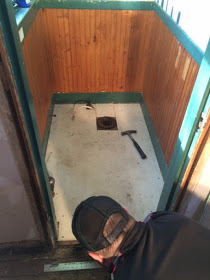
Just like our last house, we have a half-bathroom in our kitchen. It’s a little weird, because, well…cooking…next to a bathroom. Kinda gross. Luckily, we don’t mind at all! So, here is the ugly duckling when we first took a look at her:
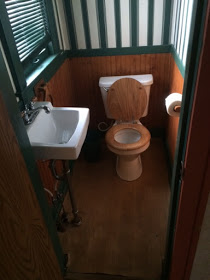
I don’t know where to start. The lovely hunter green moldings? The striped wallpaper? Or the wooden toilet seat? It all had to go. Immediately.
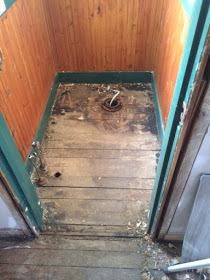
Jeff took out the sink, toilet, and the floor. Which left us with this:

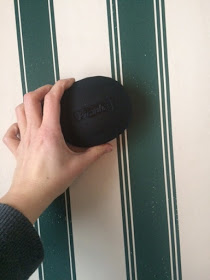
There was no way we were keeping that wallpaper, so I researched a bunch of different ways to remove wallpaper. We ended up buying a scoring tool that makes small cuts into the wallpaper, and the wallpaper remover gel that helps release the glue.
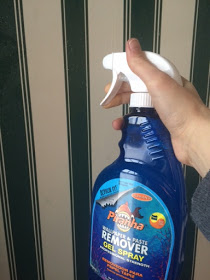
The spray worked well, but we ran out. We ended up just filling up the bottle with hot water and spraying that on the walls, which also worked.
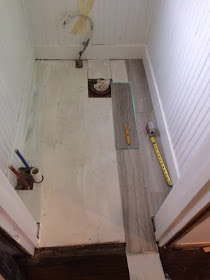
Our next step was to fix up the floor. I originally wanted to keep the original hardwoods that were underneath the tile, but they were so warped, and it was so tricky to get the floor sander in that tiny space, that we decided to go with a vinyl tile instead.
Since the floor was so misshapen, we put down a plywood under-layment to make the floor smooth and ready for tiling.
Side note, there was some painting done before we laid down the tile. The bead board received a few coats of Pure White by Sherwin-Williams and the walls were painted Dutch Licorice by Valspar.
Now, the directions said that we were supposed to use a heavy weighted roller of over 100 pounds to roll and smooth the tiles so they stick correctly. I am no expert, but Jeff and I just walked all over the tiles after they were set since we weigh over 100 pounds. Saved us a few dollars, and 5 months later, the tiles still haven’t moved.
We then grouted the tile with some pre-mixed vinyl tile grout by Blue Hawk in Saddle Gray, and capped it off with some white shoe moldings.

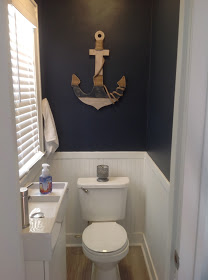
After a few trips to Hobby Lobby for a mirror, anchor, and hooks, our bathroom is complete!
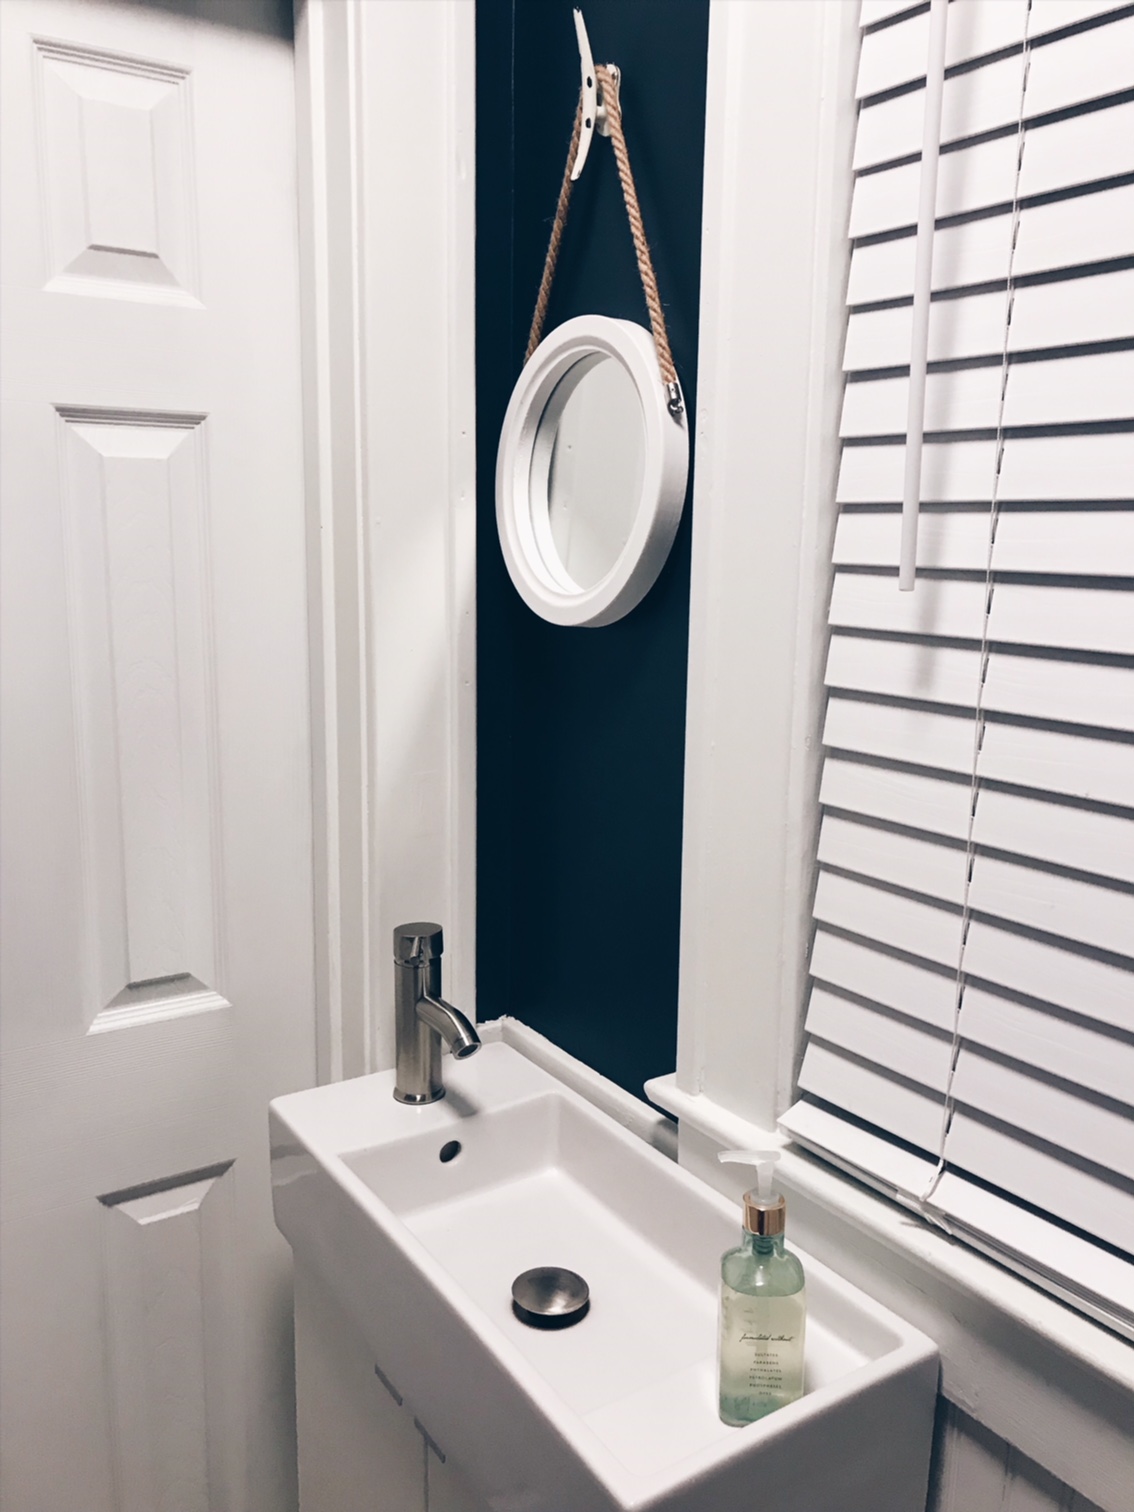
We still have a few shoe moldings to finish up, as well as buying and installing a bigger floor transition, but overall, the ugly ducking bathroom has become a swan! This bathroom was actually pretty inexpensive to renovate. The priciest thing was the IKEA sink, which was less than $200. The vinyl tile were affordable at $1.28 per tile. The most time consuming part of the whole makeover was removing the wallpaper, something I hope to never have to do again.
Let’s see the before and after to truly appreciate the transformation: