Modern Office Before and After

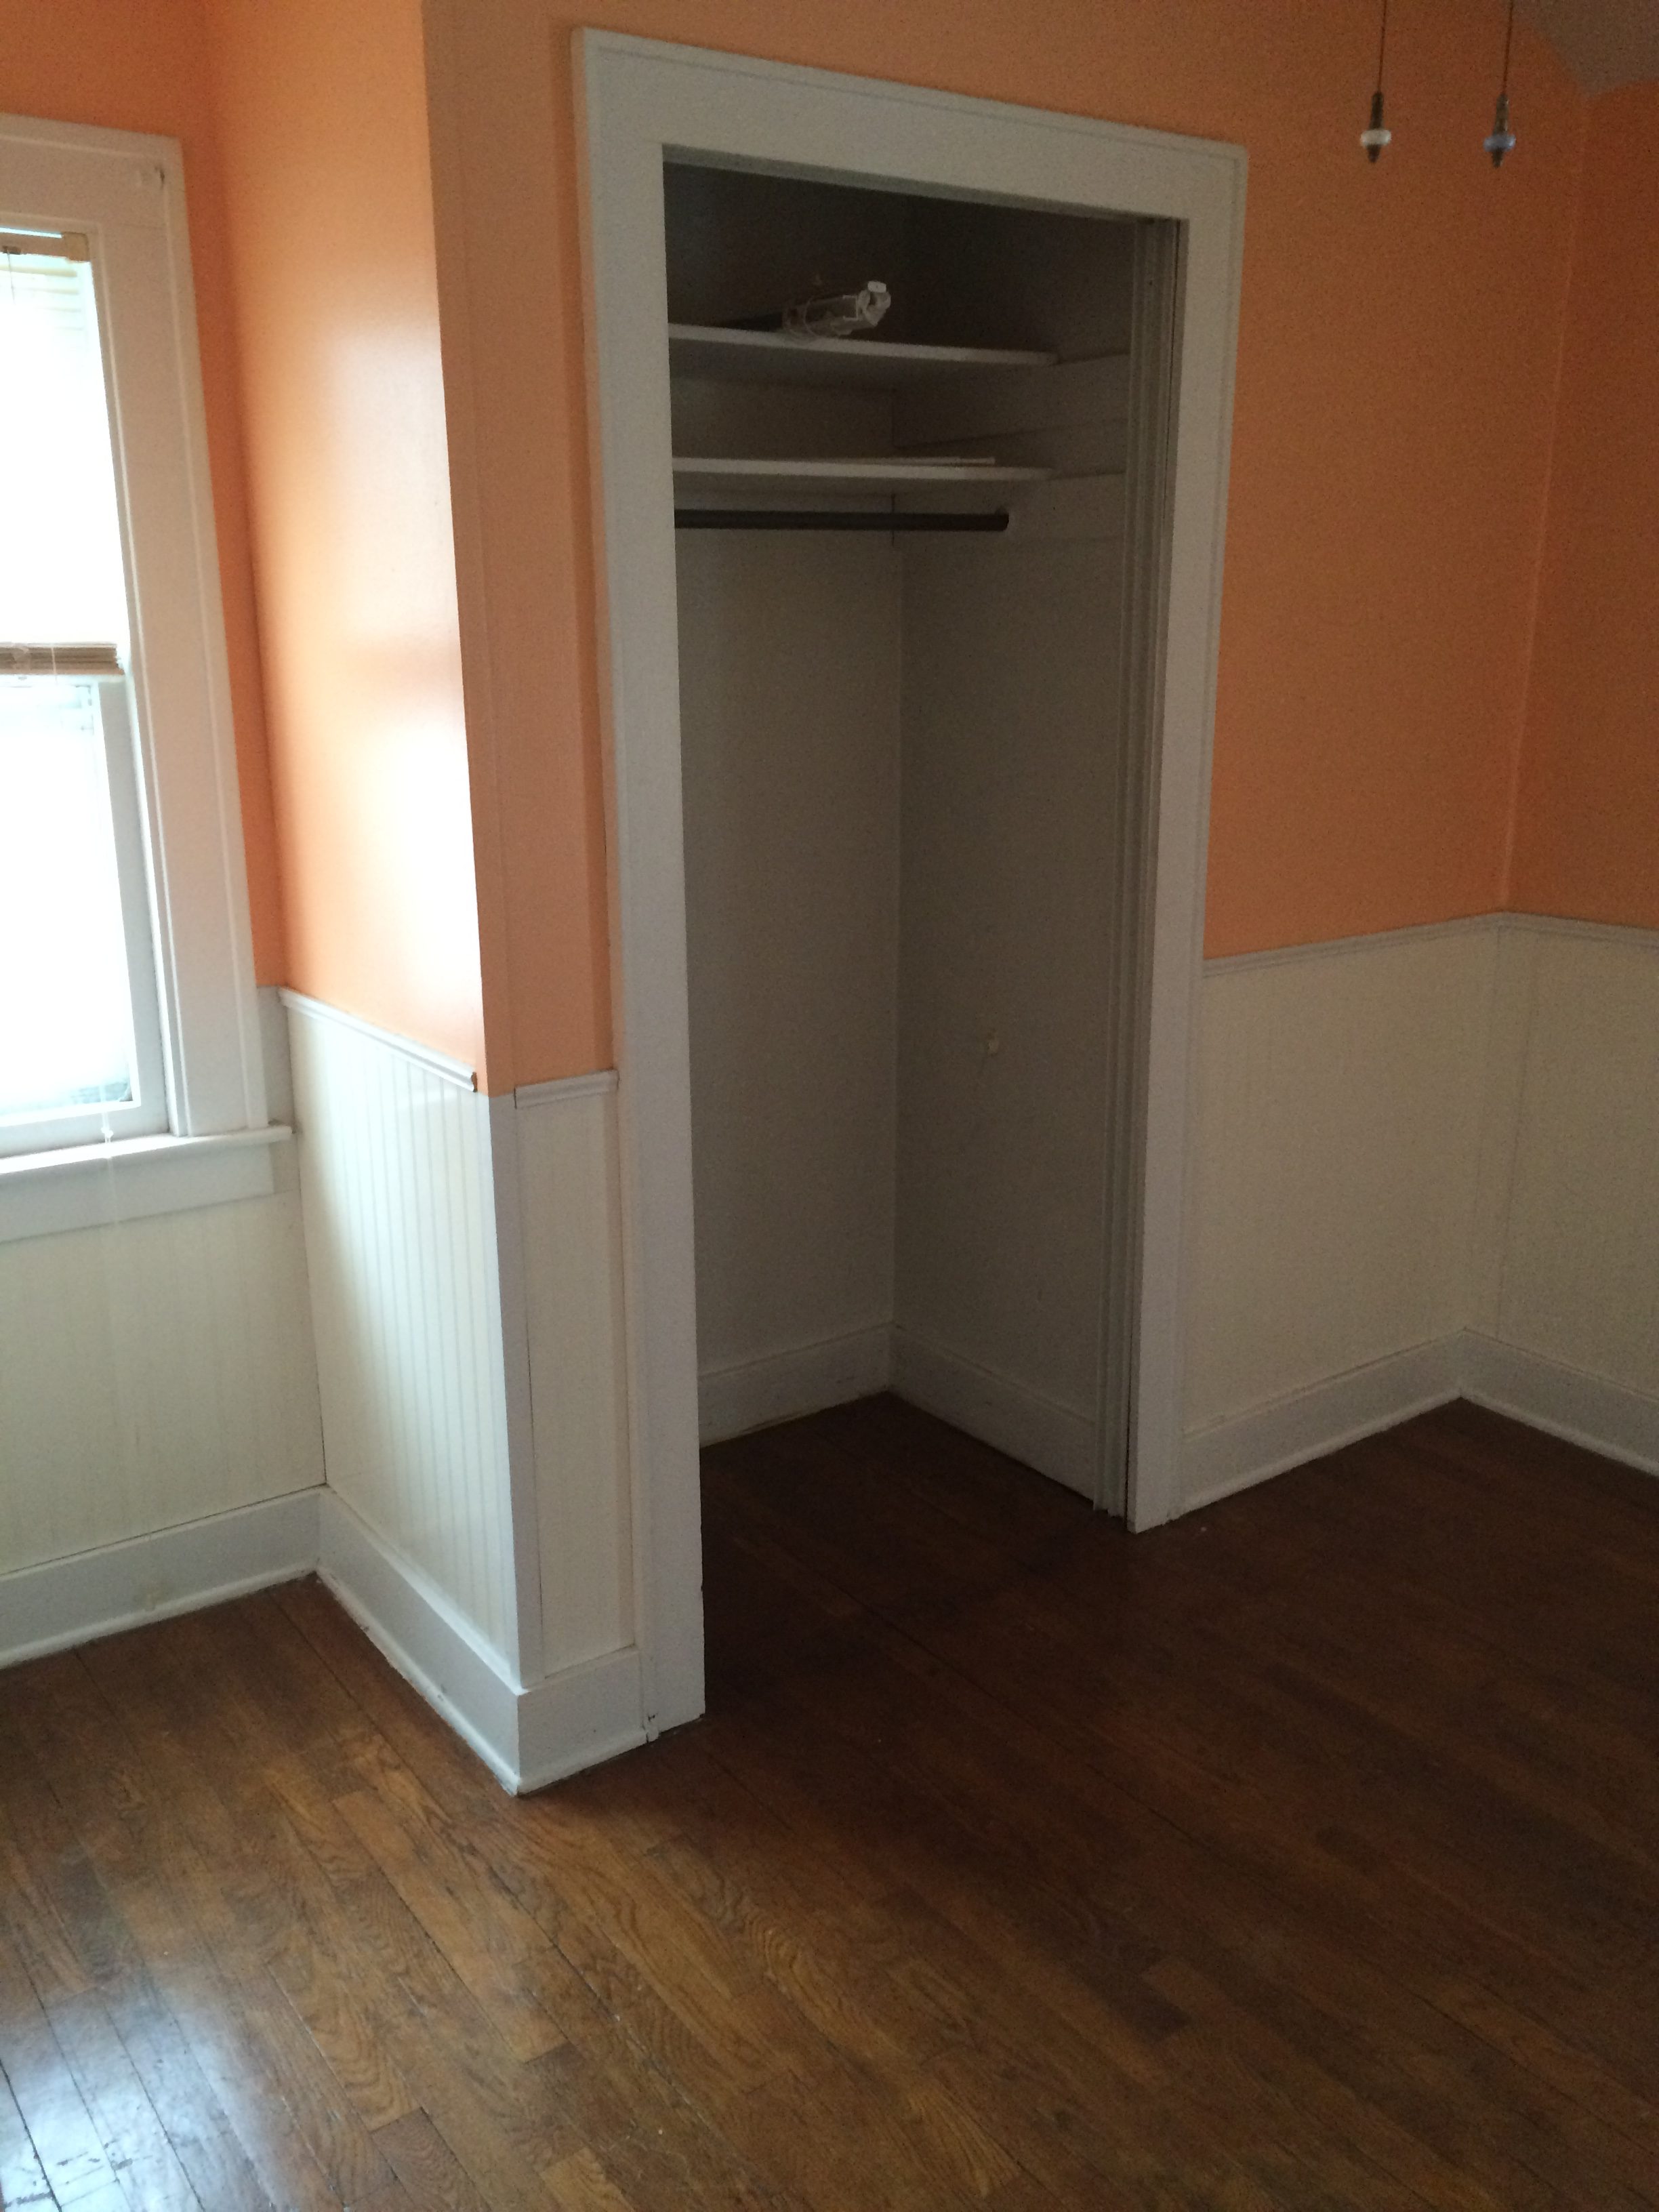
When you think of a home office, you think of a productive space that inspires you to accomplish your goals. I bet the feeling like you are inside of a cantaloupe is not at the top of that list. When we first bought our home, the room we reserved as our office was painted a gross melon color which did not inspire me to decorate, grade papers, or pay bills.
Before:
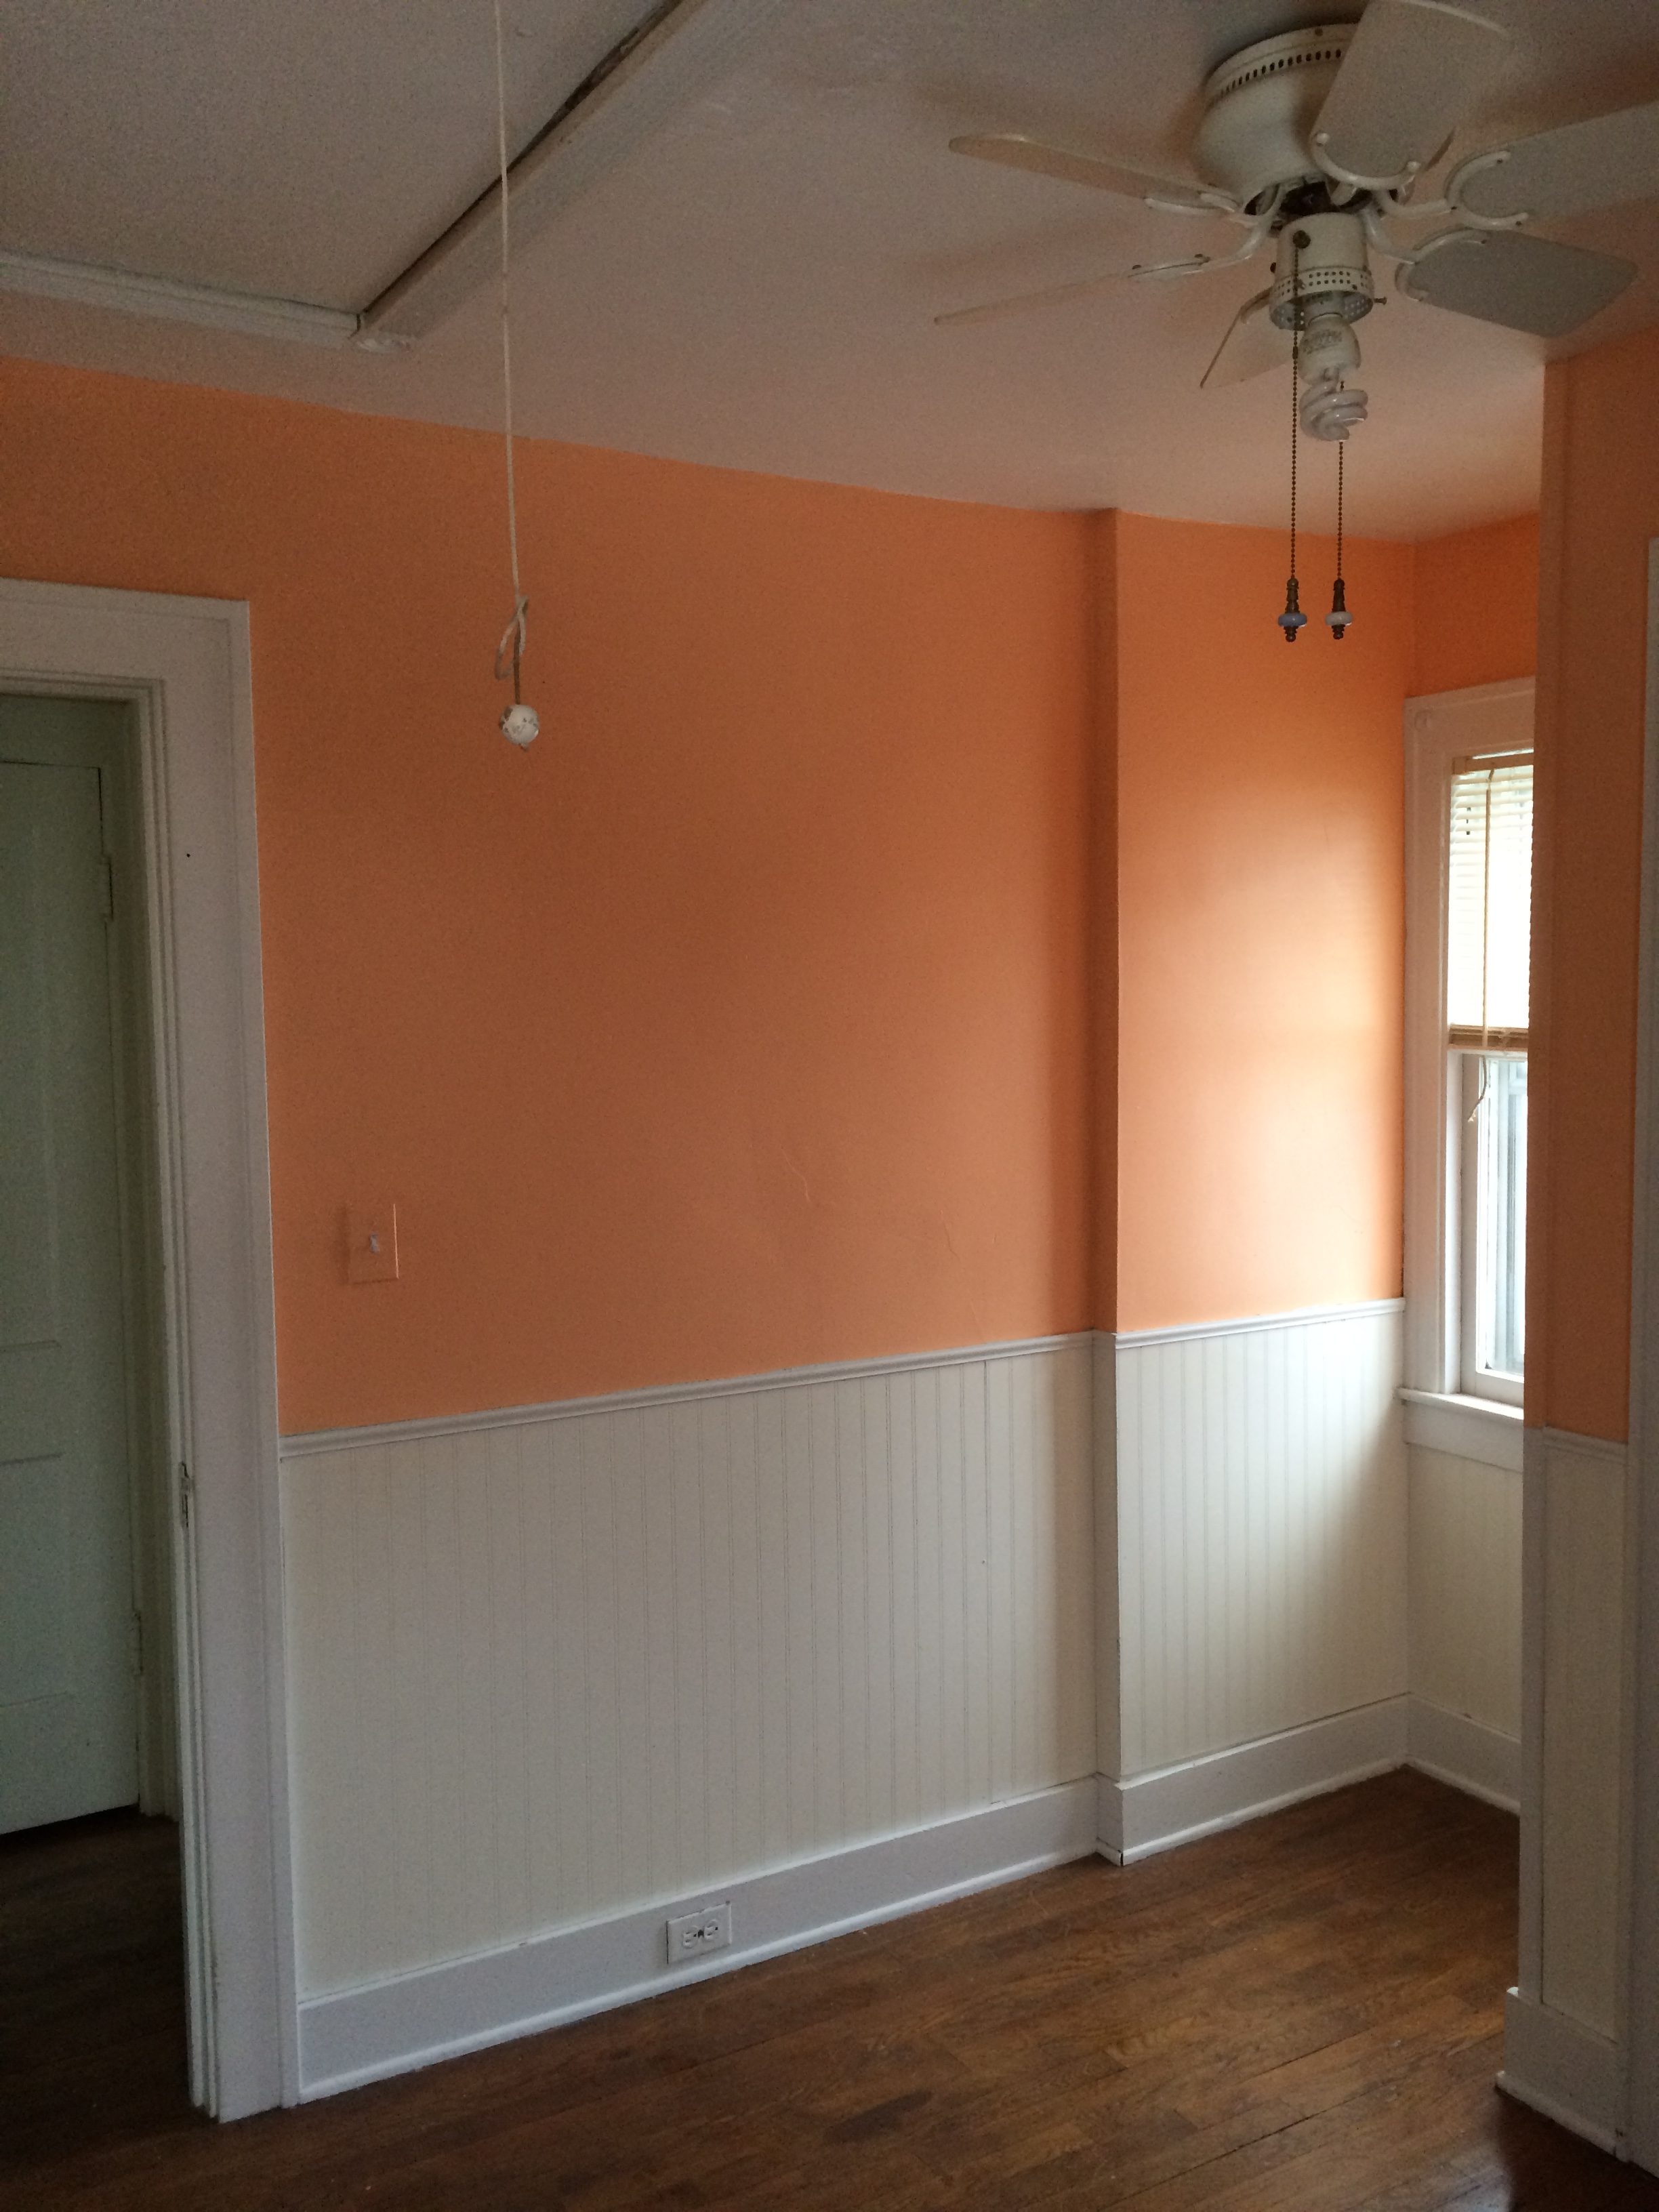
I knew I wanted to keep the bead board, mostly because I didn’t want to see what it covered up. I had been sitting on a tutorial by Mandi from Vintage Revivals on creating a wallpaper pattern using a Sharpie paint pen. Side note- if you don’t already follow Mandi on Instagram, DO IT! She has the coolest style and is fearless in her DIY endeavors. Right now, her family is renovating The Merc and the vintage features she is including is #DIYgoals.
Let me stop fangirling for a second. So, I decided the office needed a fresh coat of white paint and a Sharpie wallpaper design. I won’t detail the steps here because Mandi details it so well in her tutorial, but it was very time-consuming. BUT- it was totally worth it for the impact.

The next thing I wanted to tackle was the closet. It did not have doors when we moved in, and I thought that I could paint it mint green on the inside and create shelves and buy uniform tubs to store all of our stuff.
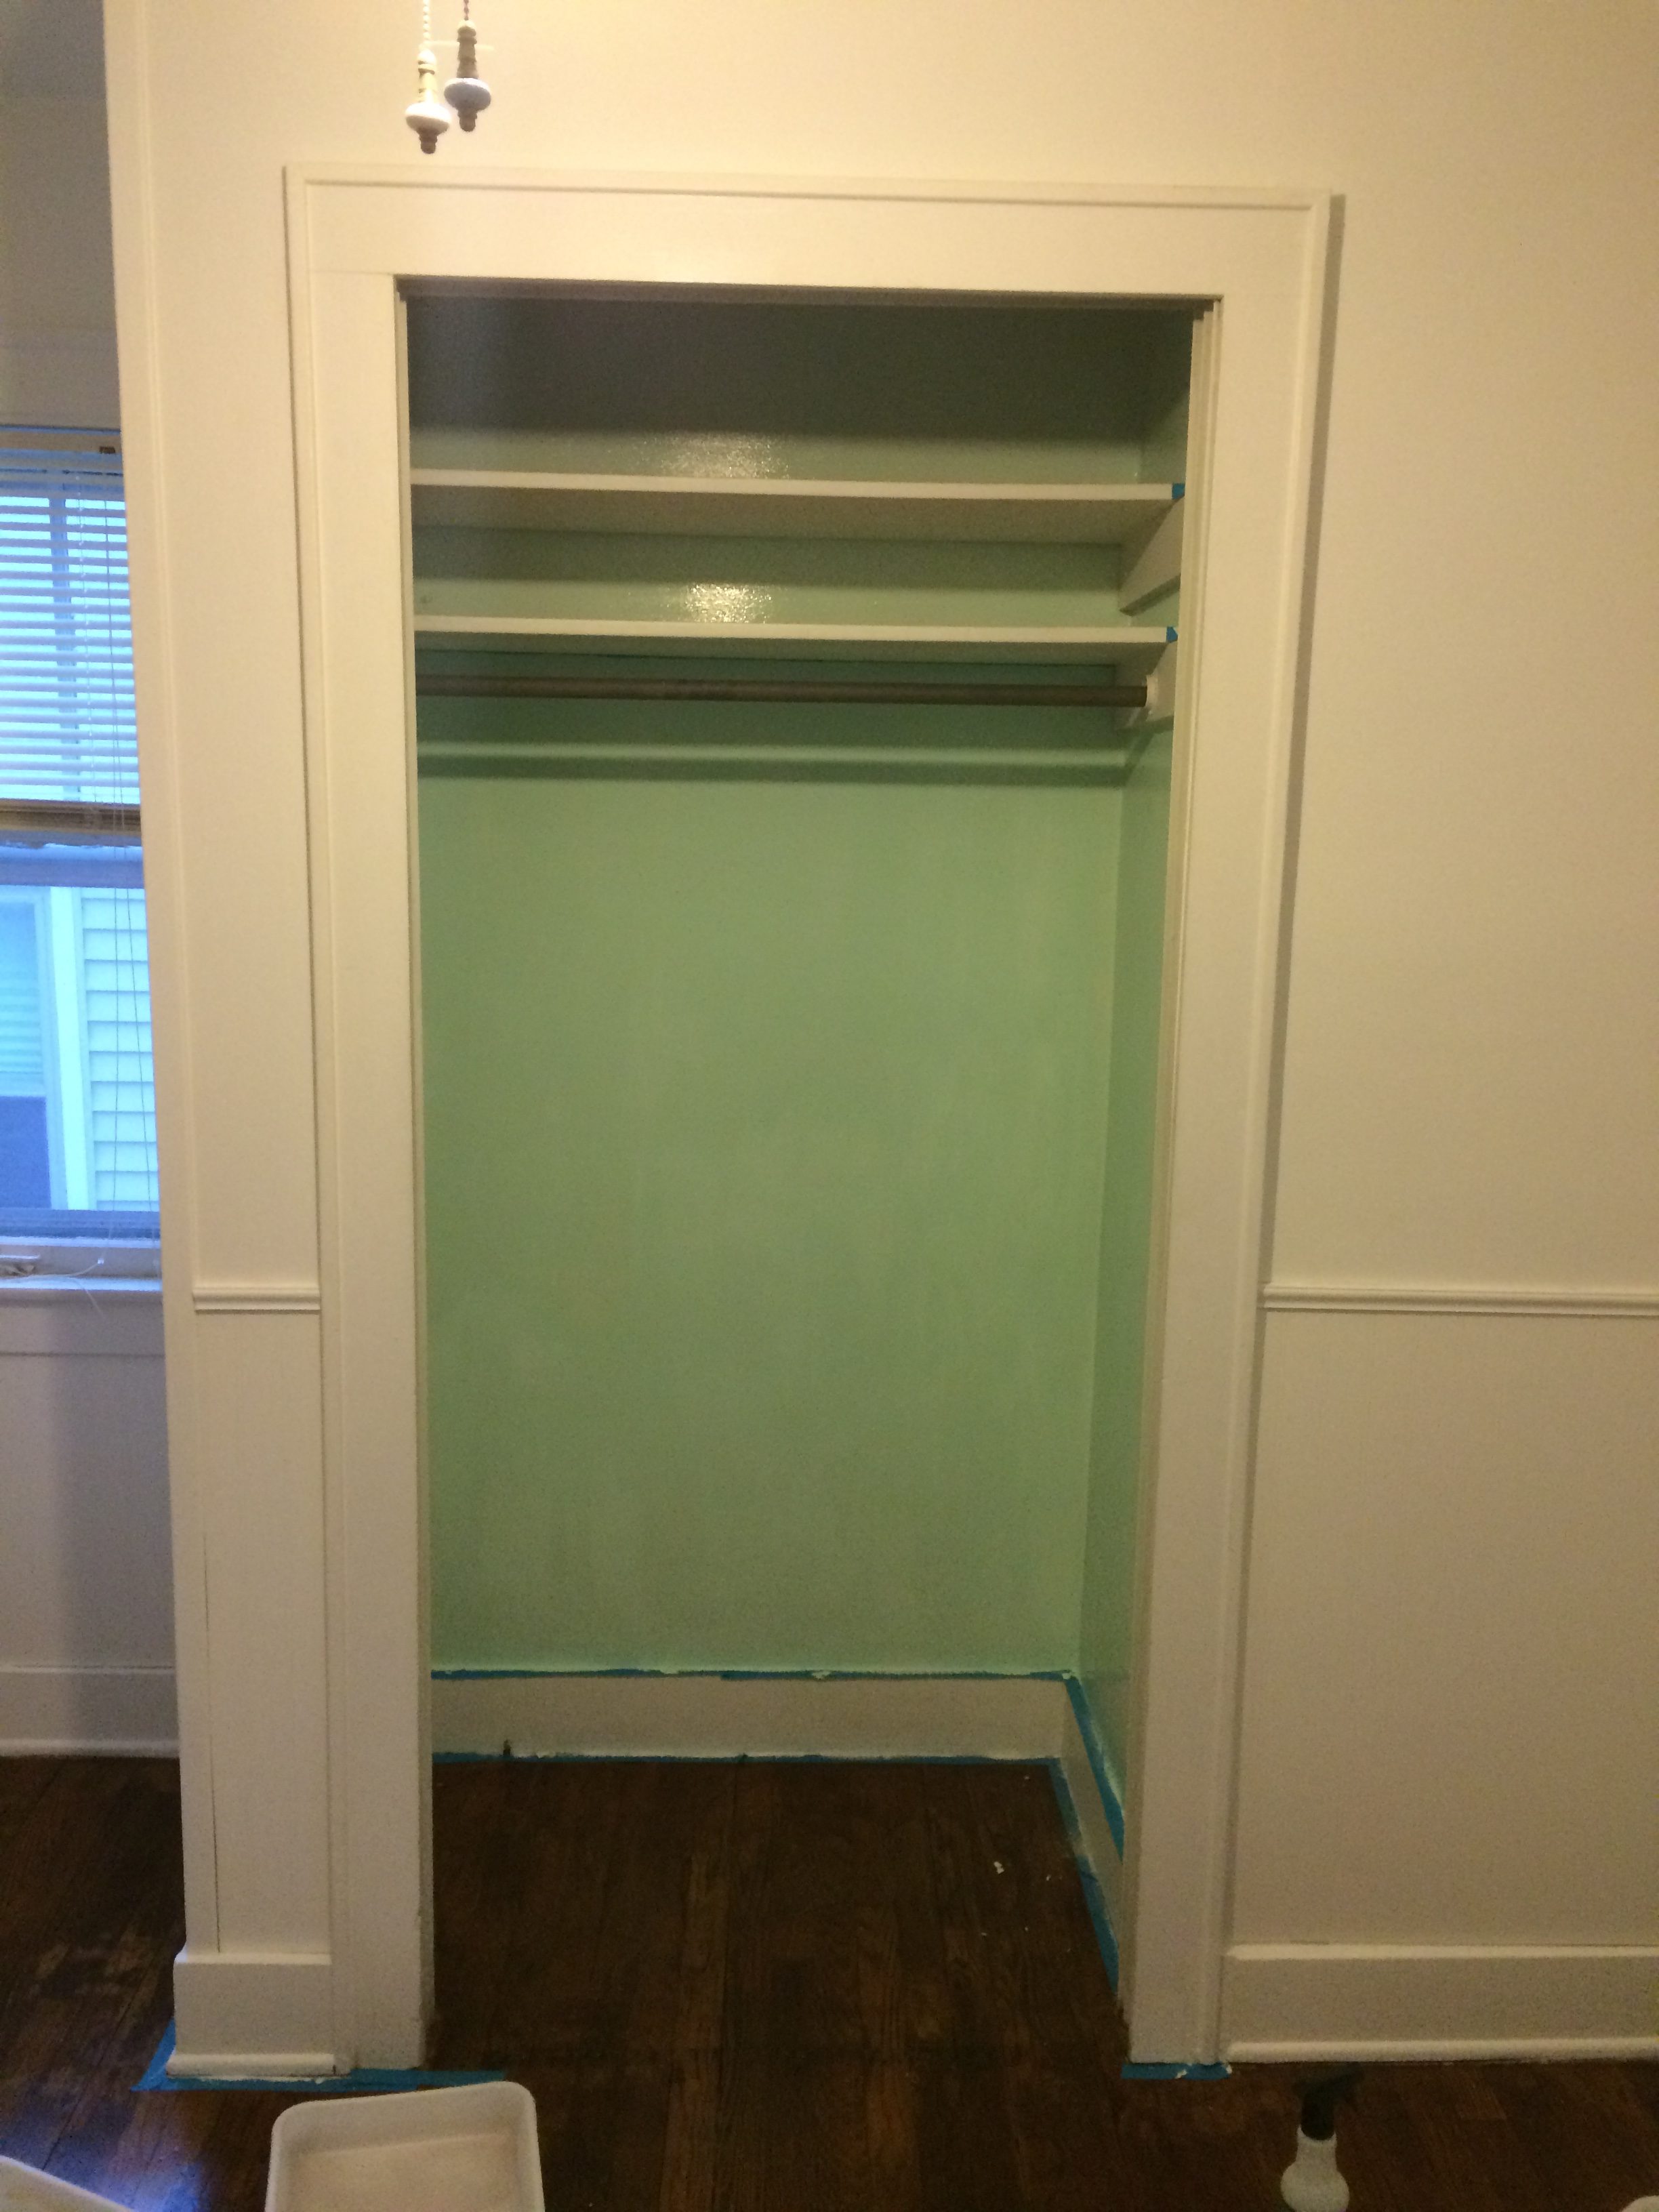
It did not work.
I am a teacher and every summer I have to bring all of the things back home, so when you walk into the office, all you see are the mountains of crates and boxes of books. Not Insta-worthy at all.
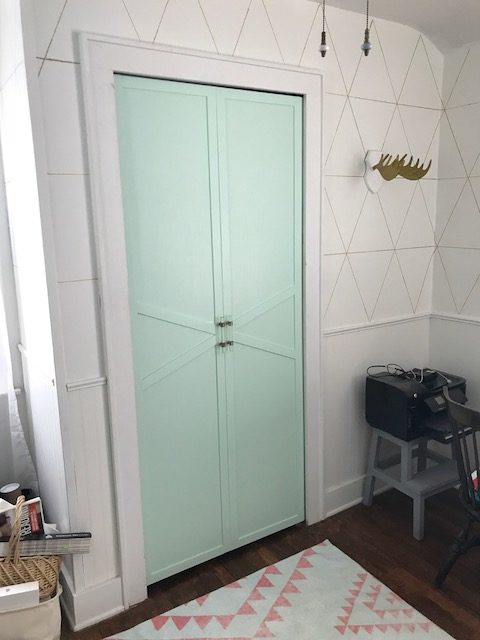
I didn’t want to put up any old boring bi-fold doors, but one day I stumbled upon an adorable post on Pinterest by Monica Wants It for updating bi-fold doors. You can see my process of creating the doors here.
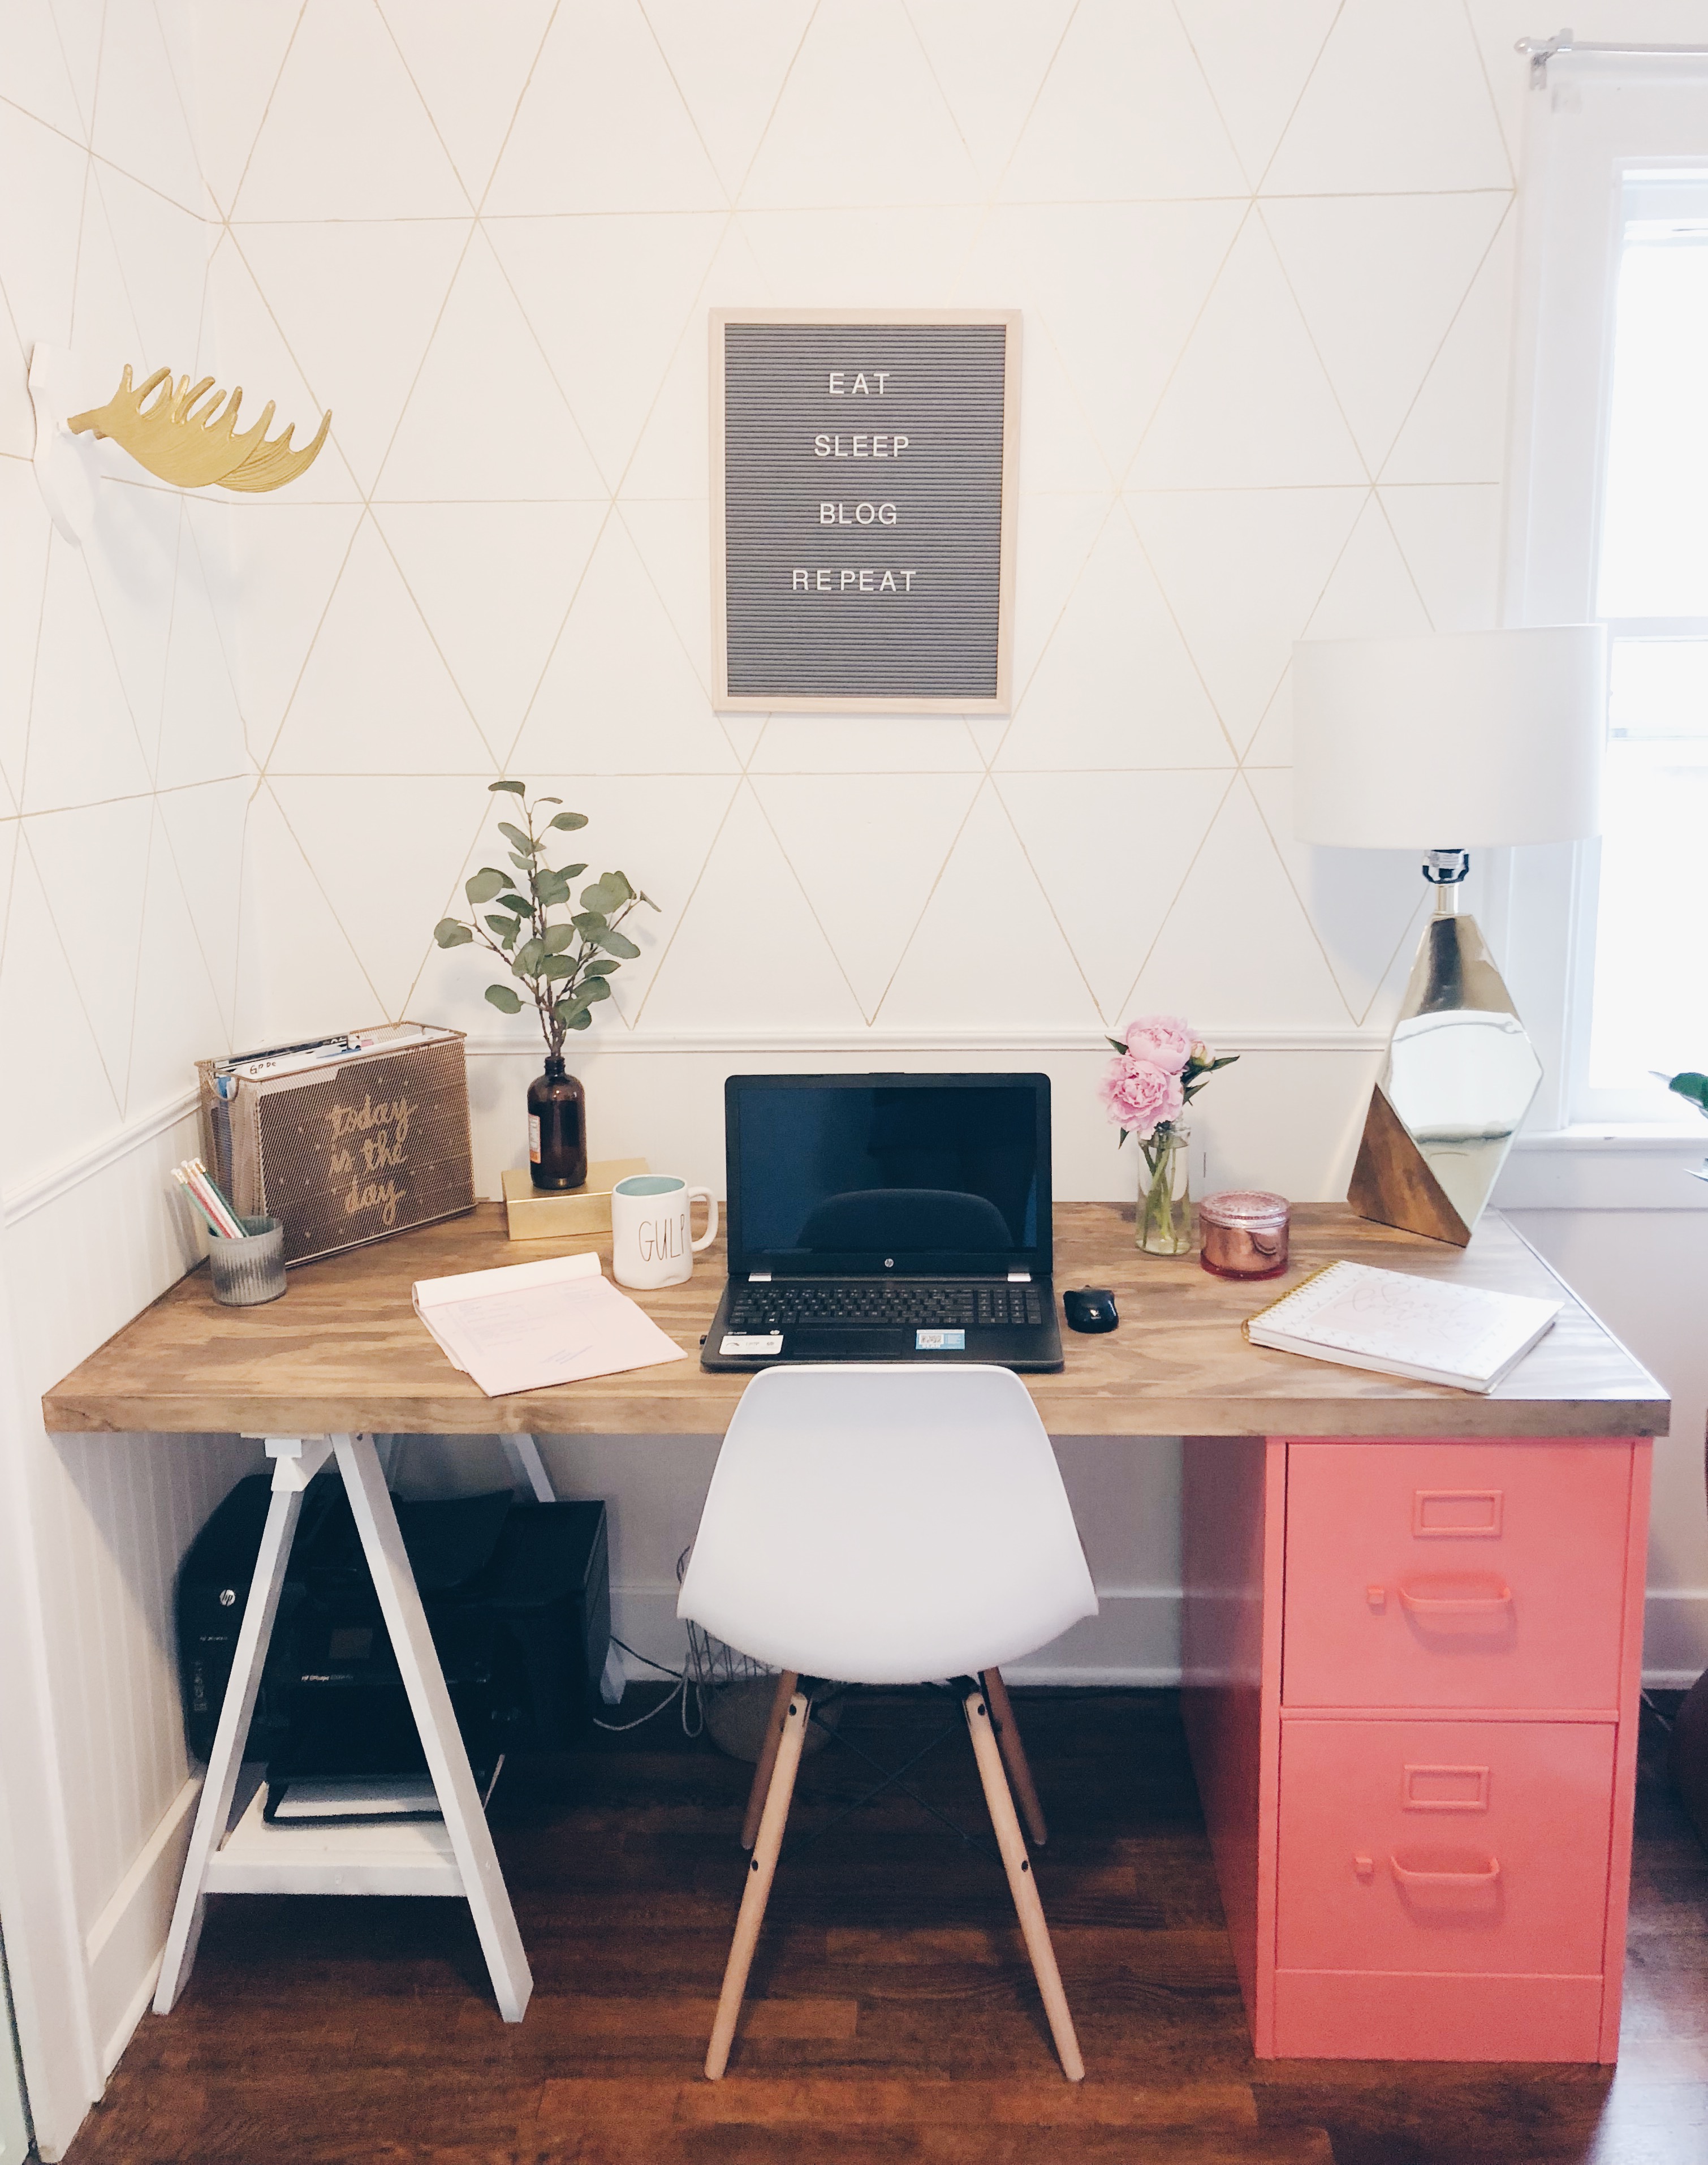
This room morphed for awhile. I had a too-small garage sale desk with a hand-me-down chair, and I usually ended up grading essays on our gargantuan couch instead of the office due to the space. I couldn’t find a desk I liked…so I made one instead.
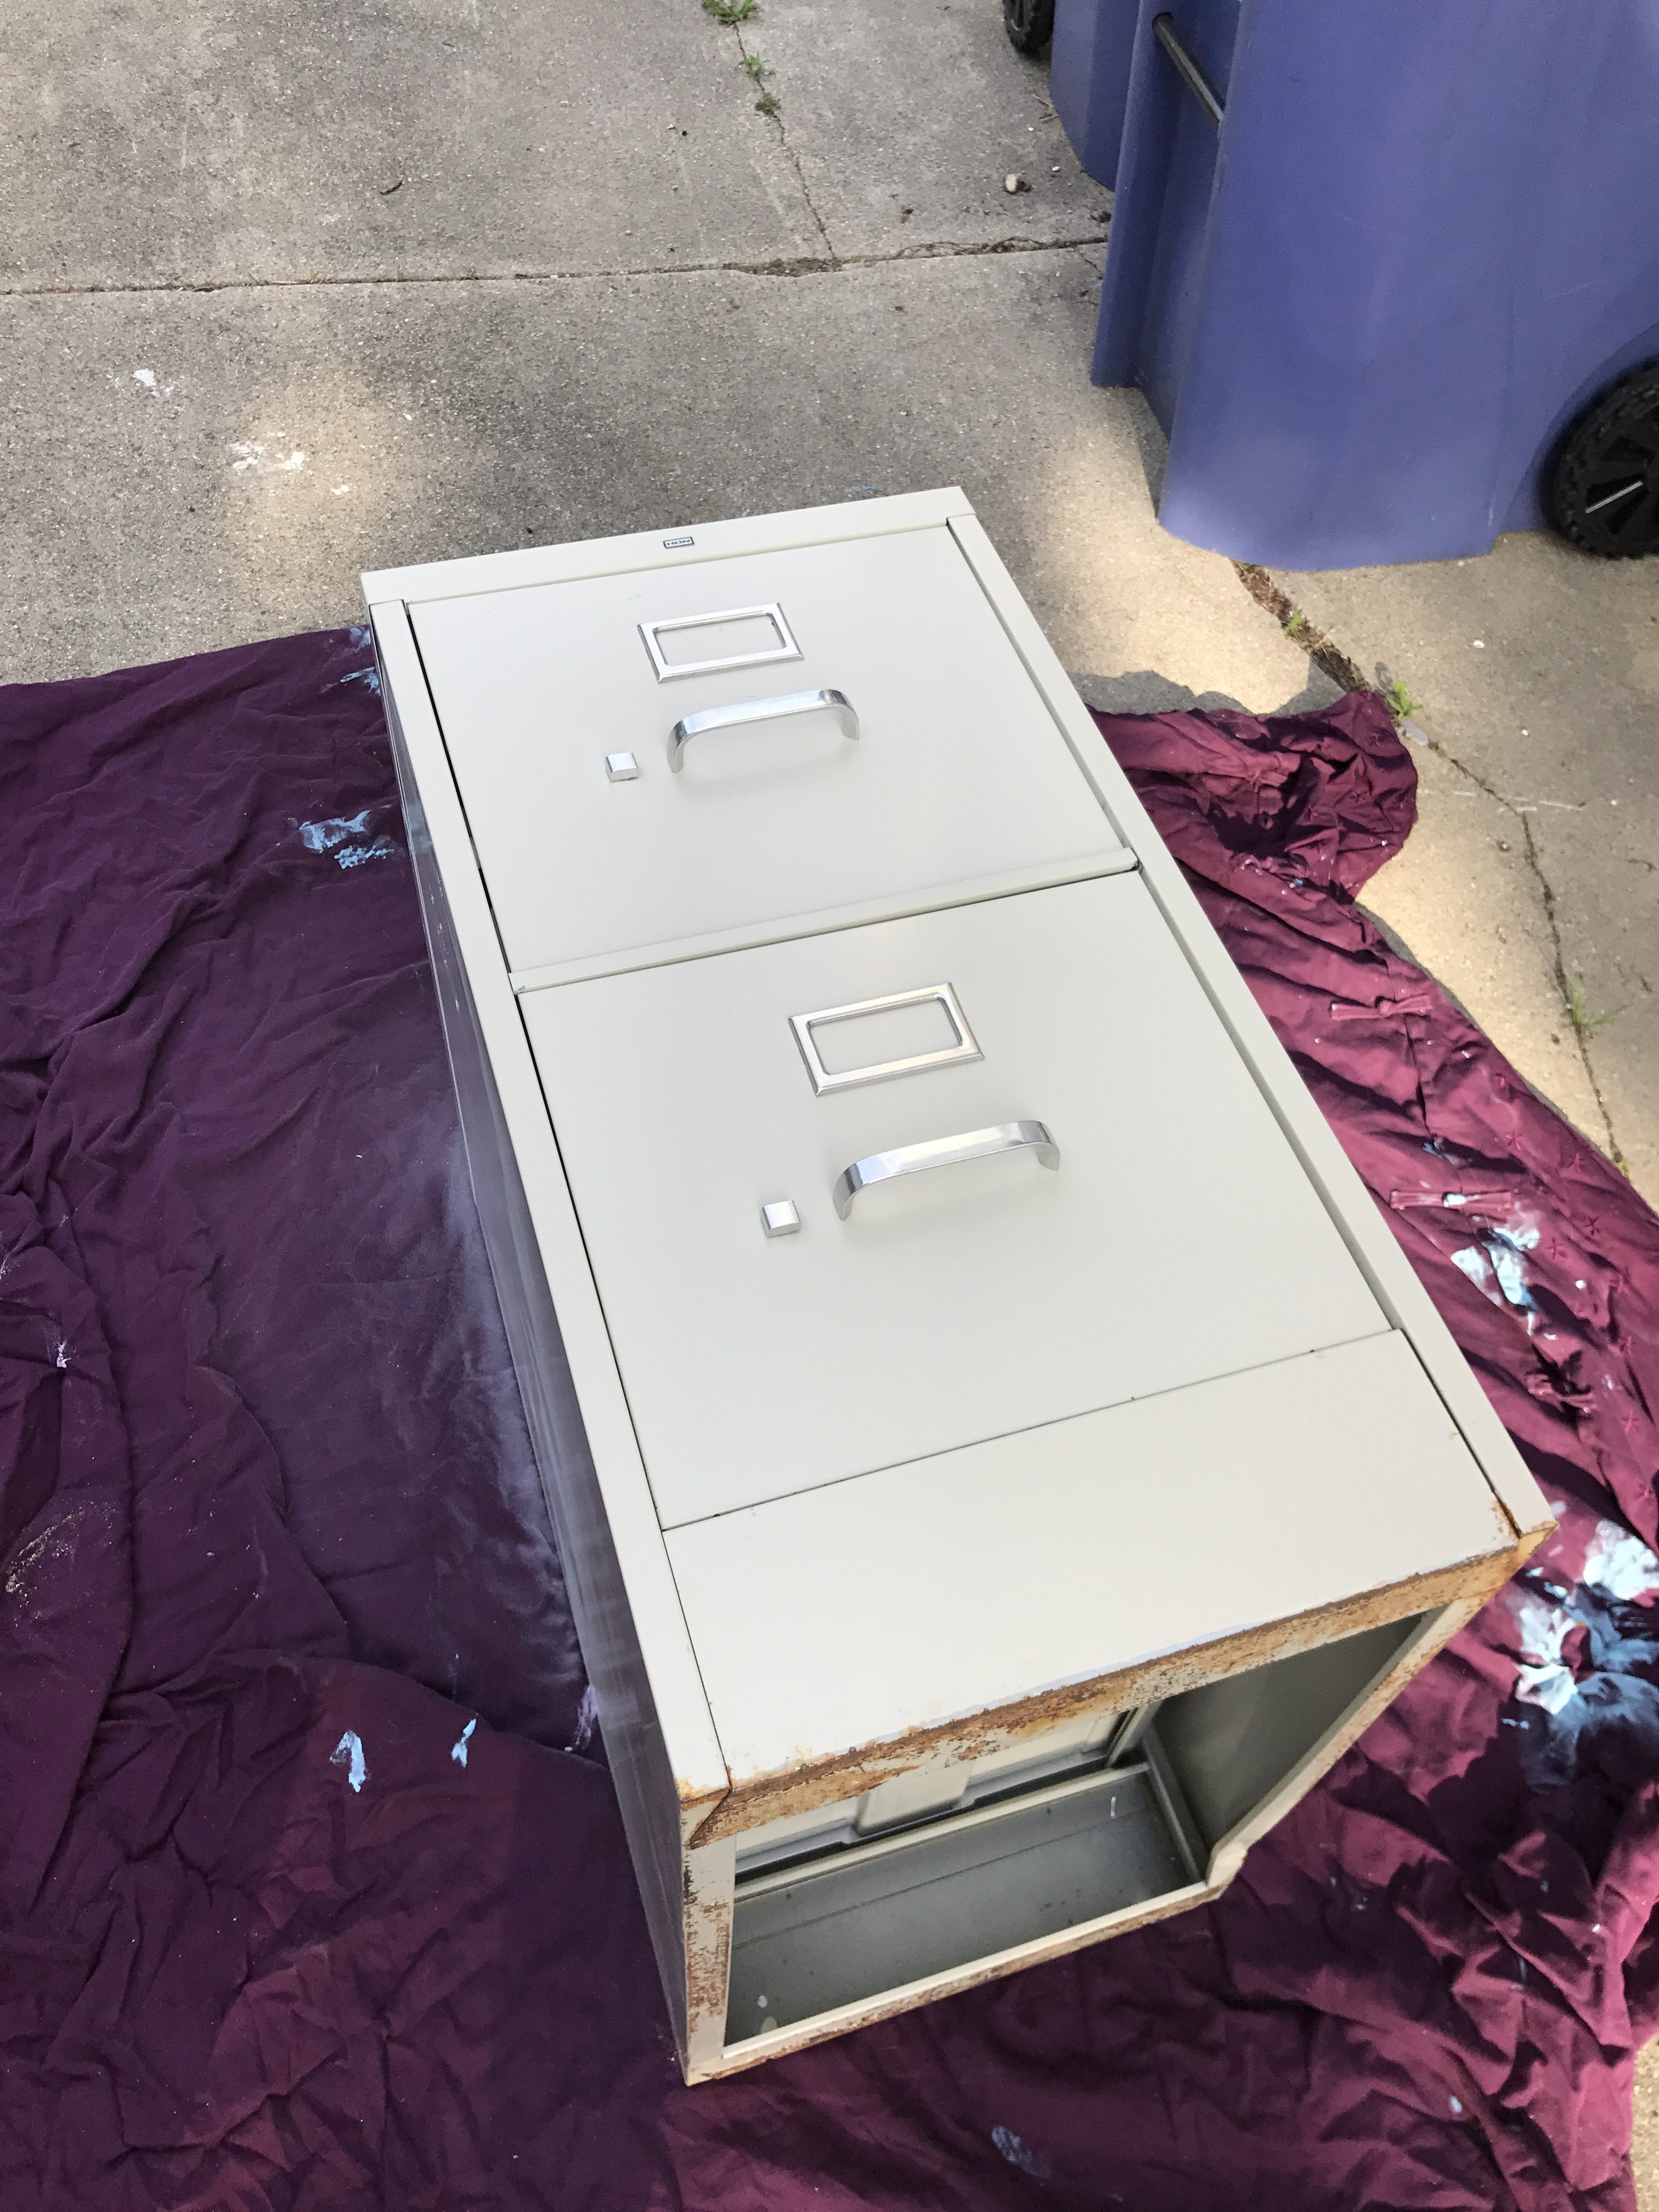
I had a hand-me-down file cabinet that I primed and spray painted in a coral color. This would become the right “leg” of the desk.
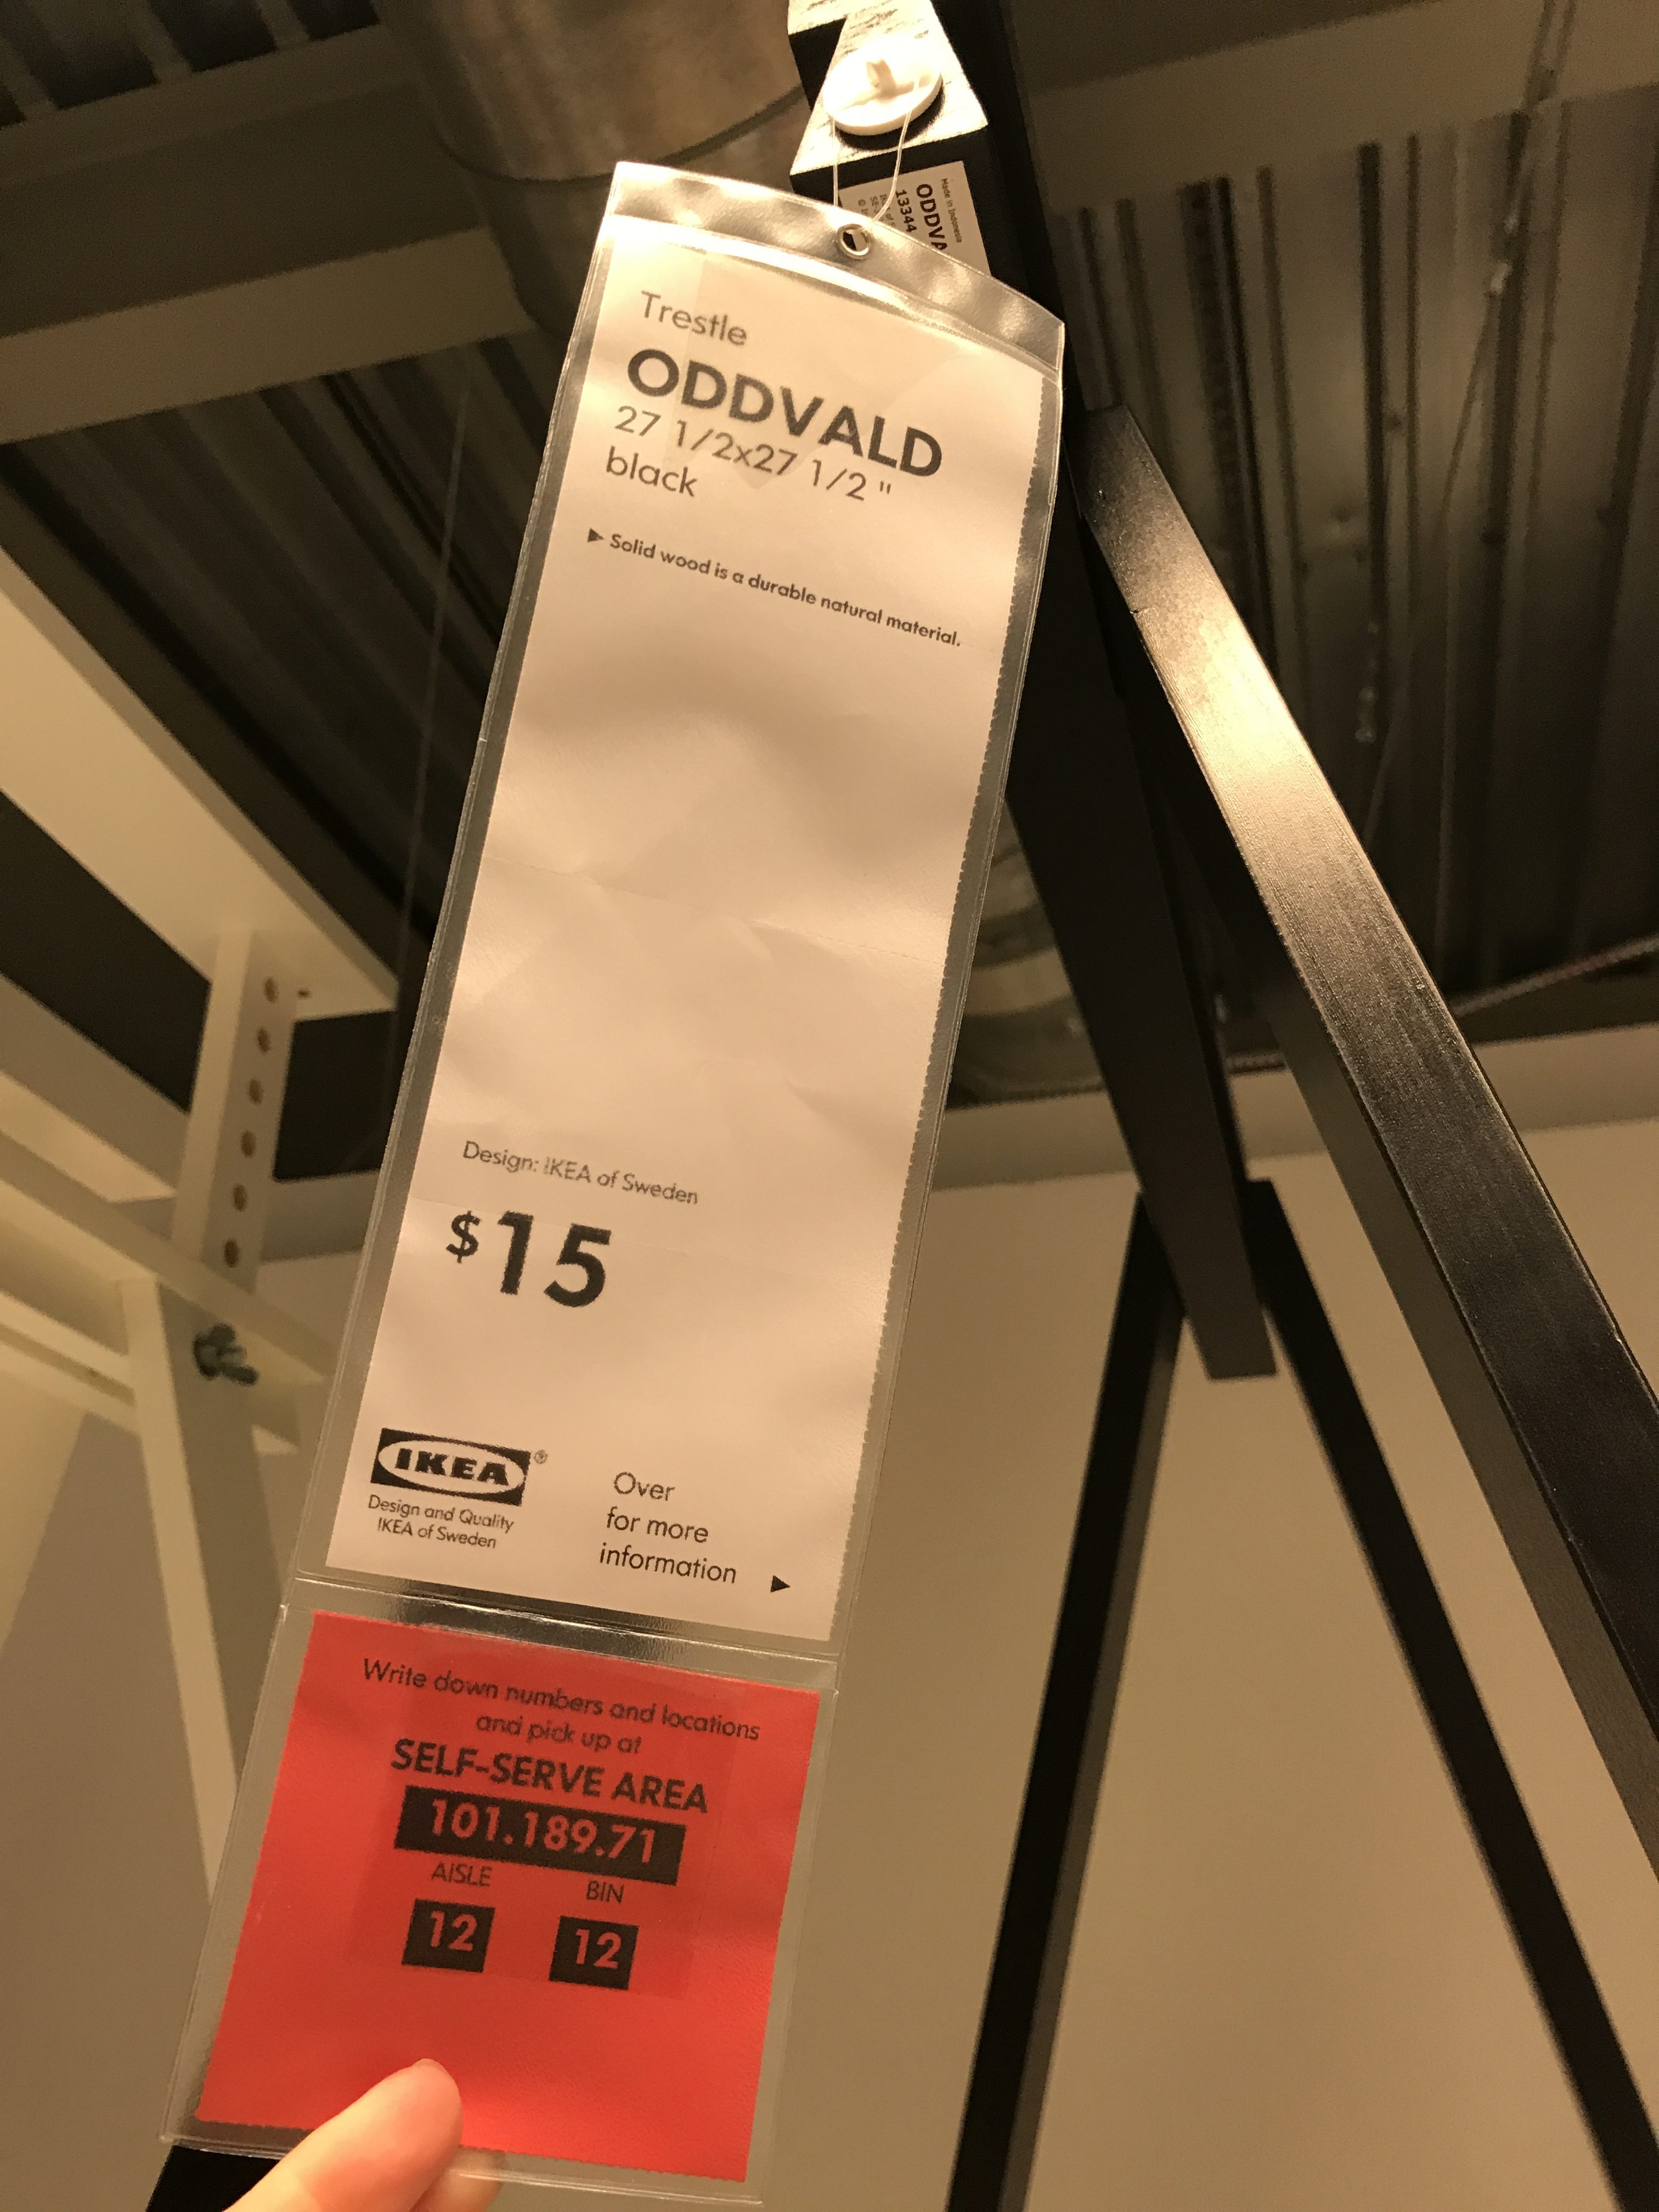
Next, I purchased an Ikea Oddvald Trestle for the other “leg” of the desk. Stupidly, I purchased one in black, so I had to paint it white. (I live 2 hours from the nearest IKEA, so exchanging it wasn’t an option.)
The third thing I did was purchase a piece of plywood. I had Home Depot cut the piece of wood to my exact measurements, so I didn’t have to figure out how to get this jumbo piece of wood home.
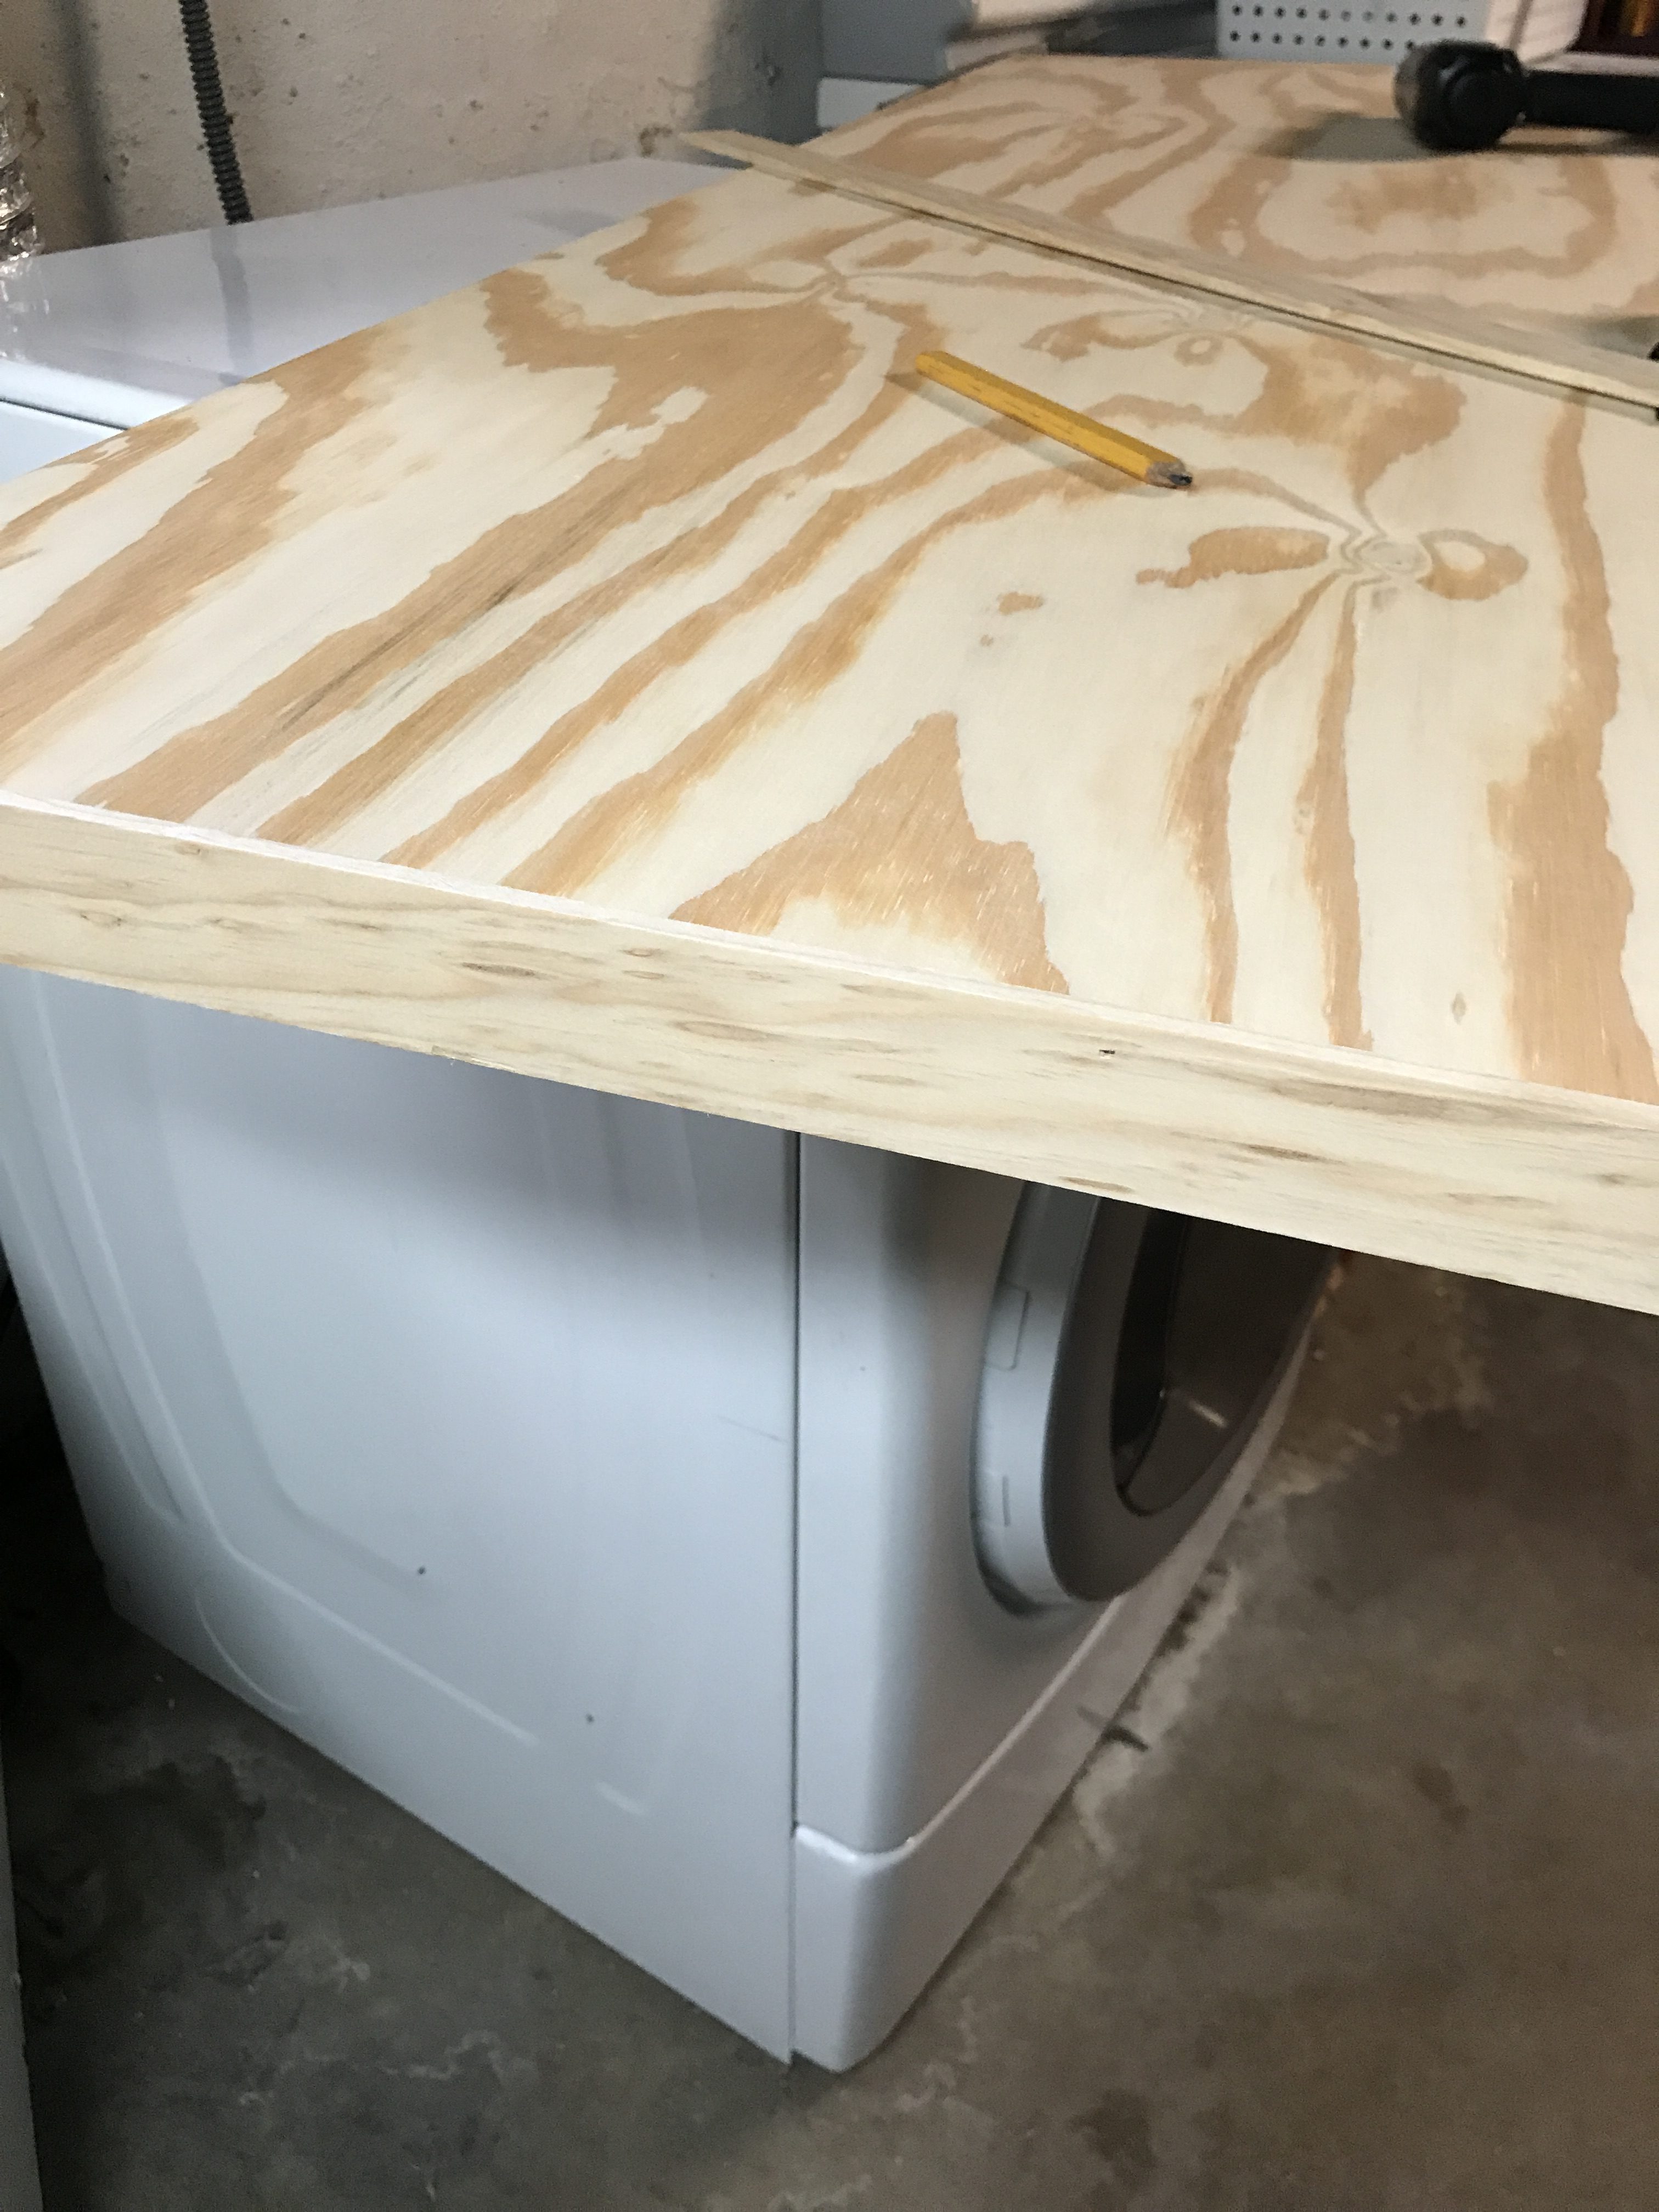
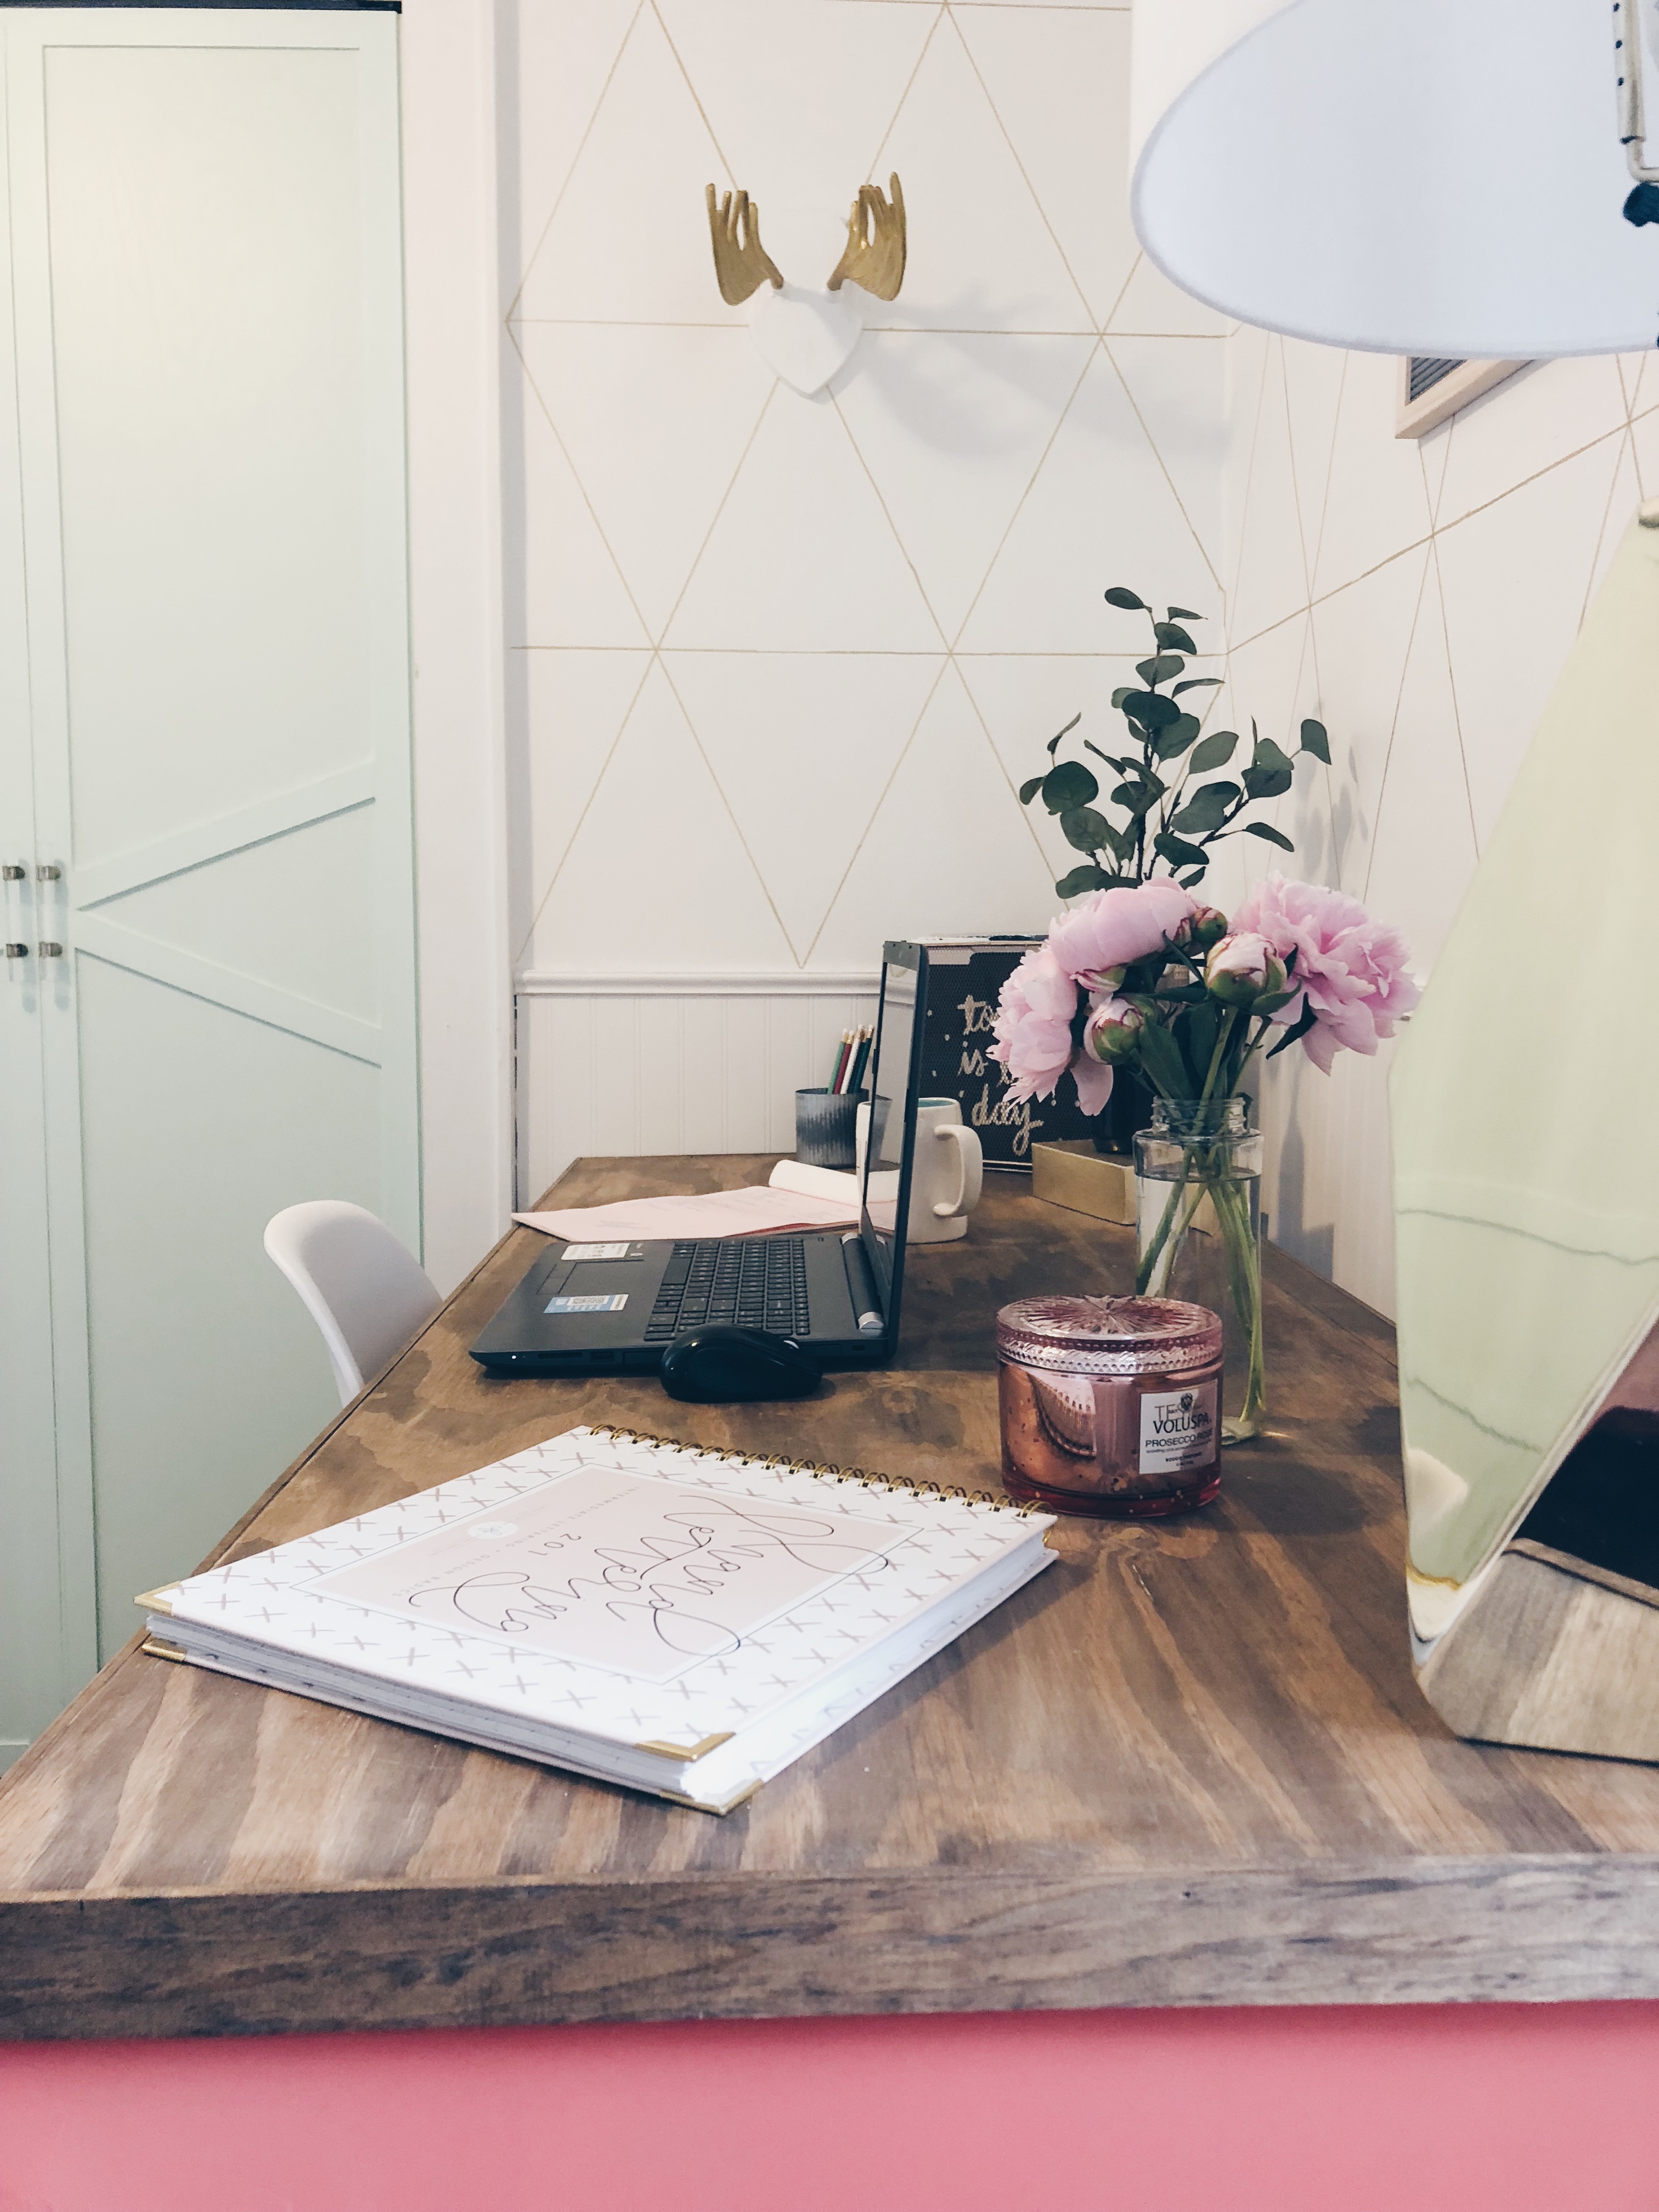
I then took the same lattice strip wood from the DIY closet doors and trimmed out the desk top. After that, the desk got a coat of stain and a coat of poly, and it was done!
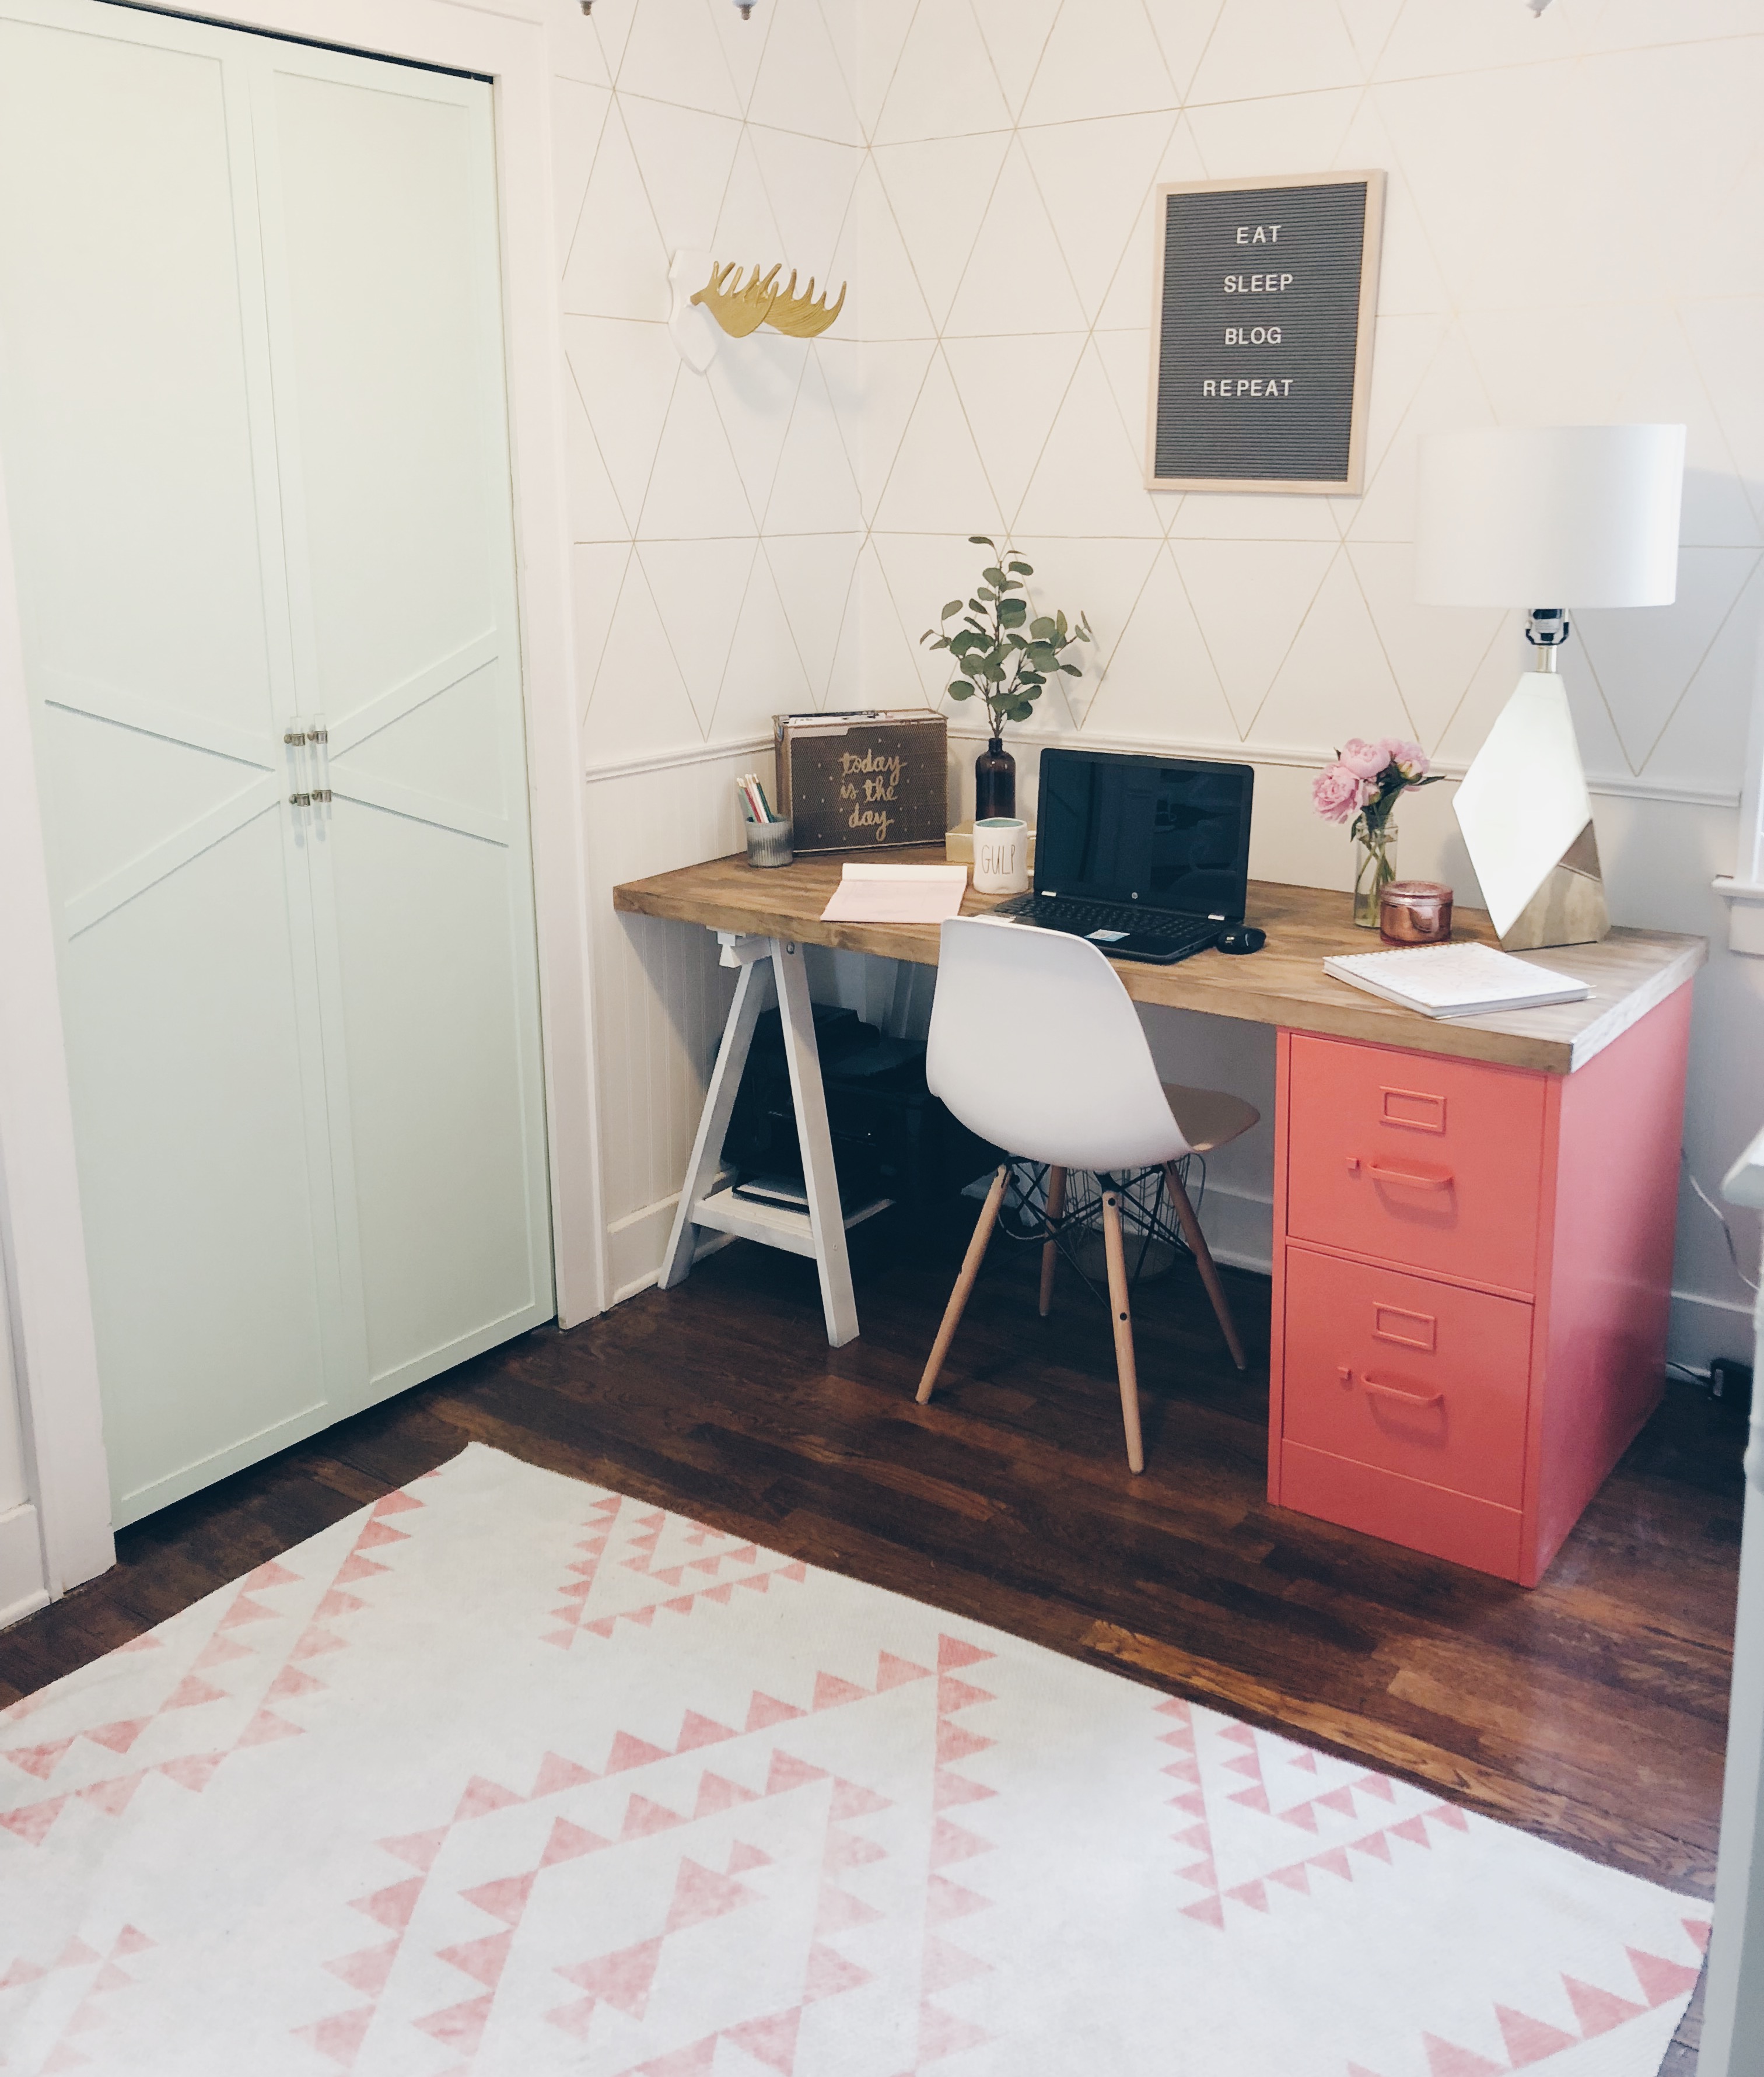
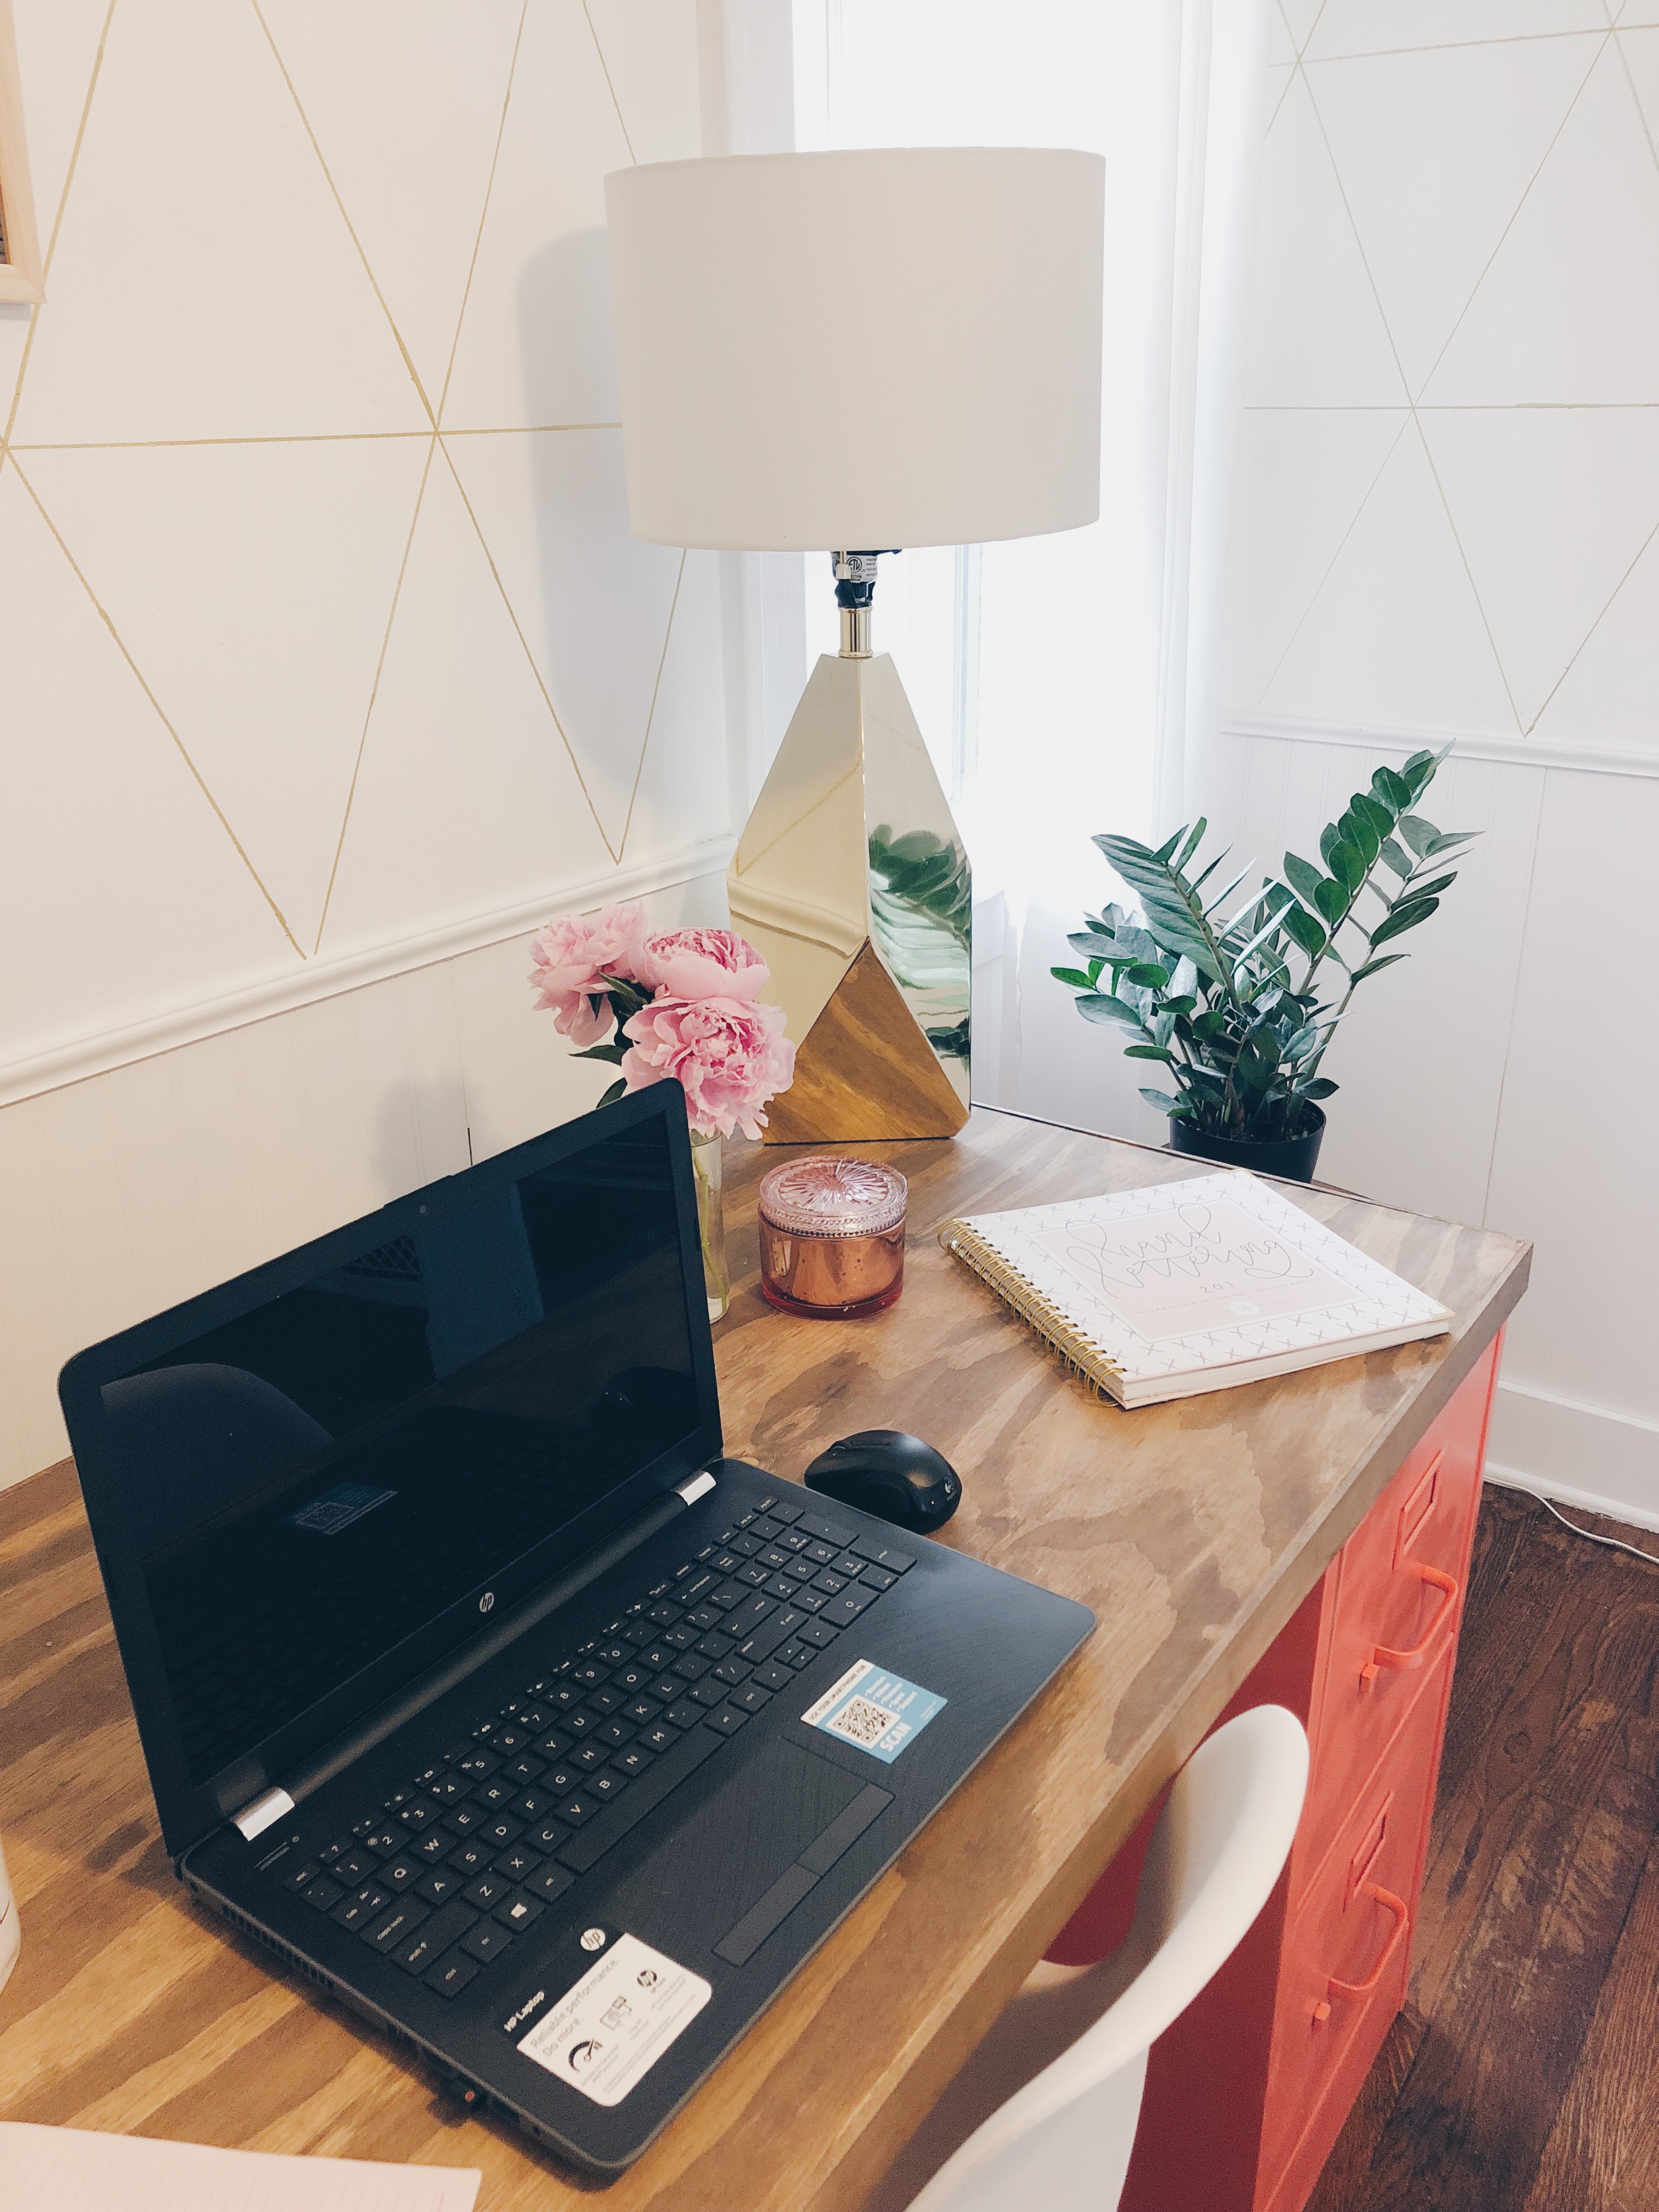
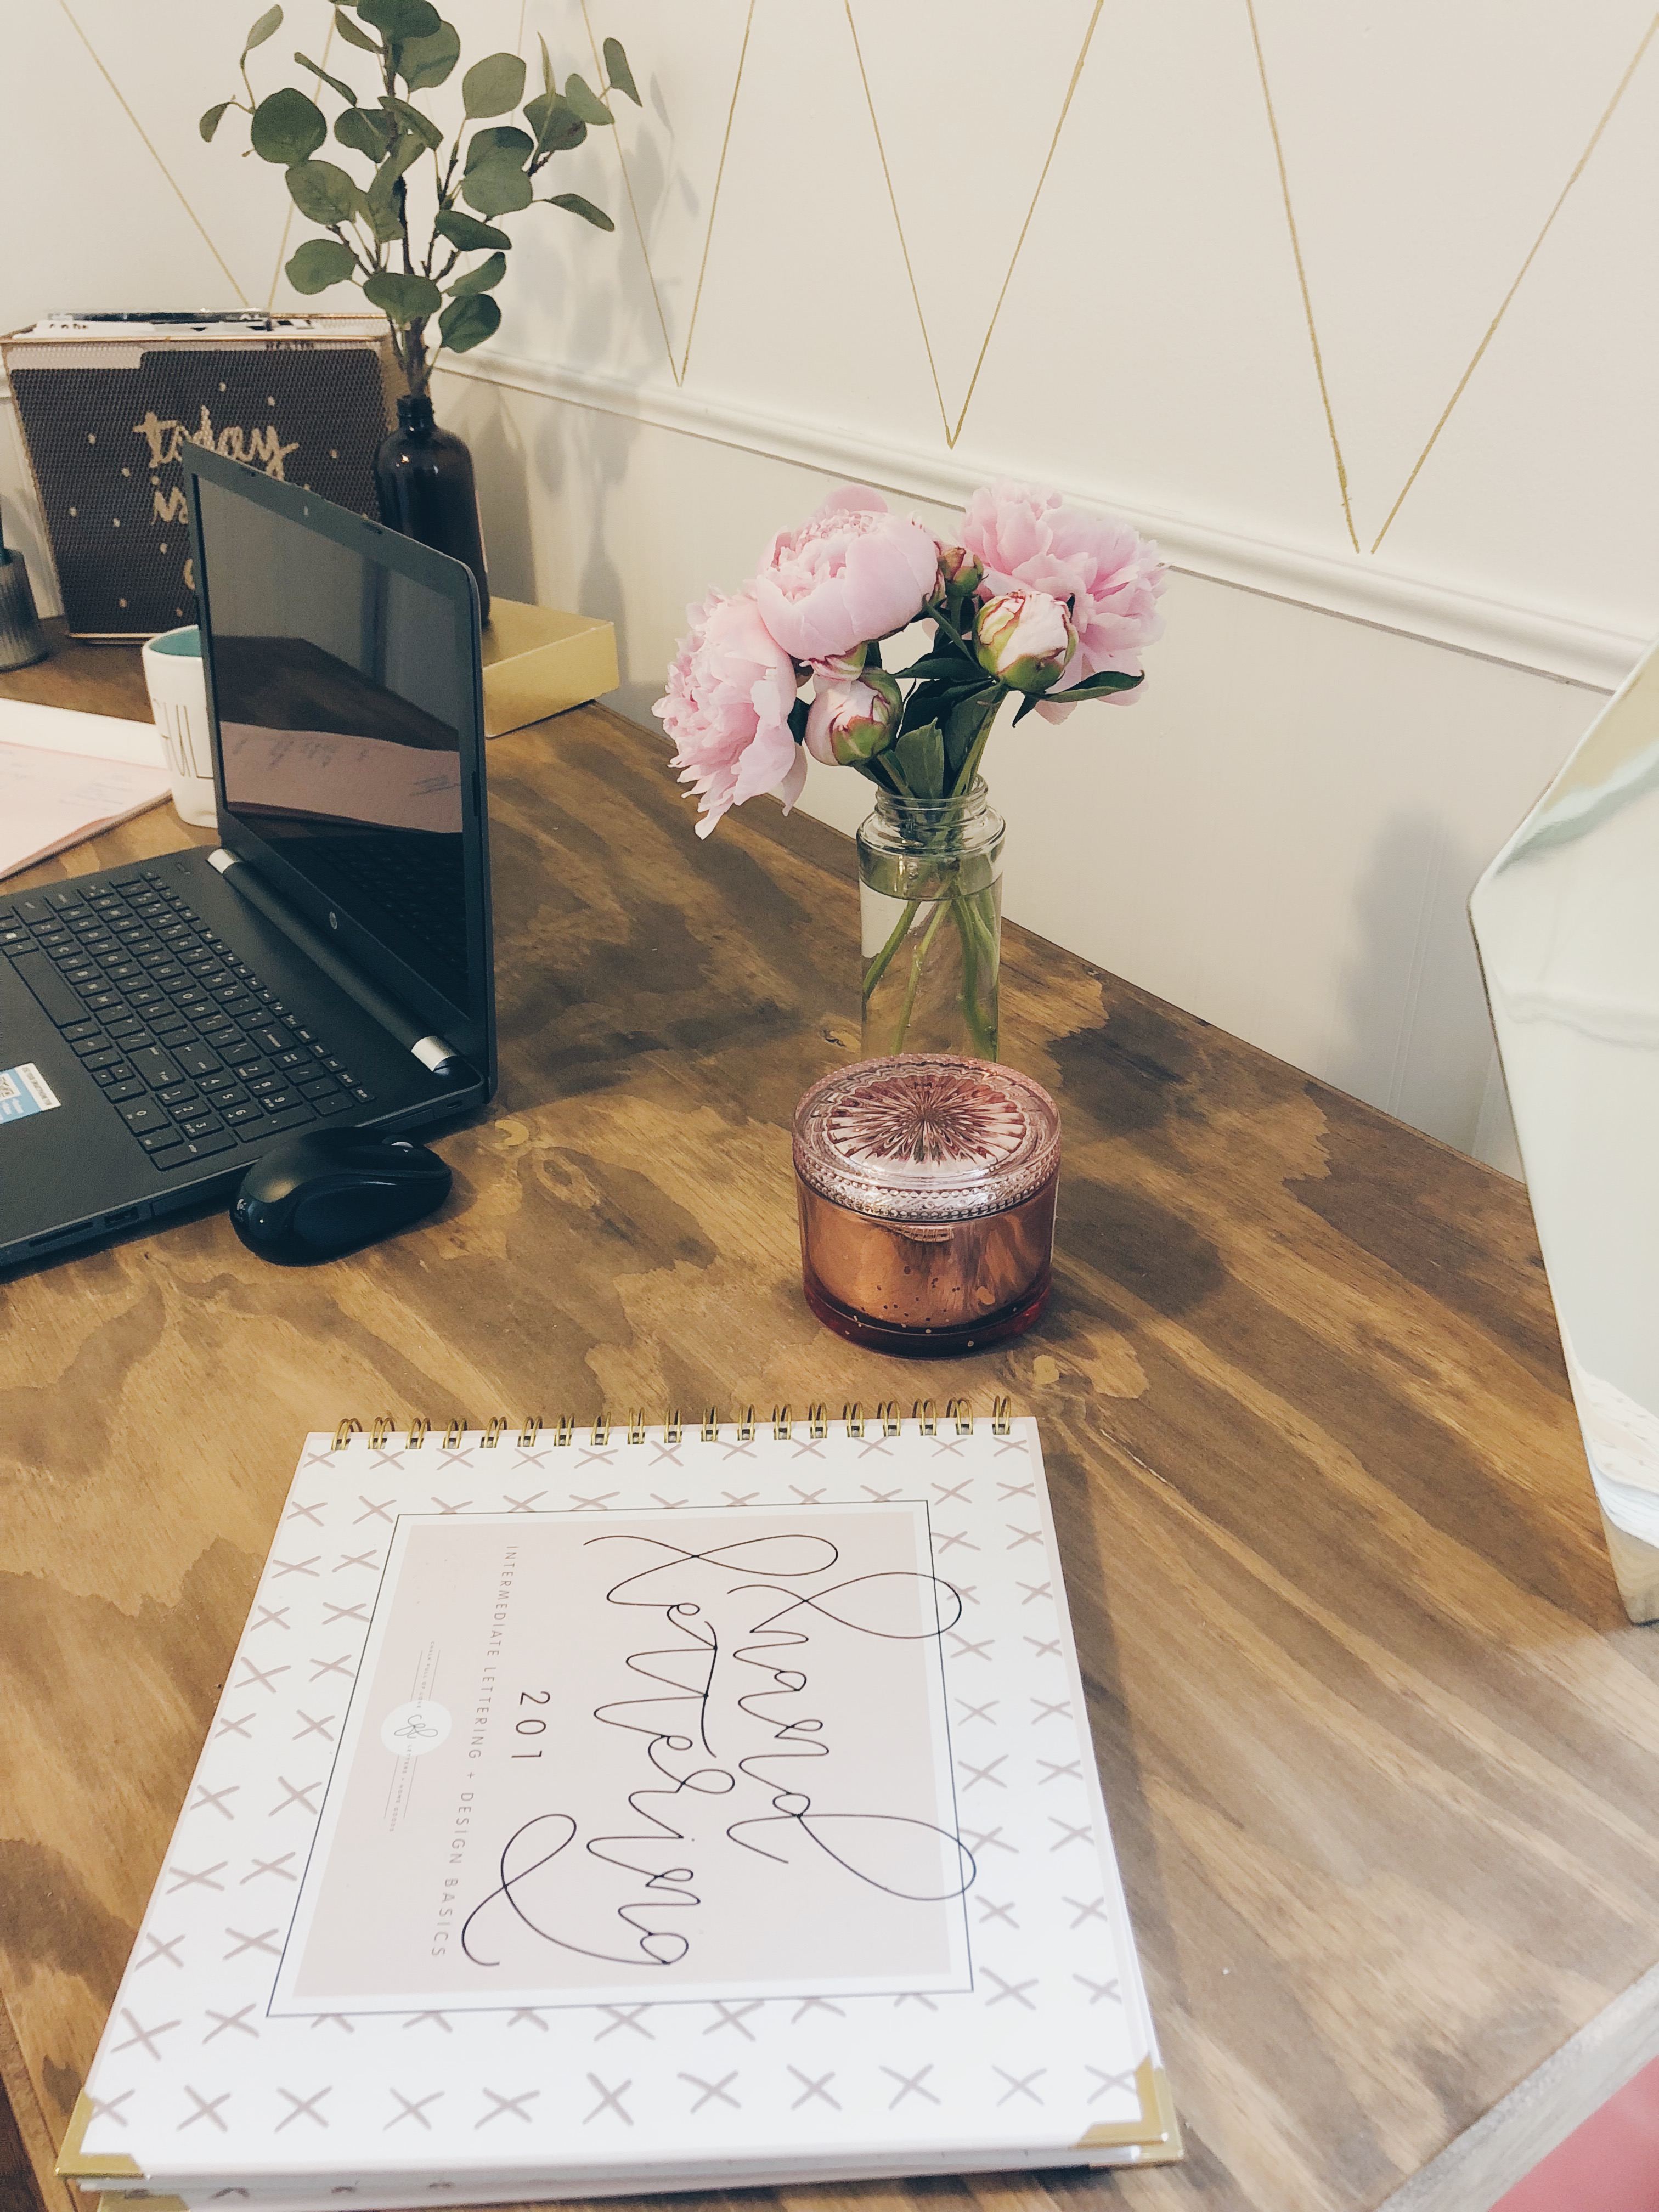
After some accessorizing and a flower run to Trader Joe’s, the office is finally complete!