Drop it to the floor

The snowy, freezing day in January Jeff and I signed our mortgage papers and got the keys to our first home together, he looked at me and said, “What do you want to do now?” I looked at him with a grin and remarked, “Tear up some carpet.”
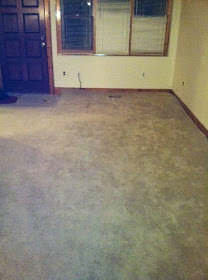
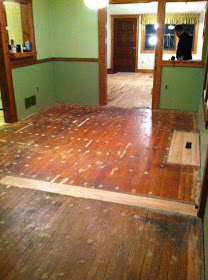
As you can see in the grainy photo above, our living room and dining room were covered in beige Grandma-esque carpeting. After a little peeking under the rug inside the closet, we realized that both rooms hid some beautiful hardwood- HGTV here we come!
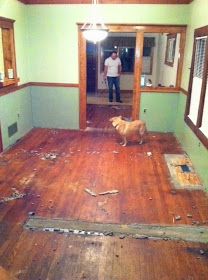
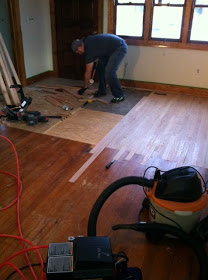
We set out for our new home ready to tear some sh!t up. Armed with a pair of hand-held razor blades, we started tearing the 80’s out of our home…and discovered a problem. The floors were not hardwood throughout. The previous owners had converted the sun room to increase the square footage in the living room. The entire floor of the addition was covered in plywood instead of hardwood (Where Jeff is standing). Also, in the living room, a wall had been moved, and a 2×4 was inserted instead of new hardwood.
Luckily, the internet makes all renovation problems seem fixable. Jeff researched a few ways to fix our patches, and we realized we’d have to make a trek out to the lumber store to buy hardwood. This was NOT going to be an easy sand, stain, poly floor renovation. But, I digress.
Once the carpet was rolled up, we were left with about a million staples to remove, along with the tack strips around the perimeter. Jeff tackled the strips, while I tackled the staples. I used pliers to pull them out. Mental note- USE GLOVES! I had so many blisters on my hands by the end of the night, I was rendered almost useless. After Shop-Vacing a crazy amount of metal bits, carpet, and wood splinters, we dragged ourselves back home for a few hours of sleep.
The next day we went to buy the wood. Of course, there was a snowstorm and the lumber yard was about 20 miles away. We came armed with a chunk of our floor to have the sales guy identify which type of hardwood we had. After avoiding a few vehicles that were swerving on the snowy highway, we unloaded all of our wood. Did you know that wood bundles come in pre-cut pieces? (Well Jeff did, I didn’t. Shocking.) It seemed like it would be a pretty easy feat- just find the right size pieces and fill in the gaps, right? In reality, installing the floor was like a very complicated jigsaw puzzle. We didn’t want there to be an obvious break between the new wood and old wood, so we had to feather pieces of the new wood into the old flooring. Once we got the hang of it, the floor seemed to go down pretty smoothly.
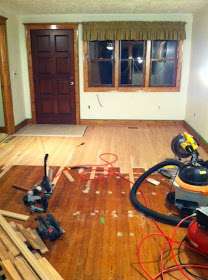
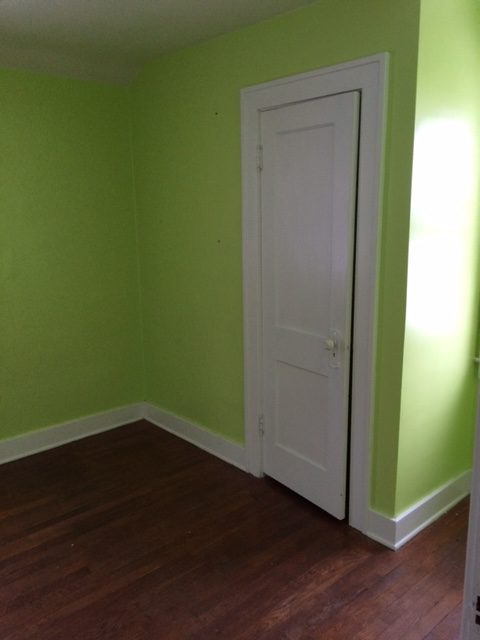
Don’t you love our window treatments? Blech!While Jeff was working on the addition, I was trying to figure out how to get the 2×4 from the old wall out of the floor. I was armed with a chisel and a hammer to try and chisel out the cement they used to secure the board in place. Even after all of the cement was gone, it wouldn’t budge. Luckily, Jeff is much handier than I and realized the board was nailed down and had to trek down to the basement to hit the nails out from underneath. Mission accomplished!
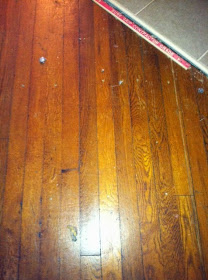
The problem with this section of flooring is the large hole runs perpendicular to the rest of the floor.
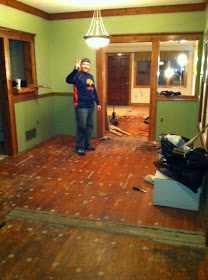
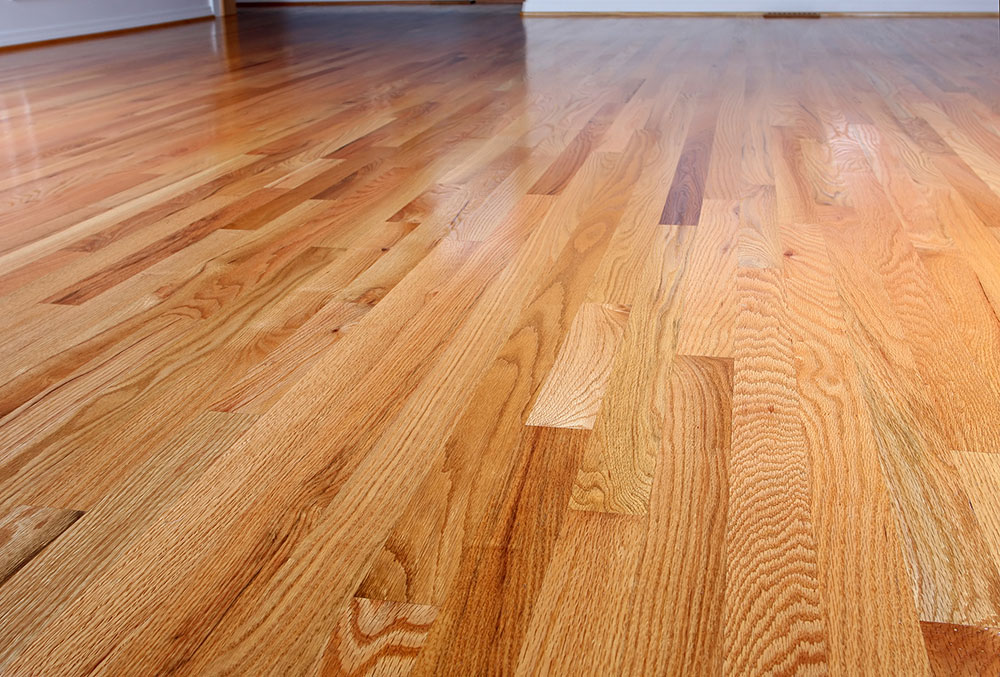
We had to decide if we were going to feather in tiny chunks of hardwood to make it look like there wasn’t a hole there or run our hardwood perpendicular and just consider it a “flaw” in our floors. Would you rather make a bunch of little wood cuts or lay down three pieces of hardwood and be done with it? Guess which way we chose? The flaw in our floor is actually one of our favorite parts of the house- it gives us a daily reminder of our problem solving skills! Our next post will follow us through the process of sanding and staining our floors. In the meantime, we will be tap dancing on our brand new/old floors!