I've helped a lot of homeowners plan their basement bathrooms. And the one thing that trips everyone up? The plumbing.
It's not as simple as running a few pipes. You're working below the main drain line, and that changes everything.
In this blog, I'll walk you through basement bathroom plumbing the right way.
We'll cover ejector pumps, drain rough-ins, vent stacks, permit basics, and common mistakes most people don't catch until it's too late.
Everything you need to know before your contractor even shows up. I've put this together from real experience so you don't have to figure it out the hard way.
No fluff. Just practical steps that save you time and money.
Why Basement Plumbing Is Different From Standard Bathrooms
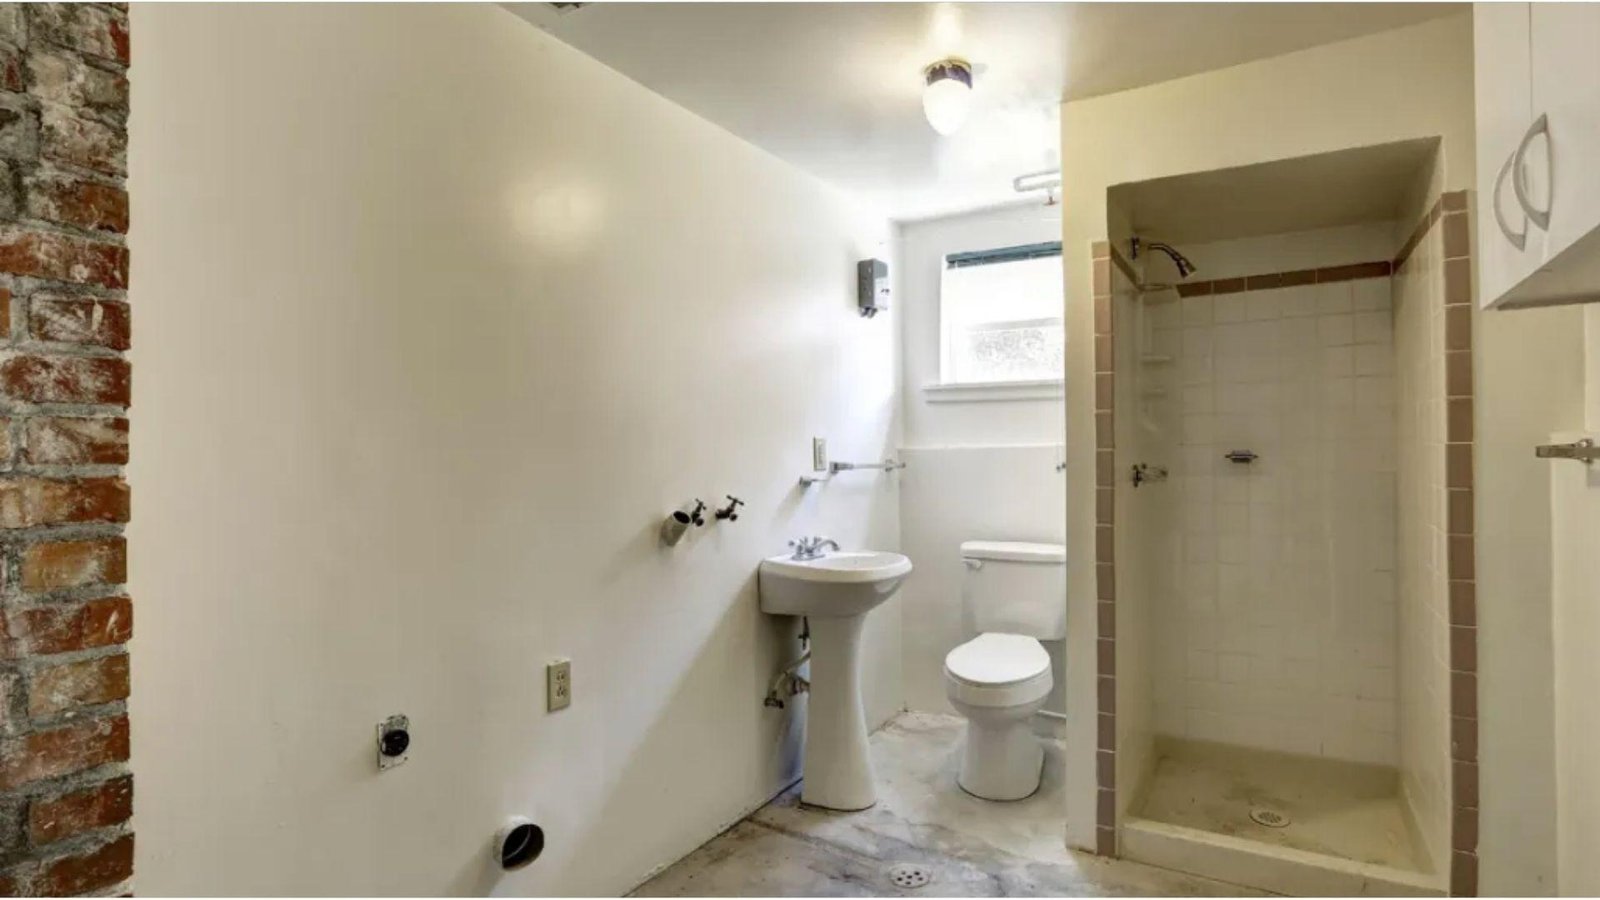
Standard bathrooms sit above the main drain line, so wastewater flows down and out by gravity without any extra help.
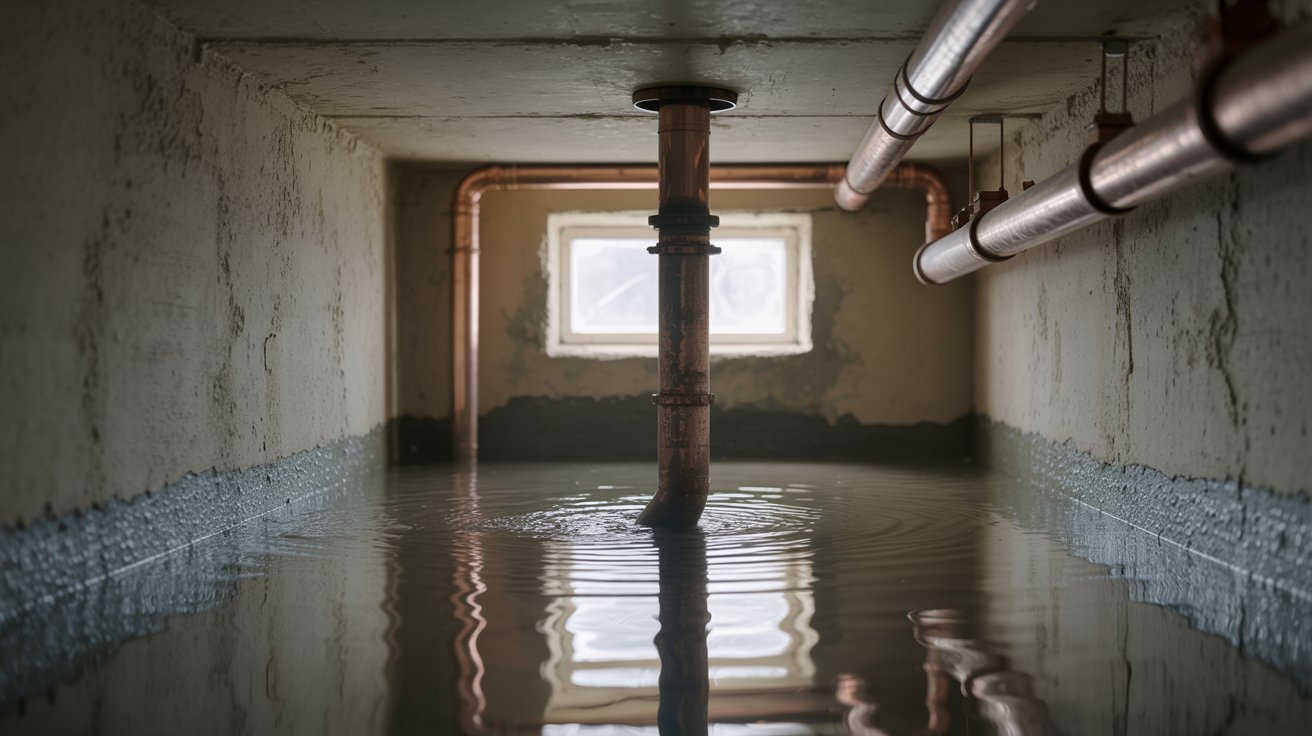
Basements don't have that advantage. You're working below the home's main drain, which means waste has no natural exit path. That forces you into a different setup entirely.
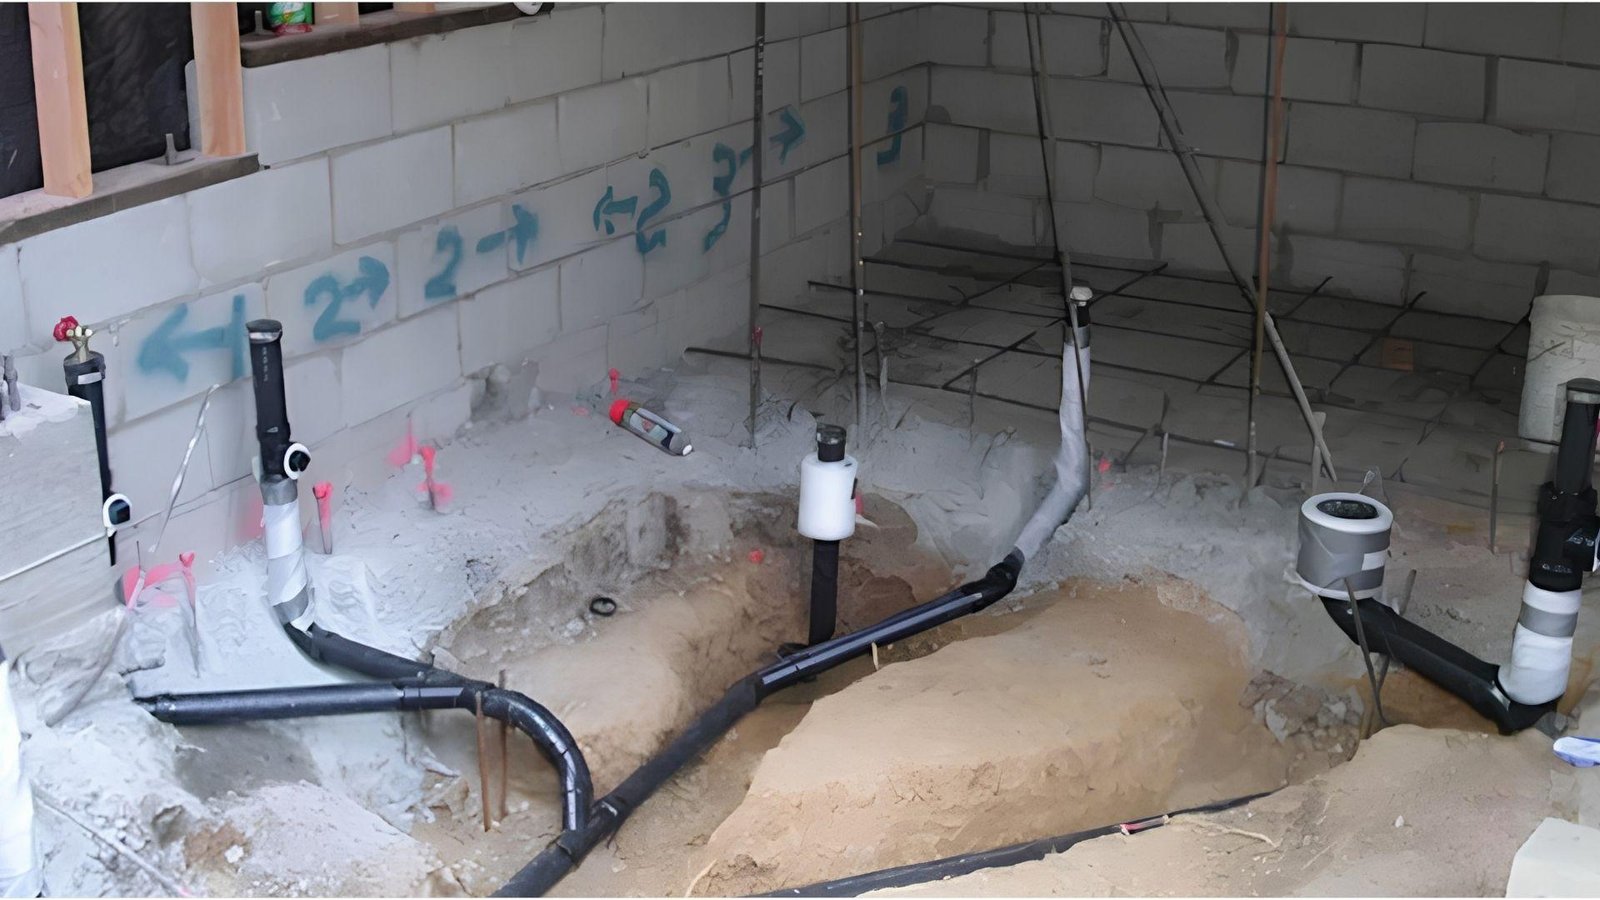
You may need pumps, special drainage systems, or even concrete cutting just to get pipes where they need to go.
Fixture placement, pipe routing, and venting all need more thought. There's less flexibility and more room for costly errors if you don't plan it out properly from the start.
Key Factors in Basement Bathroom Plumbing
Getting basement bathroom plumbing right comes down to a few key factors you can't afford to overlook.
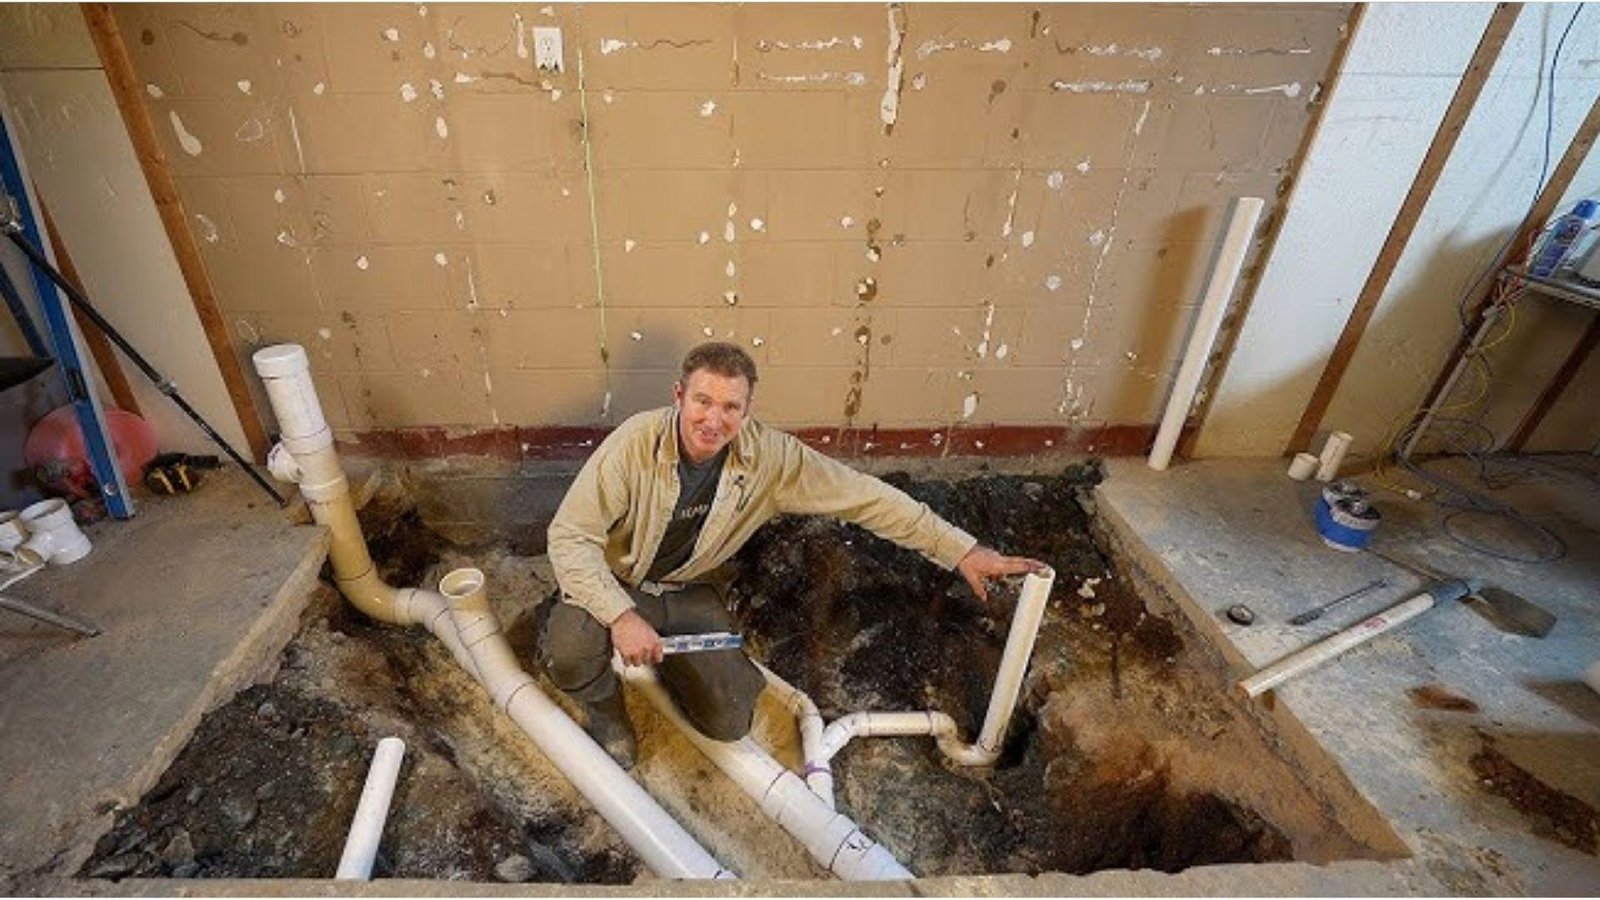
Drainage Limitations Below Ground Level
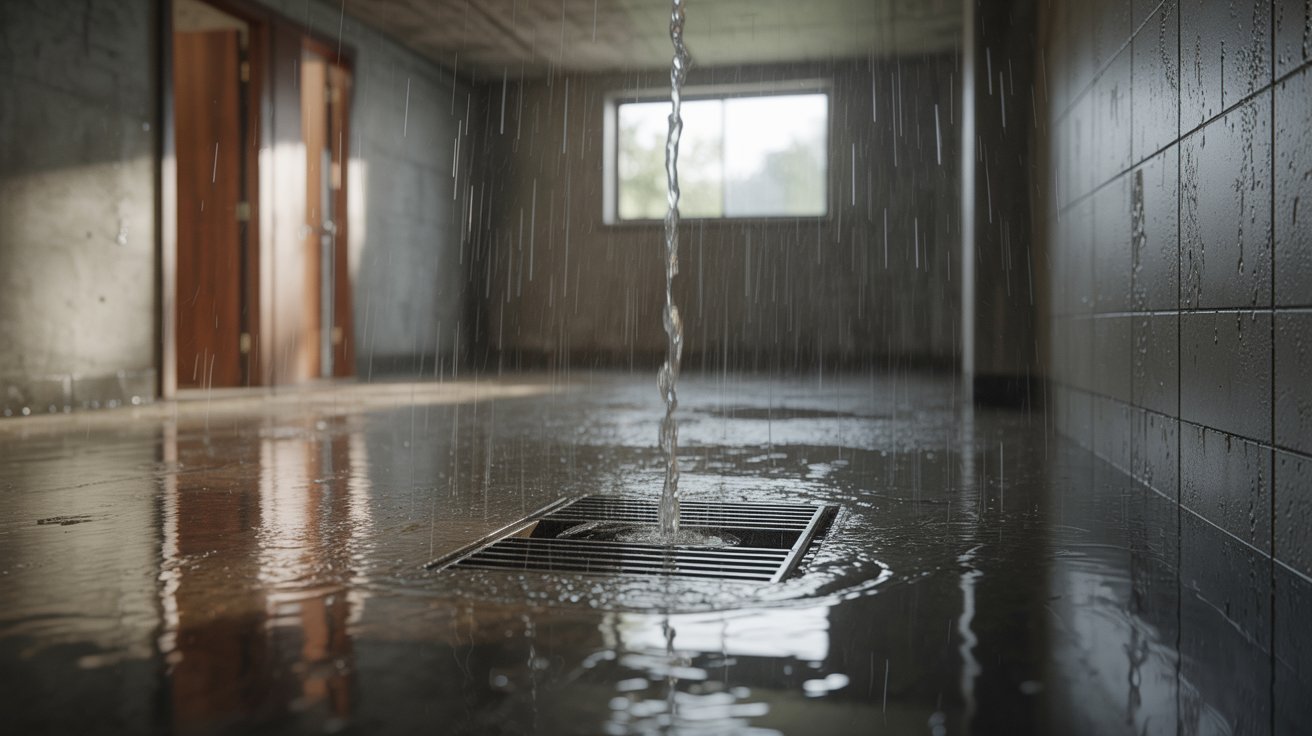
Basement drains sit below your home's main sewer line. That's the core problem. Water and waste can't flow downhill the way they do on upper floors.
You're fighting gravity from the start. This means your drainage setup needs serious planning. Without the right system in place, backups and leaks are almost guaranteed.
And fixing those mistakes later costs far more than planning correctly now.
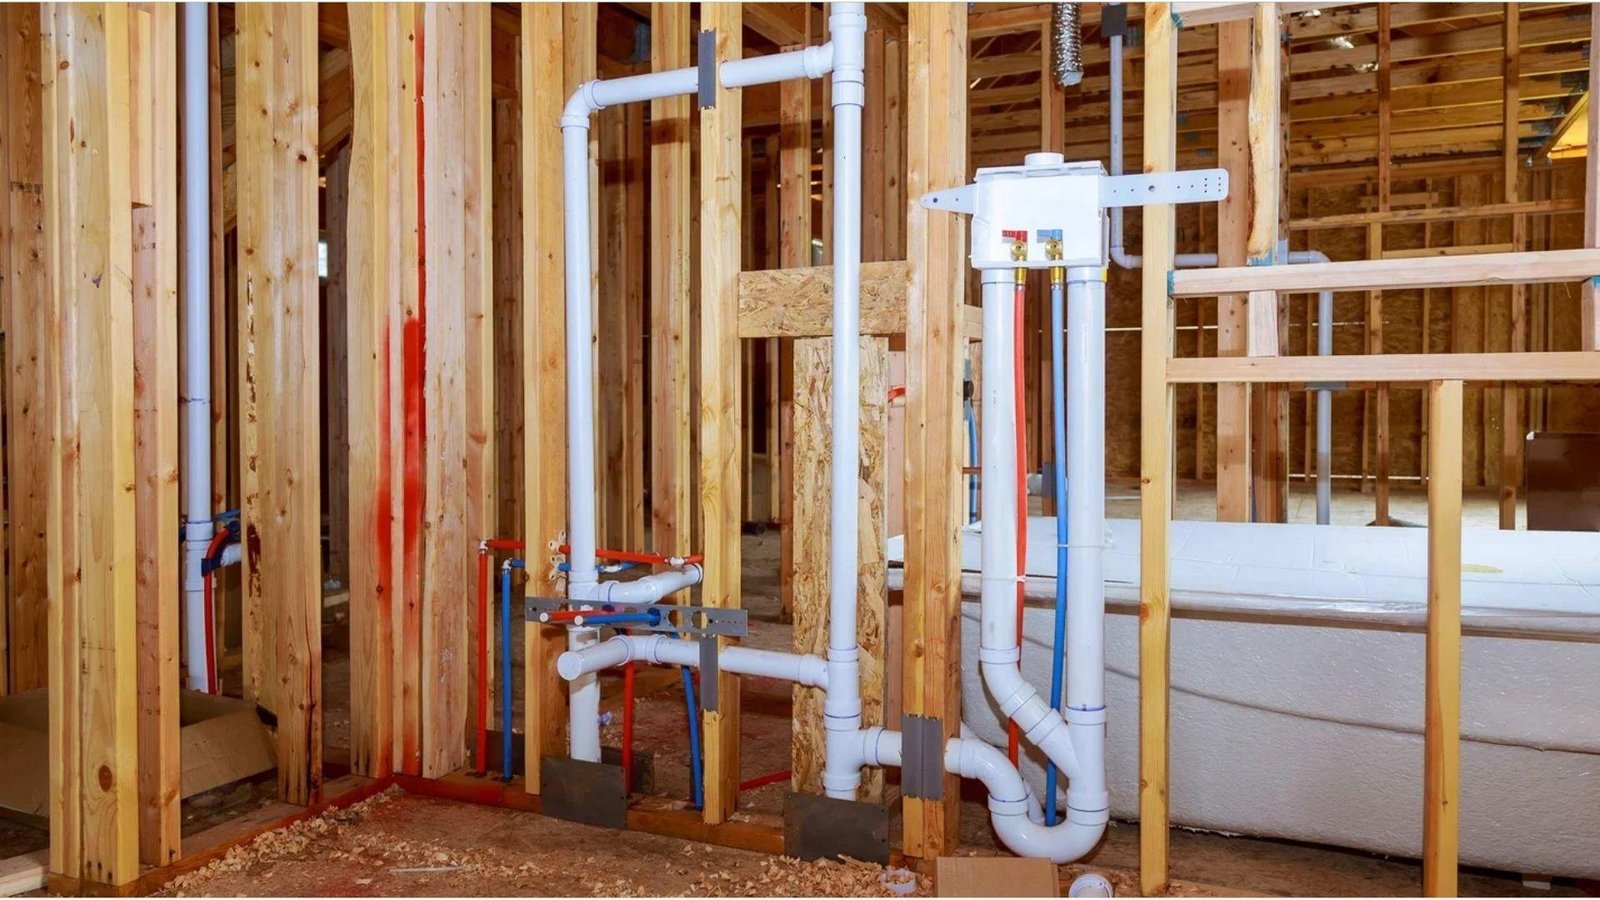
Pipe Sizing and Venting Requirements
Pipe sizing and venting are two things many people overlook when planning basement plumbing.
The wrong pipe size causes slow drains and clogs. Poor venting brings gurgling sounds, slow flow, and sewer gas into your home.
Getting both right from the start saves a lot of frustration. Knowing the correct specs before installation keeps everything running the way it should from day one.
Correct Pipe Sizing for Multiple Fixtures
Each fixture in a basement bathroom has a minimum pipe size requirement. A toilet typically needs a 3-inch drain line.
A shower drain usually requires 2 inches. A sink works fine with 1.5 inches. When multiple fixtures share a drain, the pipe size must increase to handle the combined flow.
Using undersized pipes leads to clogs, backups, and potential damage over time.
Important Considerations Before Installing Basement Bathroom Plumbing
Before you start, think through these five things carefully.
- Budget Planning and Cost Expectations: Basement plumbing costs more than standard bathrooms. Plan for $3,000 to $15,000 depending on your setup and local labor rates.
- Building Codes and Inspection Requirements: Most areas require permits. Skipping inspections can cause legal issues when you sell. Check your local building authority first.
- Long-Term Maintenance and Accessibility Planning: Pumps need regular maintenance. Keep your ejector or macerator accessible so you're not tearing up finished walls later.
- Choosing Between Excavation and Non-Excavation Systems: Excavation breaks the concrete slab to lay pipes below. Non-excavation systems sit above the floor. Each has trade-offs in cost and performance.
- Waterproofing Your Basement Before Plumbing Work: Fix moisture issues before installation starts. Waterproofing prevents mold and protects your entire plumbing investment long-term.
Getting clear on these points before you start will save you time, money, and a lot of unnecessary stress.
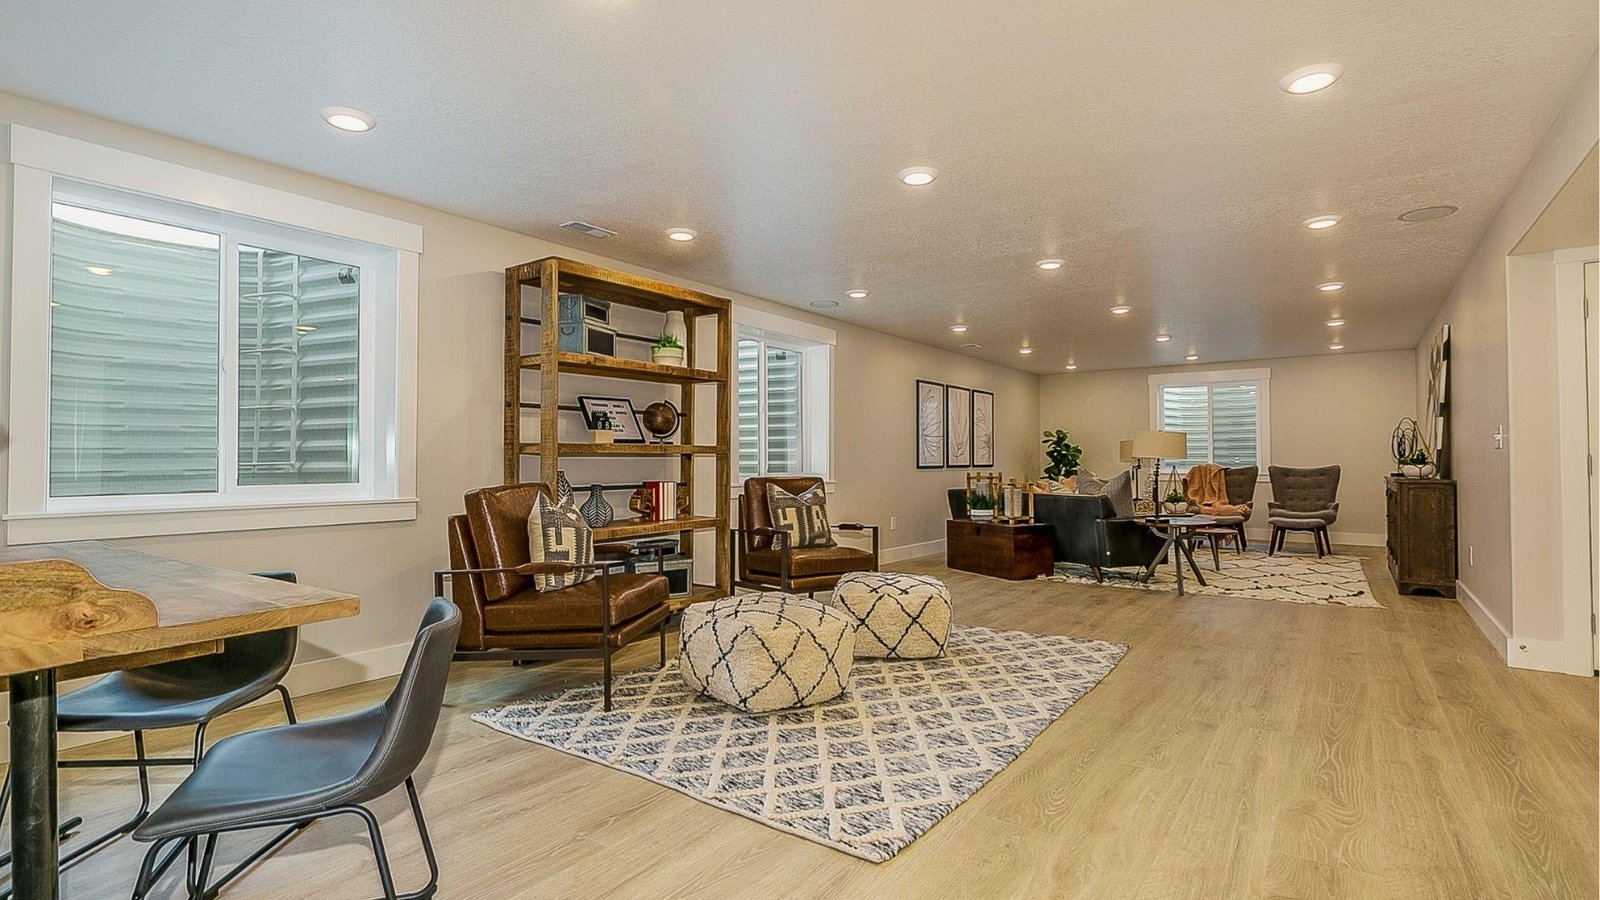
Basement Bathroom Layout and Design Planning
Good layout planning saves time, money, and prevents plumbing problems you would otherwise only find after installation.
Working Around Existing Rough-In Plumbing
If your basement already has rough-in plumbing, use it. Moving existing drain lines means cutting concrete, which gets expensive fast.
Plan your fixture placement around what's already there. Keep the toilet, sink, and shower as close to the existing rough-in points as you can.
Avoiding unnecessary pipe relocation keeps costs down and makes the job far more manageable.
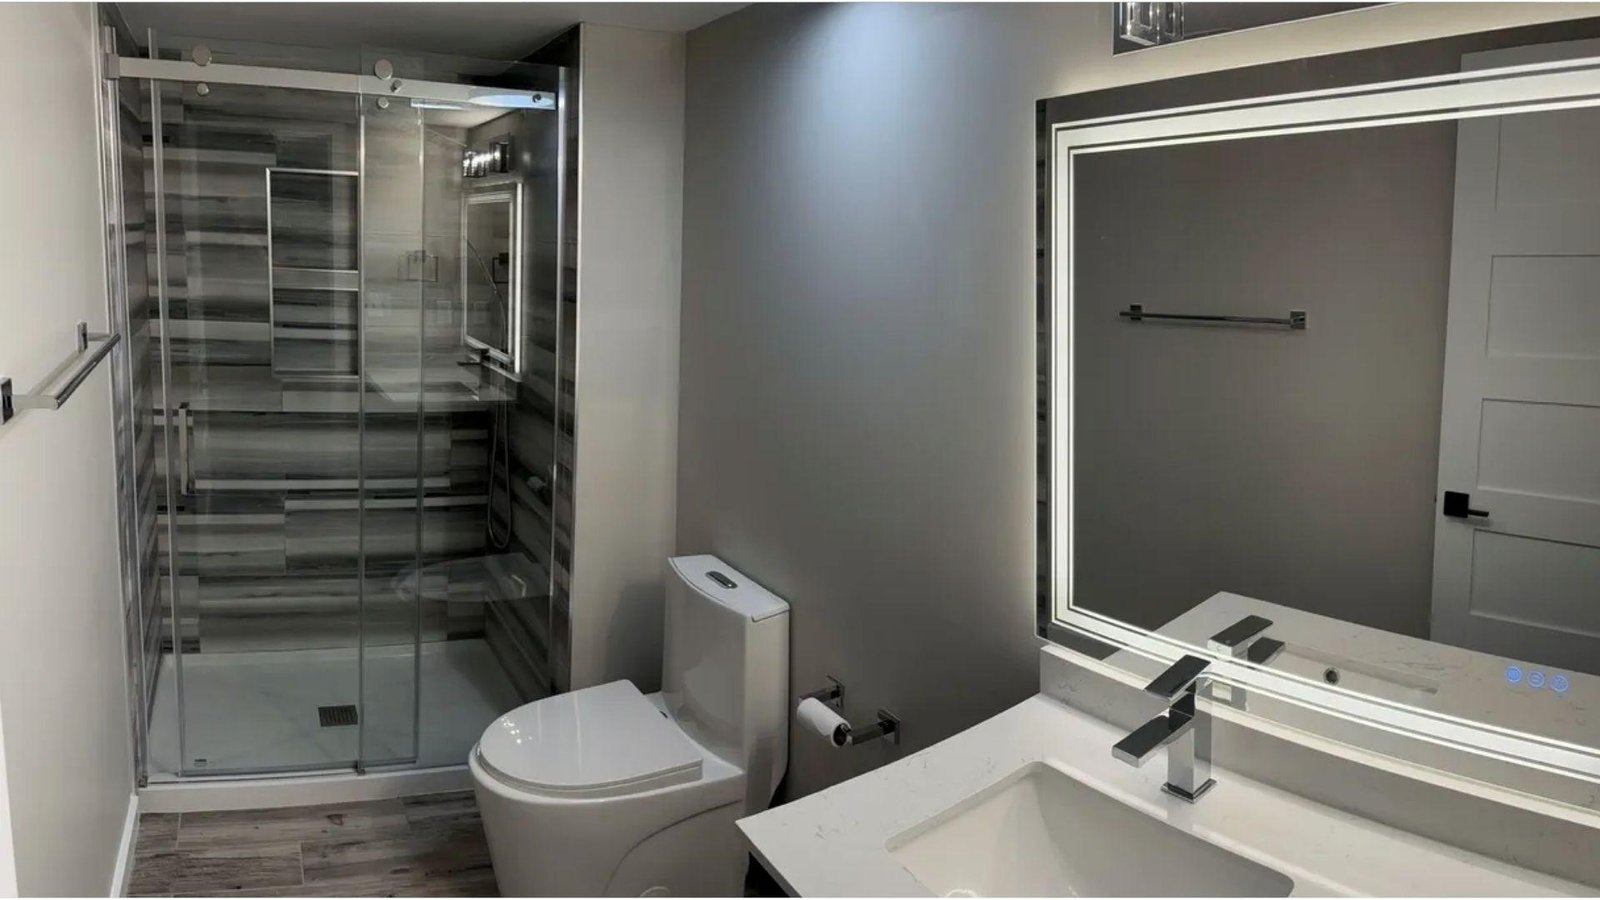
Fixture Placement and Space Optimization
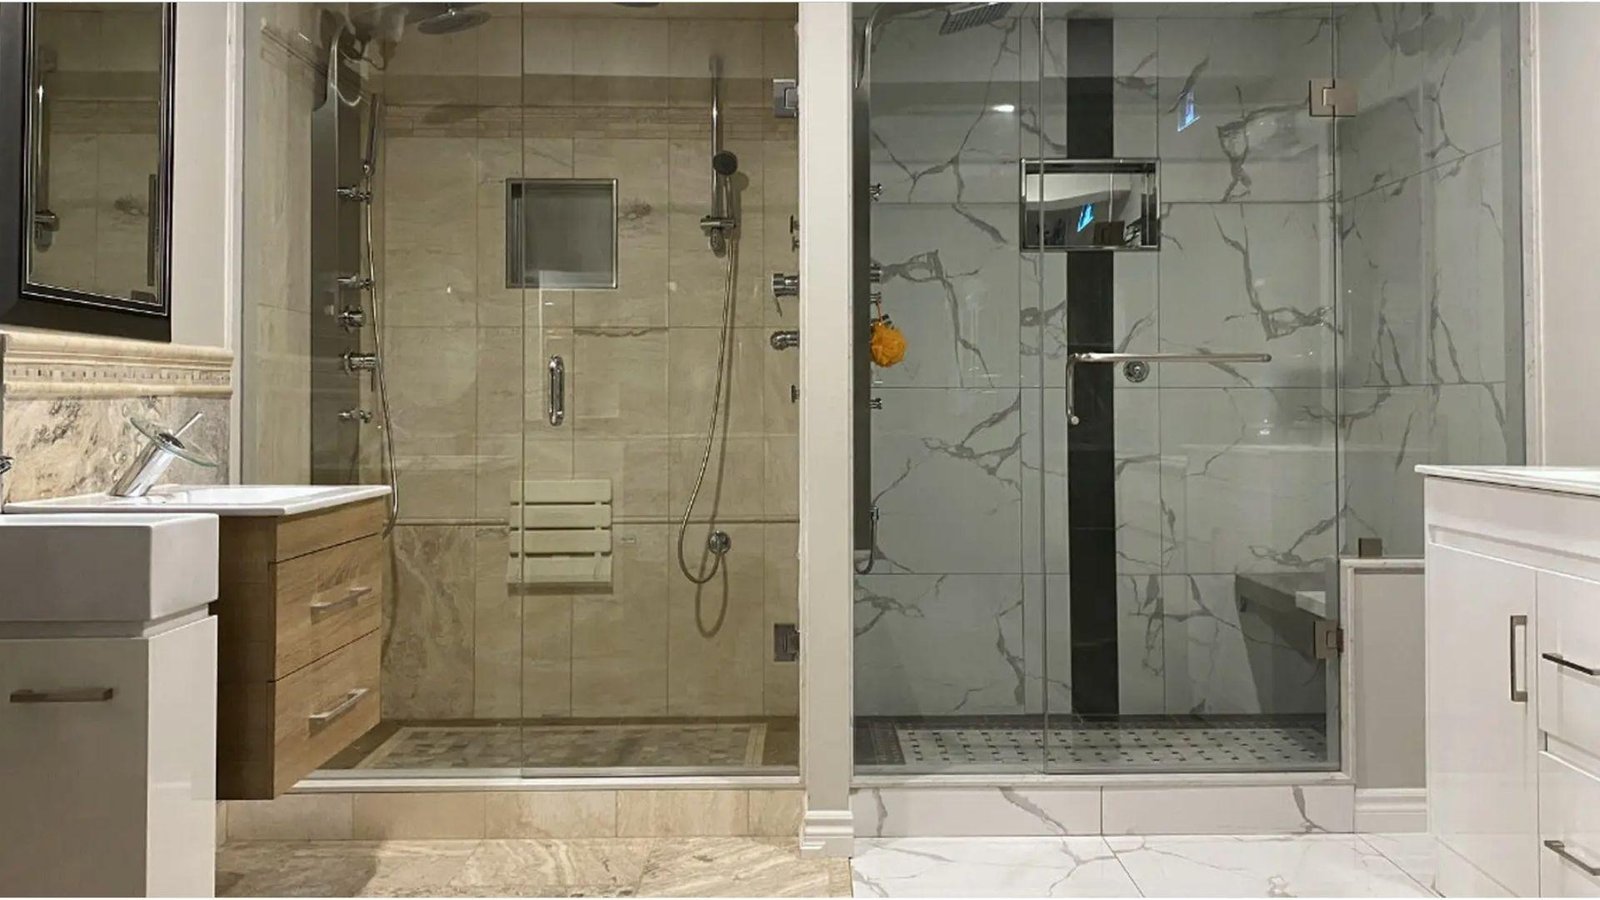
Basements often have limited floor space. Compact layouts work best. Place the toilet closest to the main drain to reduce pipe length.
Put the shower and sink nearby. A corner shower saves a lot of room.
Think about door swing, clearance around the toilet, and enough space to move comfortably. Good planning here prevents regret once the walls are up.
Venting and Airflow in Basement Plumbing
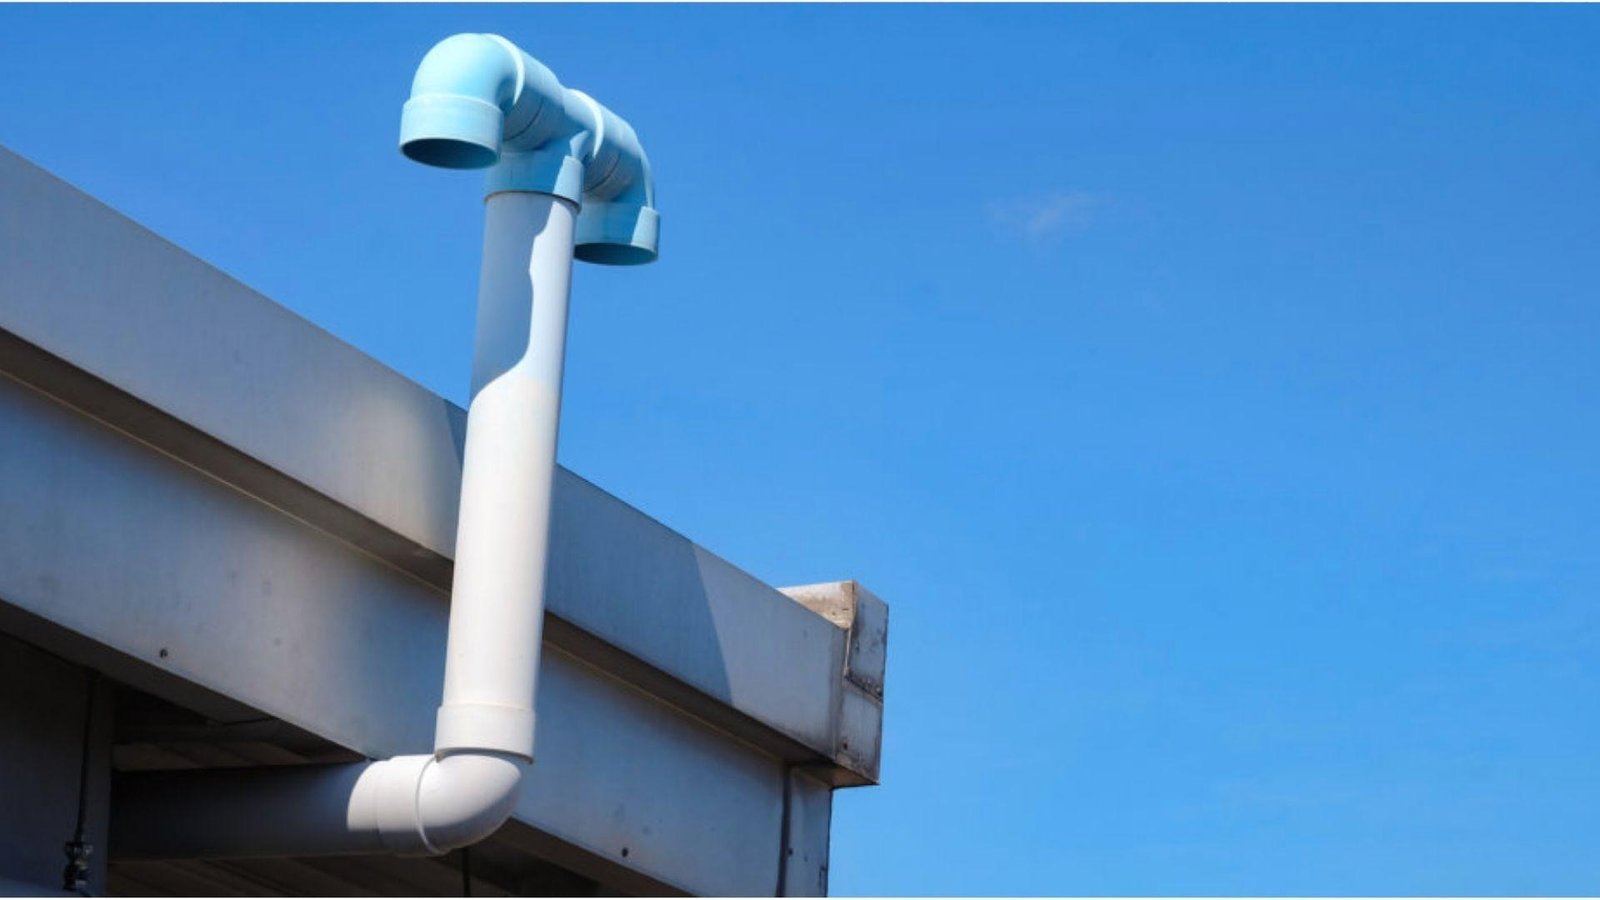
Proper venting keeps your drainage system working and stops sewer gas from building up inside your basement bathroom.
Venting in basement bathrooms is not optional. It controls how well your drains flow and keeps harmful gases out. Every drain needs a vent connected to the main vent stack or outside air.
Without it, the system creates negative pressure that slows drainage and allows sewer gas to leak in. Wet venting combines the drain and vent in one pipe, which works well in tight spaces.
Dry venting uses a separate pipe. Both are valid options, but your local building code determines which is allowed in your area. Always check before you build anything.
Common Mistakes in Basement Bathroom Plumbing
These are the mistakes I see most often, and avoiding them can save you serious money and headaches.
- Poor layout planning leads to broken concrete, pipe relocation, and wasted money before work even gets started
- Choosing the wrong pump type or skipping one altogether causes backflow and full drainage failure
- Skipping or undersizing vents causes slow drains, gurgling pipes, and sewer gas inside your home
- Installing plumbing in a damp basement without waterproofing first ruins fixtures, walls, and flooring fast
- Unpermitted plumbing work can block a home sale and force expensive corrections down the road
Getting these things right from the start is what separates a smooth project from a costly one.
Conclusion
When I first looked into basement bathroom plumbing, I thought it would be straightforward. It's not.
But once you understand how it works, the whole project becomes far less overwhelming.
Plan your layout early. Pick the right drainage system. Don't skip the permits.Small decisions upfront save big money later.
If this helped you, drop a comment below and let me know where you're at. Share this with a friend planning a basement bathroom. It could save them a costly mistake.
Frequently Asked Questions
Do I Need a Permit for Basement Bathroom Plumbing?
Yes. Most areas require a permit. Always check with your local building authority before starting any work.
Can I Add a Basement Bathroom Without Breaking Concrete?
Yes. Above-floor macerator pump systems let you add a basement bathroom without cutting the concrete slab.
How Deep Does a Sewage Ejector Pit Need to Be?
Typically 18 to 24 inches deep, depending on your fixtures and local code requirements.
How Long Does Basement Bathroom Plumbing Installation Take?
Usually two to five days, depending on layout, drainage system, and existing plumbing already in place.
What Is the Best Drainage System for a Basement Bathroom?
A sewage ejector pump works best for full bathrooms. A macerator pump suits smaller setups with fewer fixtures.