Basement wall damage is more common than most people think. Cracks, leaks, and crumbling concrete can show up out of nowhere and leave you stressed.
This article covers the 7 best methods for patching basement walls, along with causes, signs, tools, and tips to keep your walls in good shape.
I have helped many homeowners fix their basements, and I know what works. You will find clear, step-by-step guidance here. No confusing jargon. No guesswork. Just real solutions that fix the problem. Whether the damage is small or growing, this guide has you covered.
What Causes Damage to Basement Walls
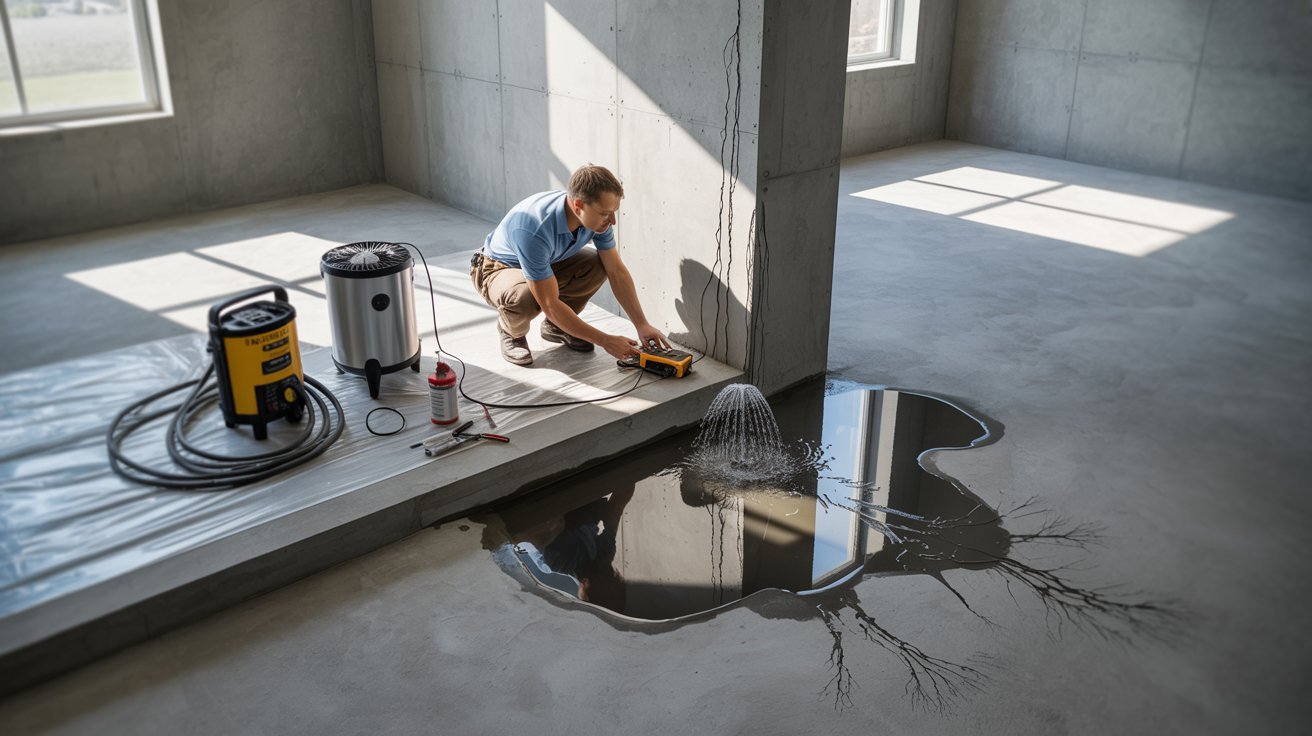
Knowing why basement walls crack or crumble helps you fix them the right way. The most common cause is hydrostatic pressure, where water builds up in the soil around your foundation and pushes through small gaps and cracks.
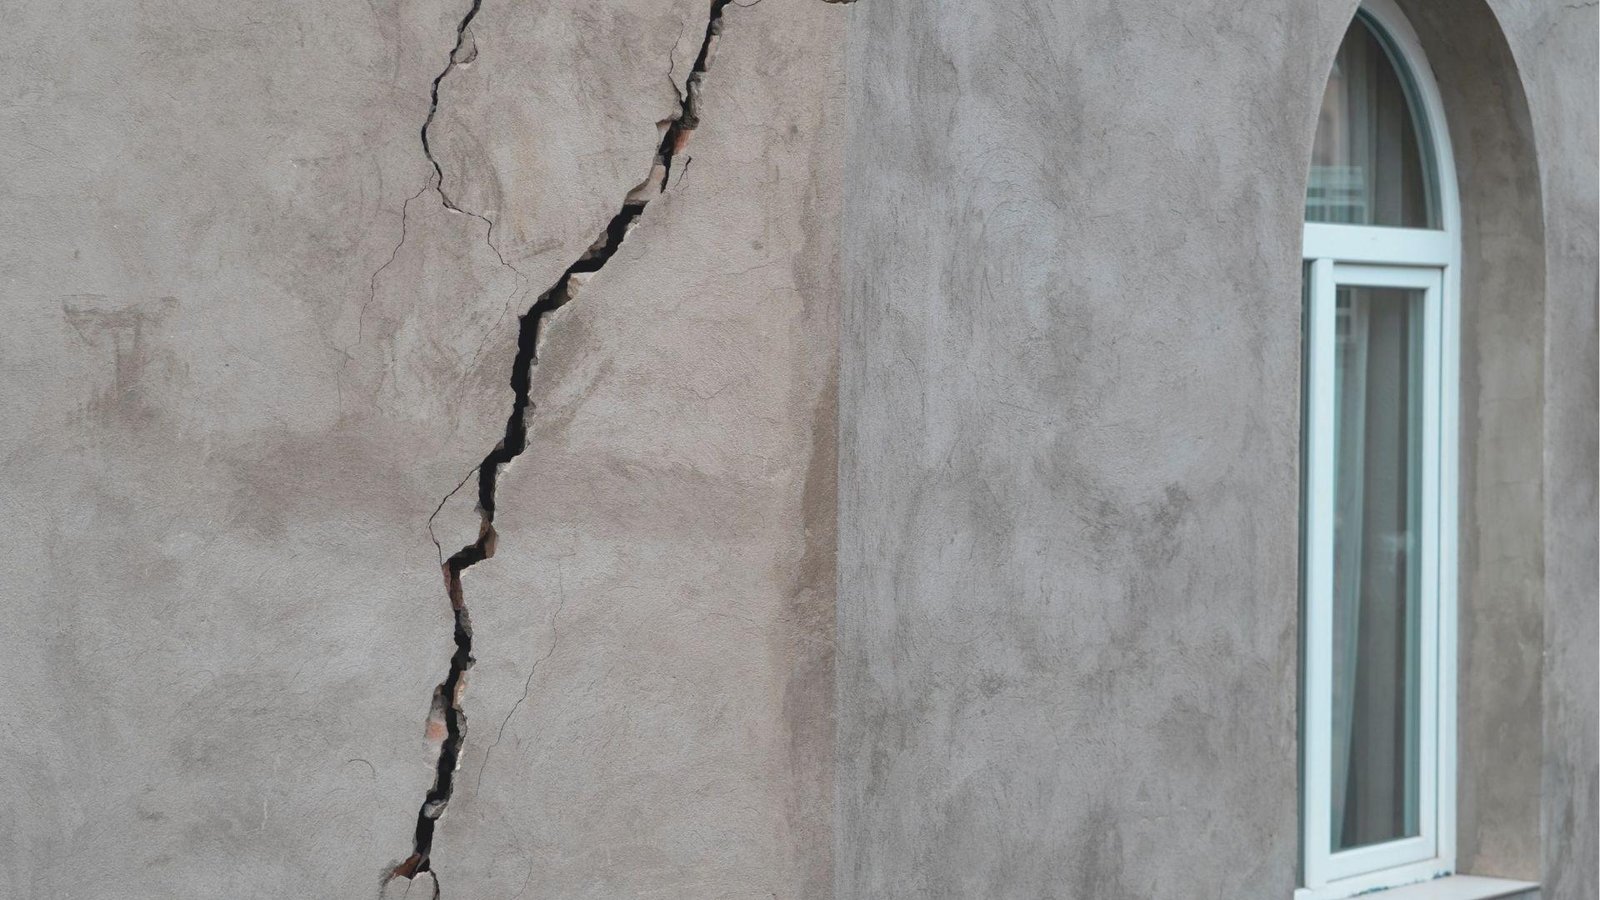
Homes also settle over time, and uneven ground shifts can stress your walls and cause diagonal cracks near corners.
In cold climates, water gets into tiny cracks, freezes, expands, and slowly makes them worse season after season. Poor drainage makes all of this worse.
Clogged gutters, flat grading, and bad downspout placement let water pool near your foundation, leading to staining, mold, and crumbling concrete over time.
Signs Your Basement Walls Need Patching
Catching problems early saves time and money. Watch for these warning signs before small issues turn into big repairs.
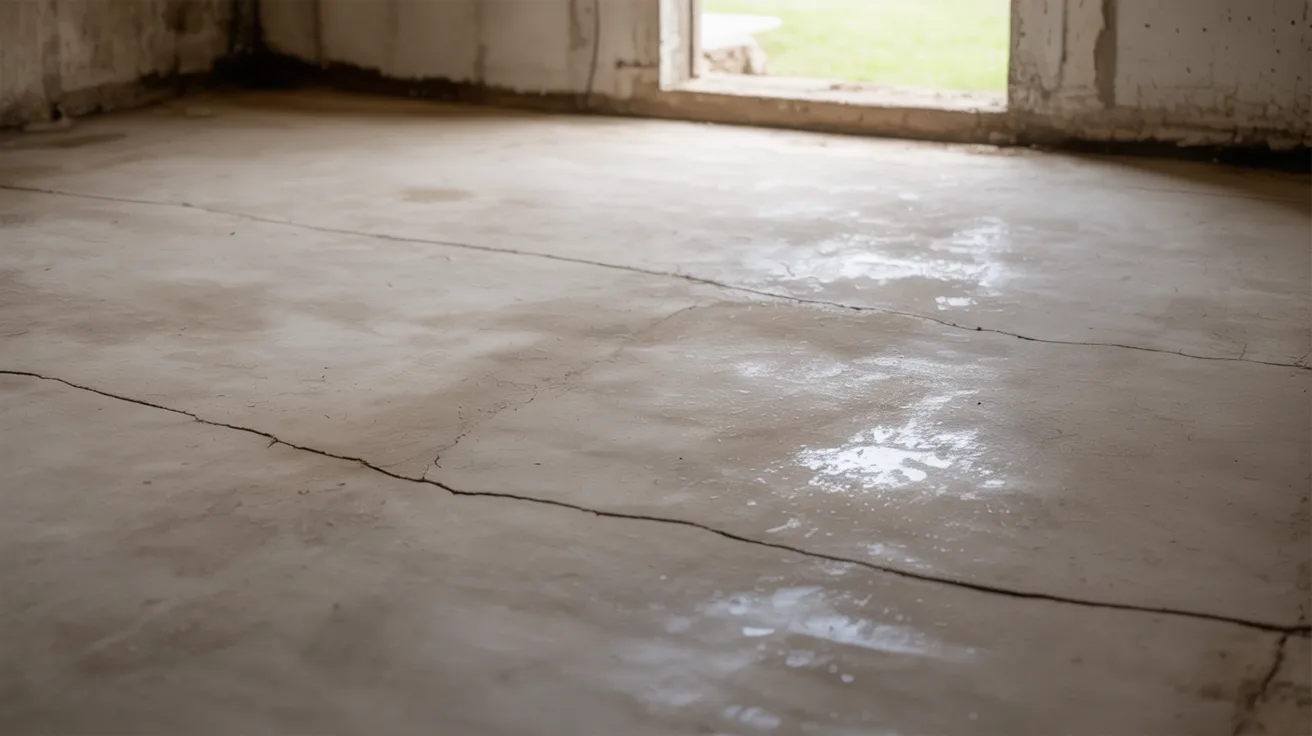
Visible Cracks and Surface Gaps
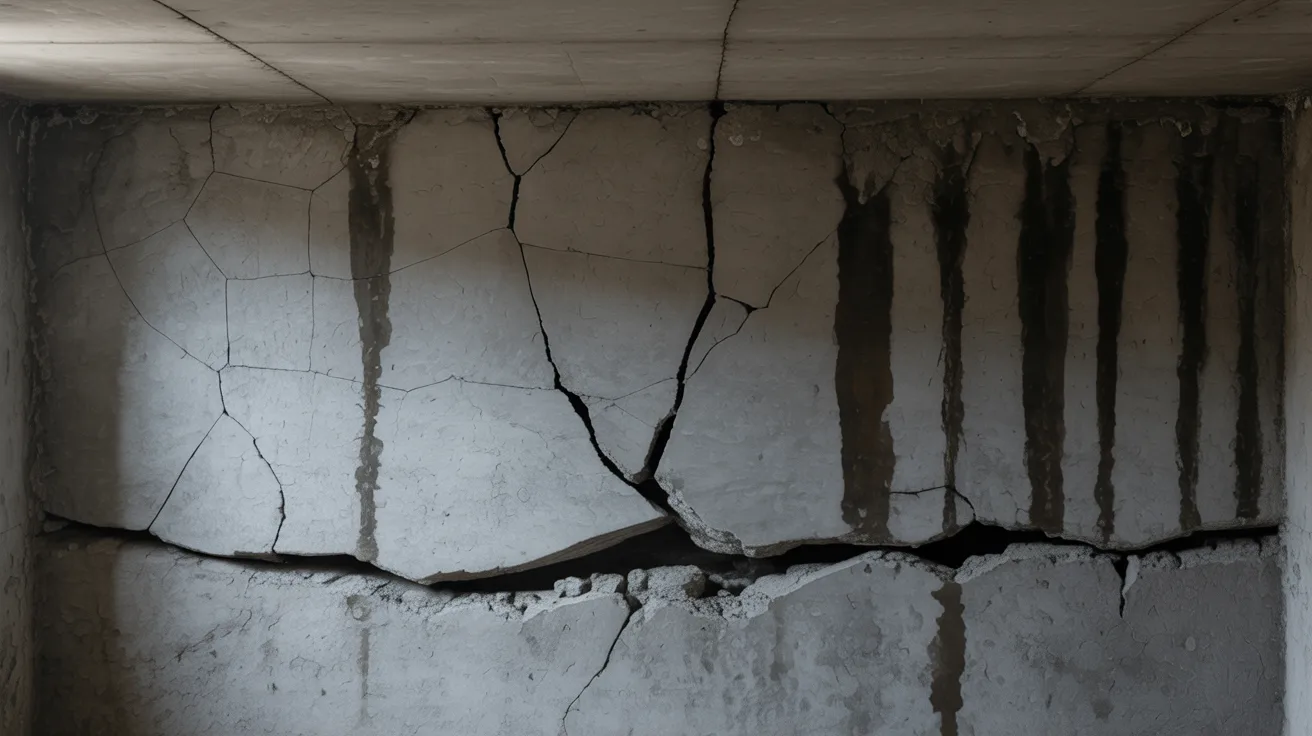
Cracks are the most obvious sign something is wrong. Hairline cracks may seem minor, but they can let in water and grow over time.
Wide cracks or cracks that run diagonally are more serious. Any crack you can fit a coin into needs attention right away.
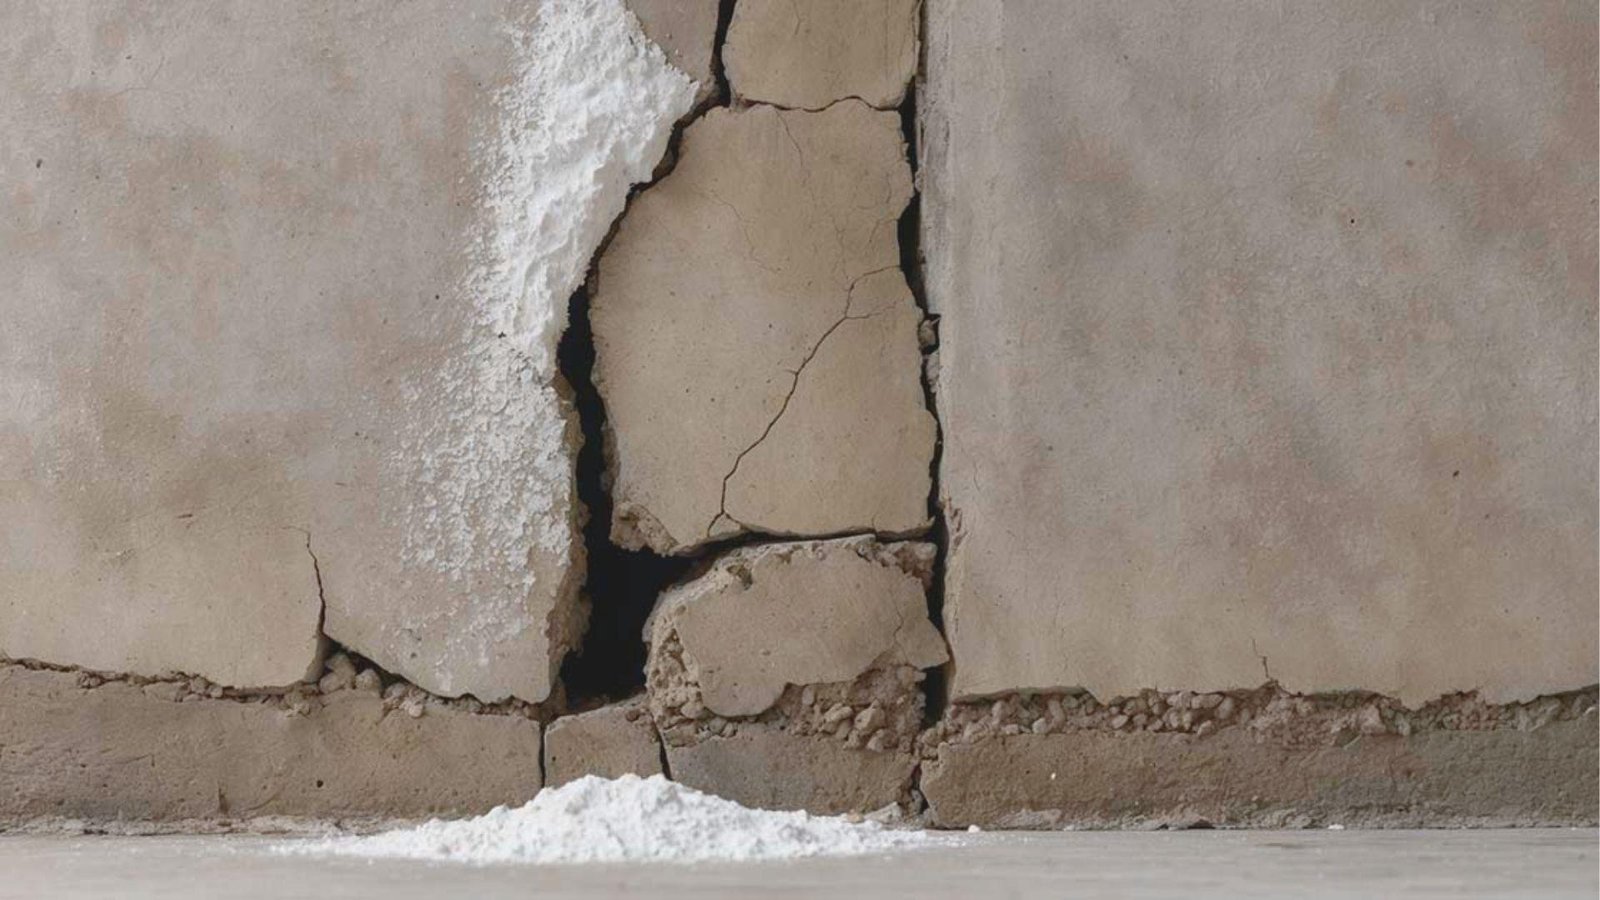
Damp Areas and Water Stains
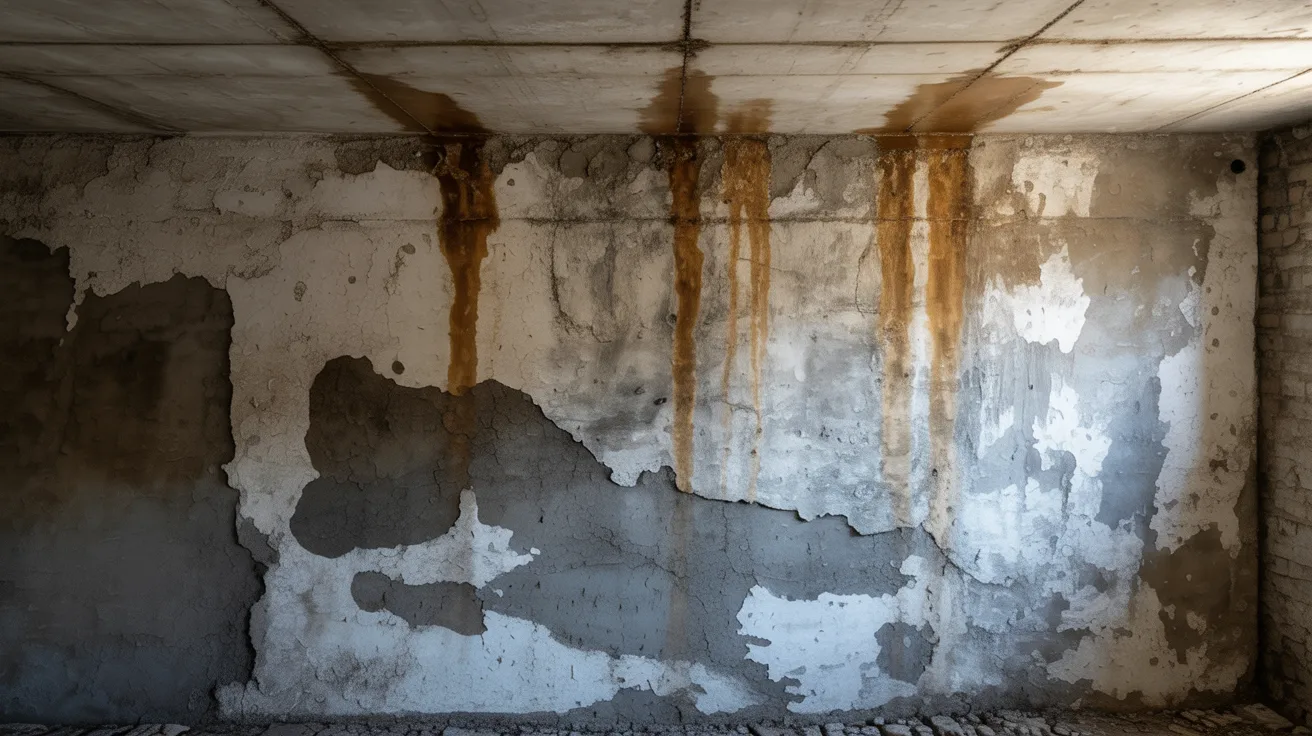
If you notice wet spots, white mineral deposits, or brown stains on your walls, water is getting in. These stains are called efflorescence and they show where moisture has been moving through the concrete.
Even if the wall feels dry right now, those stains mean water has been there before and will come back.
Flaking, Chipping, or Spalling Concrete
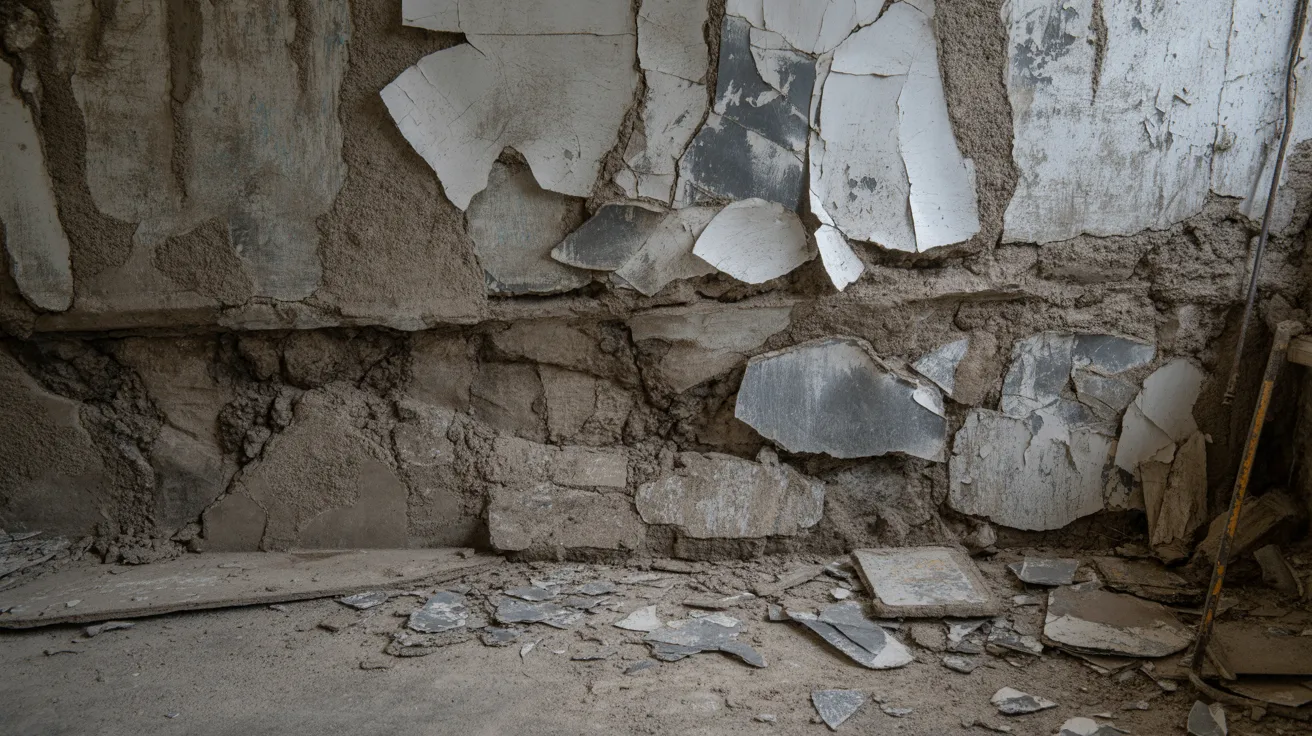
Spalling happens when the surface of concrete breaks off in small pieces or flakes. It often looks like the wall is peeling.
This is caused by moisture getting inside the concrete and breaking it apart from within. Spalling walls need to be patched quickly or the damage spreads deeper into the wall.
Musty Smells and Mold Growth
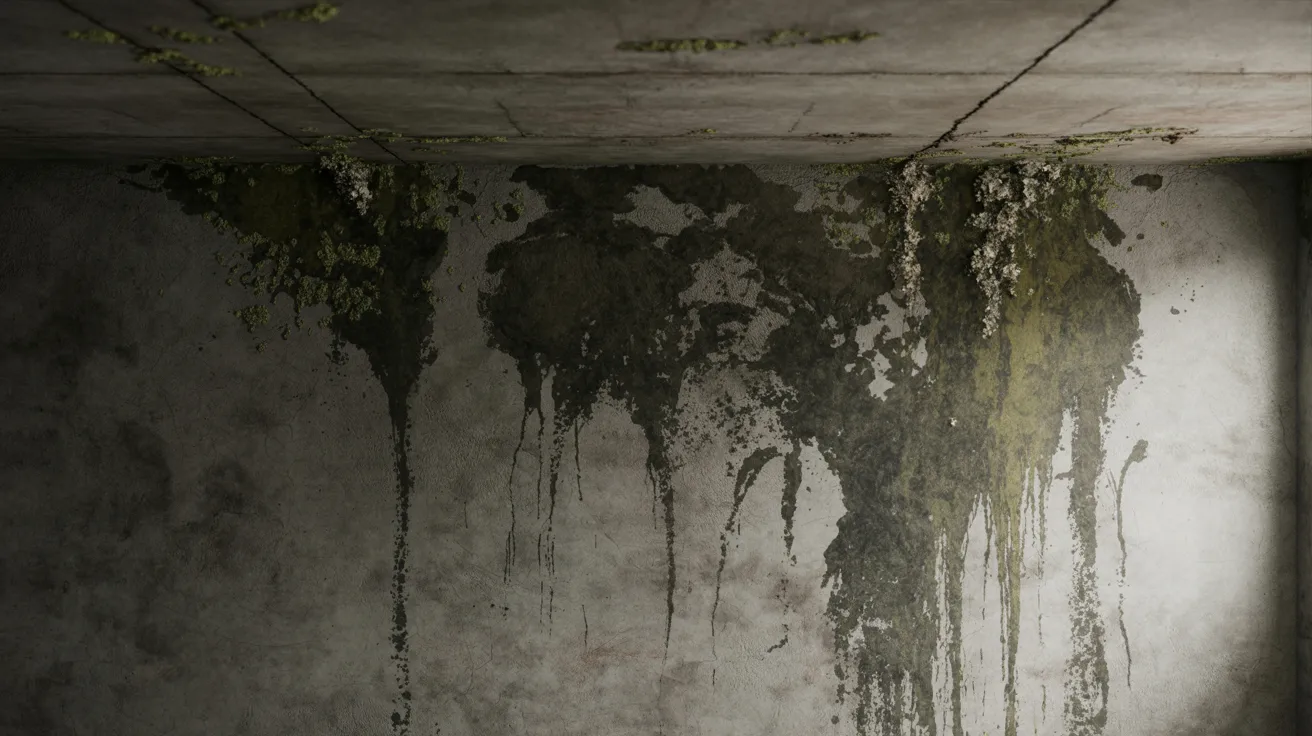
A damp, musty odor in your basement usually means mold is growing somewhere. Mold needs moisture to survive, so if you smell it, water is getting in through your walls.
Dark spots or fuzzy patches on walls are a clear sign. Mold is not just a wall problem. It is a health problem too.
Tools and Materials for Patching Basement Walls
Having the right tools ready before you start makes the whole job easier.
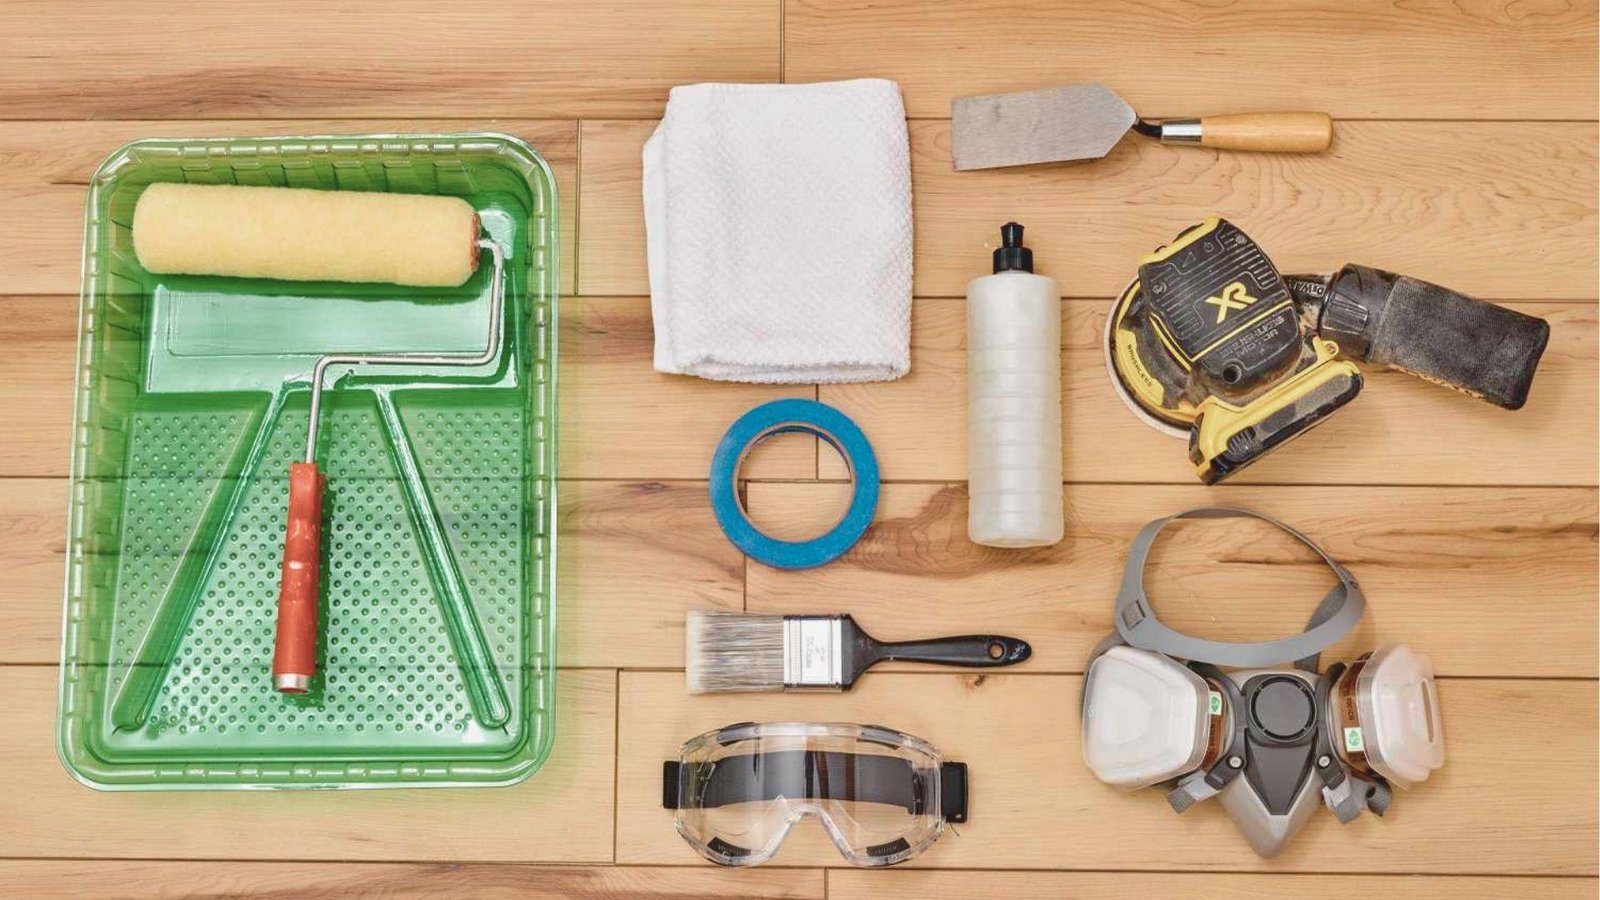
Hydraulic cement stops active leaks fast. Concrete patching compound fills holes and larger damaged areas. Masonry crack sealant works best for narrow or hairline cracks and stays slightly flexible after drying.
For hand tools, keep a wire brush, putty knife, and trowel nearby. They cover everything from cleaning to applying and smoothing. Always wear rubber gloves, safety glasses, and a dust mask when working with cement-based products.
How to Prepare Basement Walls Before Patching
Good prep work is what makes repairs last. Skipping this step is the number one reason patches fail.
Remove Loose Concrete and Debris
Use a wire brush, chisel, or angle grinder to remove any loose, flaking, or crumbling concrete around the damaged area. Do not patch over weak material.
If the old concrete is not solid, the new patch will not stick. Remove everything that moves or comes off easily.
Clean the Surface Thoroughly
After removing loose material, clean the surface well. Use a stiff brush to remove dust and dirt. You can rinse with water if needed, but make sure the wall is not soaking wet before applying any patch.
A clean surface gives the patching material something solid to bond to.
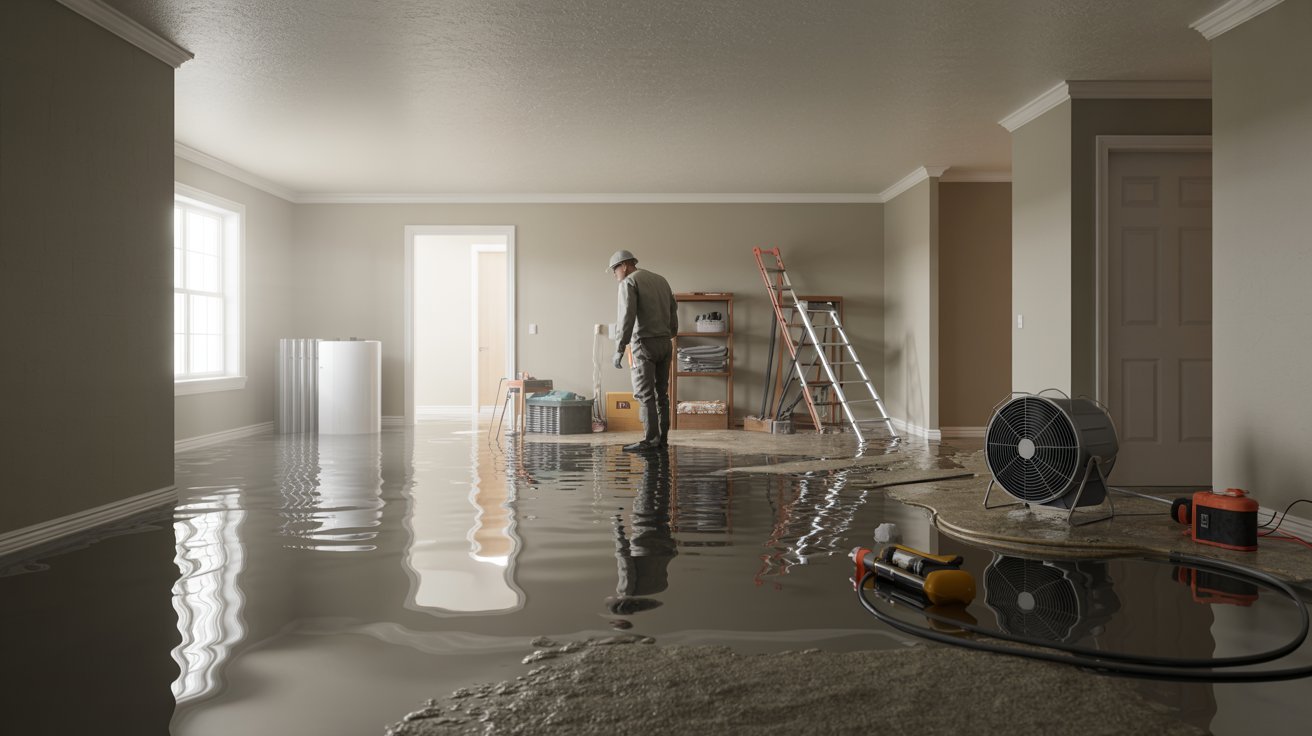
Dry the Area Before Repairs
Most patching compounds need a surface that is damp but not dripping wet. If water is actively running down the wall, use hydraulic cement first to stop the flow.
Then let the area dry to a slightly damp state. Applying patches to overly wet walls will cause them to fail.
Widen Deep Cracks for Better Adhesion
This sounds counterintuitive, but slightly widening a crack helps the patch bond better. Use a chisel or grinder to cut the crack into a V-shape or U-shape.
This gives the patching material more surface area to grip. A shallow, narrow crack is actually harder to fill well than a slightly wider one.
7 Best Methods for Patching Basement Walls
Here are the seven most effective methods for fixing basement wall damage, from simple cracks to serious leaks.
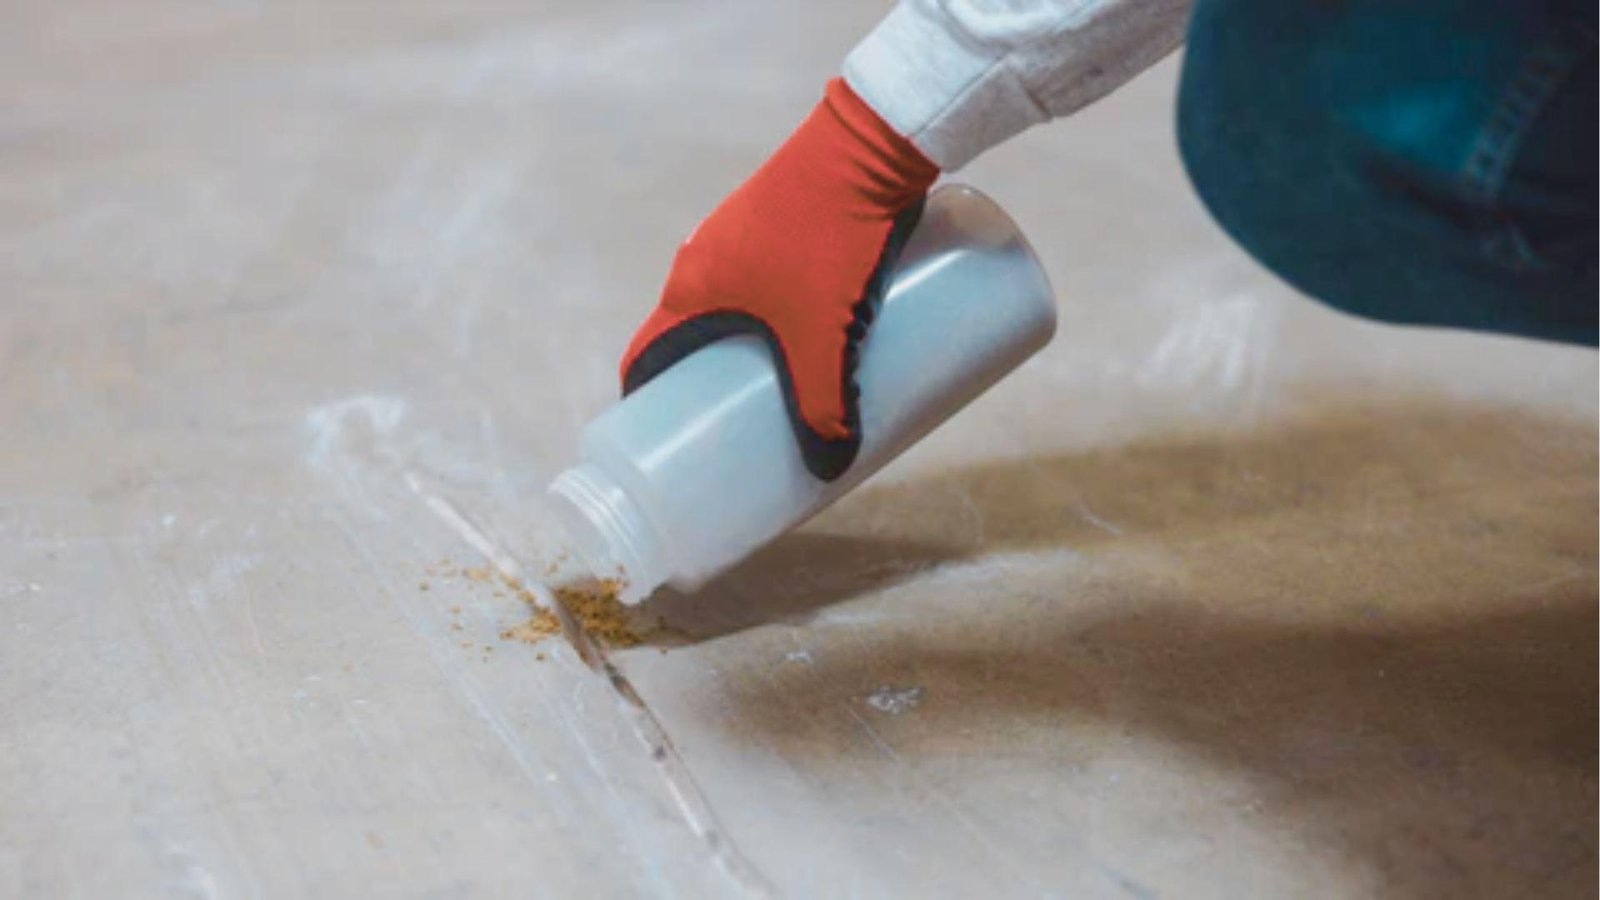
Method 1: Using Hydraulic Cement for Active Water Leaks
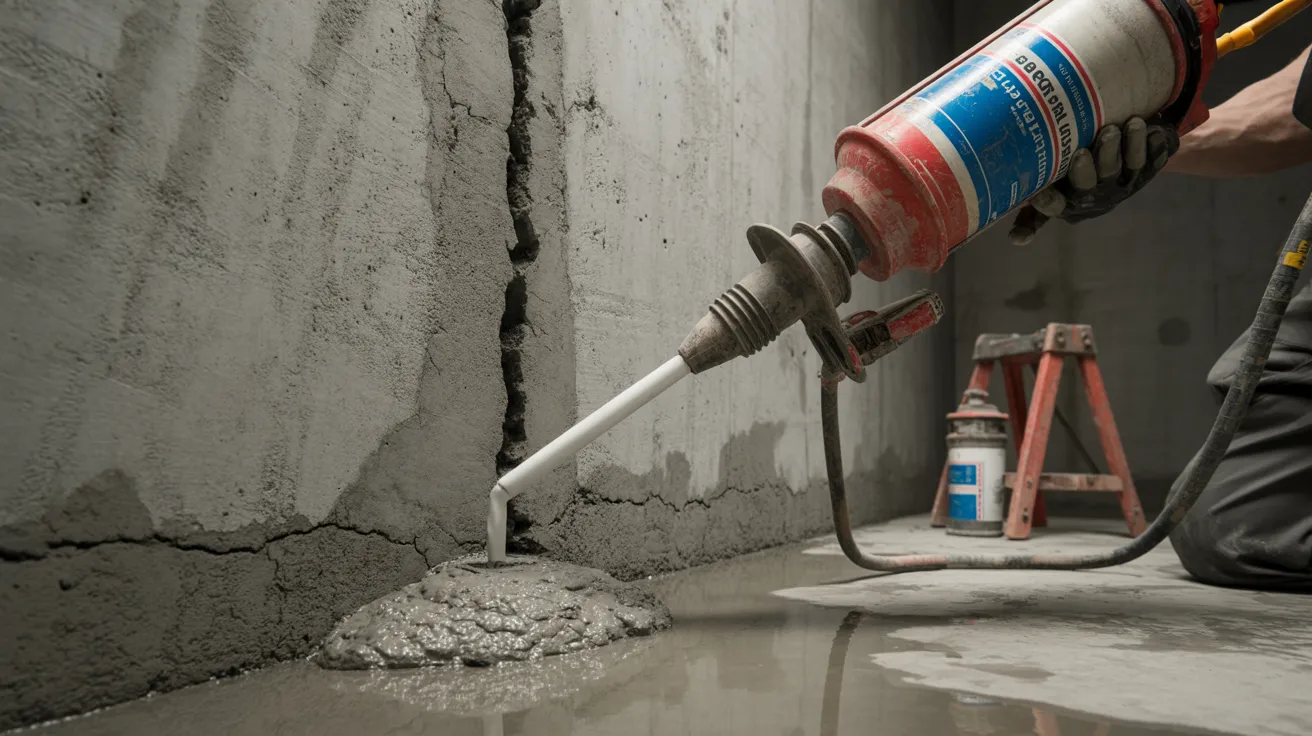
Hydraulic cement is your best option for active leaks. Mix it to a putty-like consistency, press it firmly into the crack, and hold it for a few minutes. It expands as it sets and stops water flow fast.
Method 2: Filling Hairline Cracks With Masonry Sealant
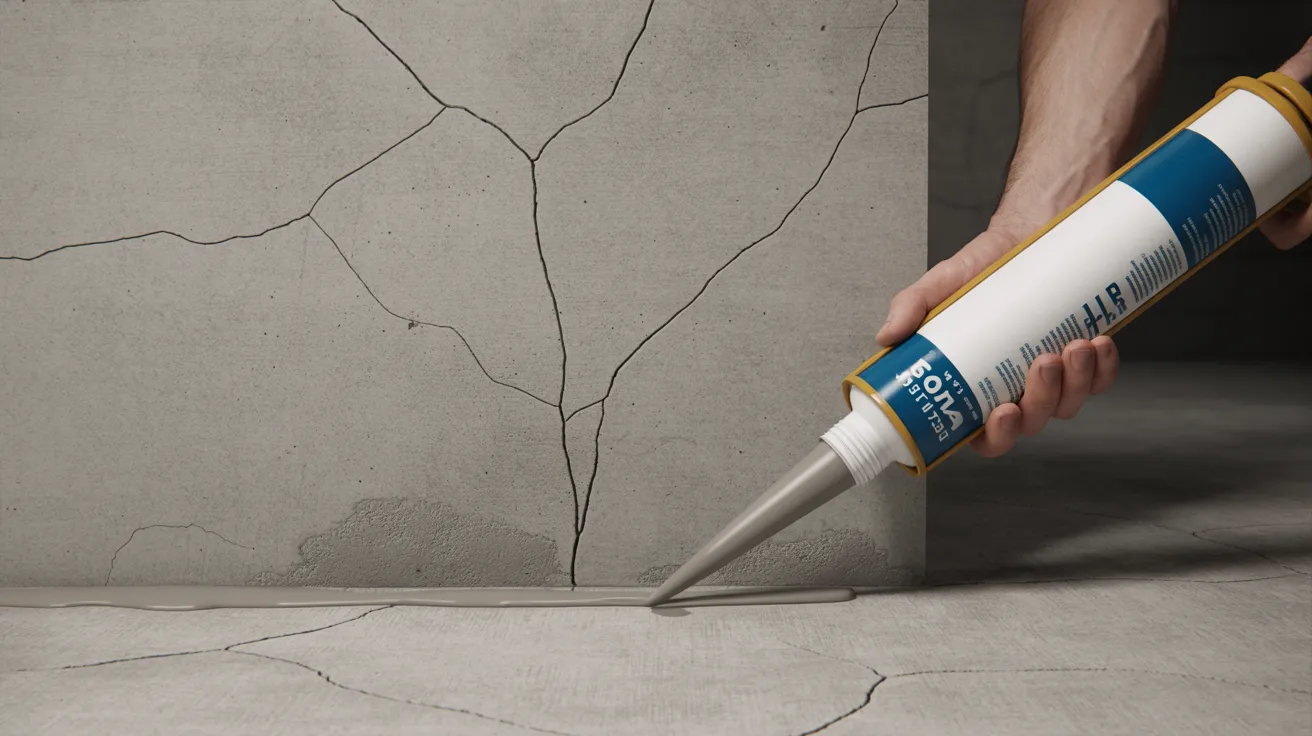
Apply masonry crack sealant from a caulk tube directly into the cleaned crack. Smooth it with a putty knife. It stays slightly flexible, so it holds up even if the wall shifts a little.
Method 3: Repairing Larger Cracks With Epoxy Filler
Use two-part epoxy filler for larger, dry cracks that need structural strength. Press it deep into the crack, working from the bottom up. It bonds both sides together and cures harder than the original concrete.
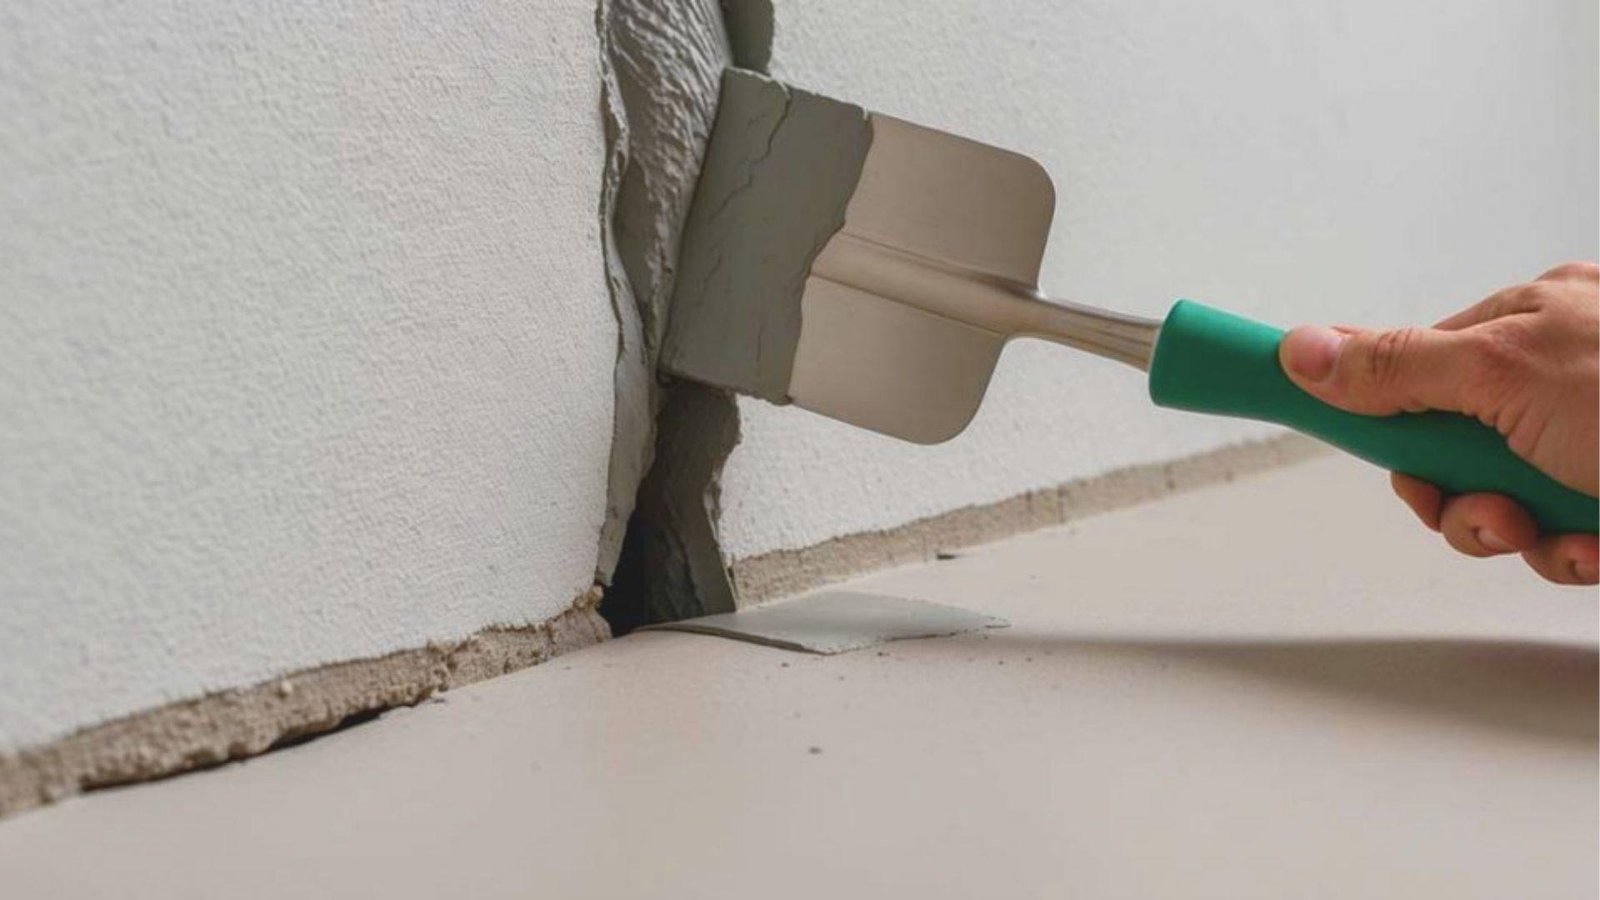
Method 4: Patching Holes With Concrete Repair Compound
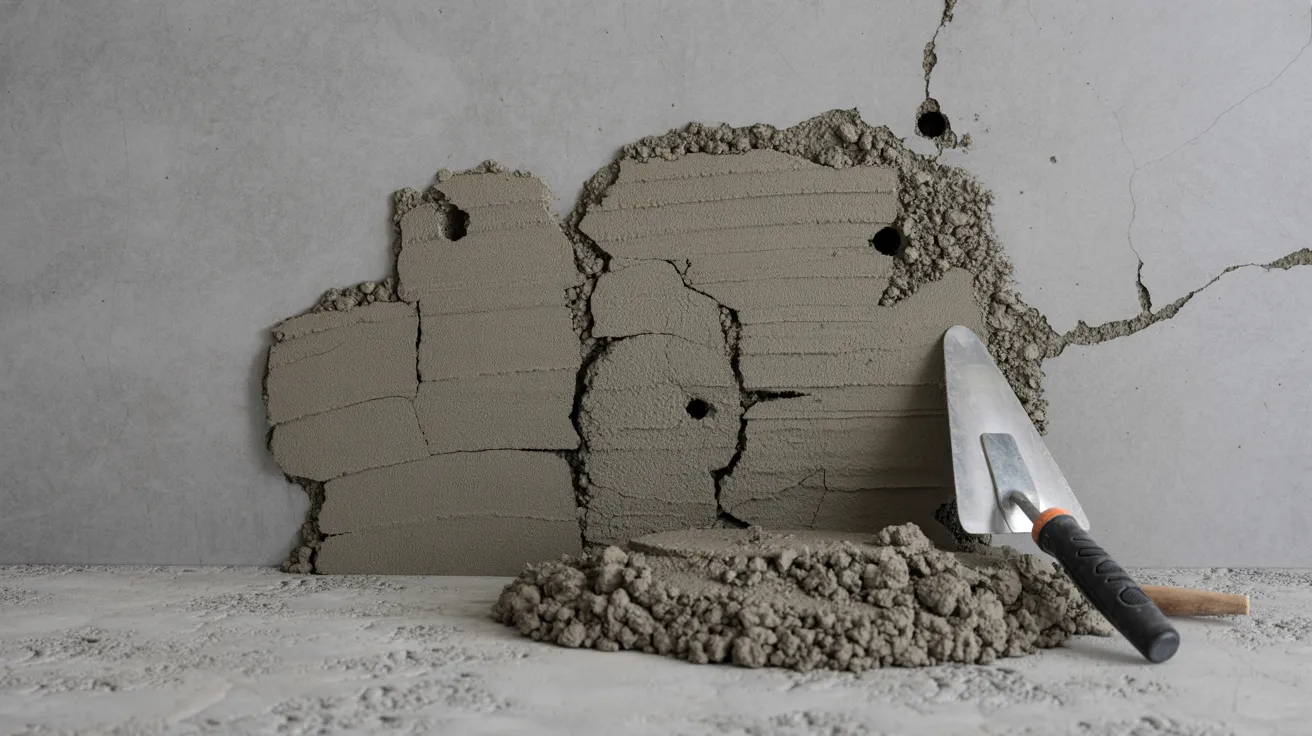
Clean and dampen the damaged area first. Pack the compound firmly into the hole with a trowel, building up layers if needed. Let it cure fully before painting or sealing.
Method 5: Applying Waterproof Coatings to Basement Walls
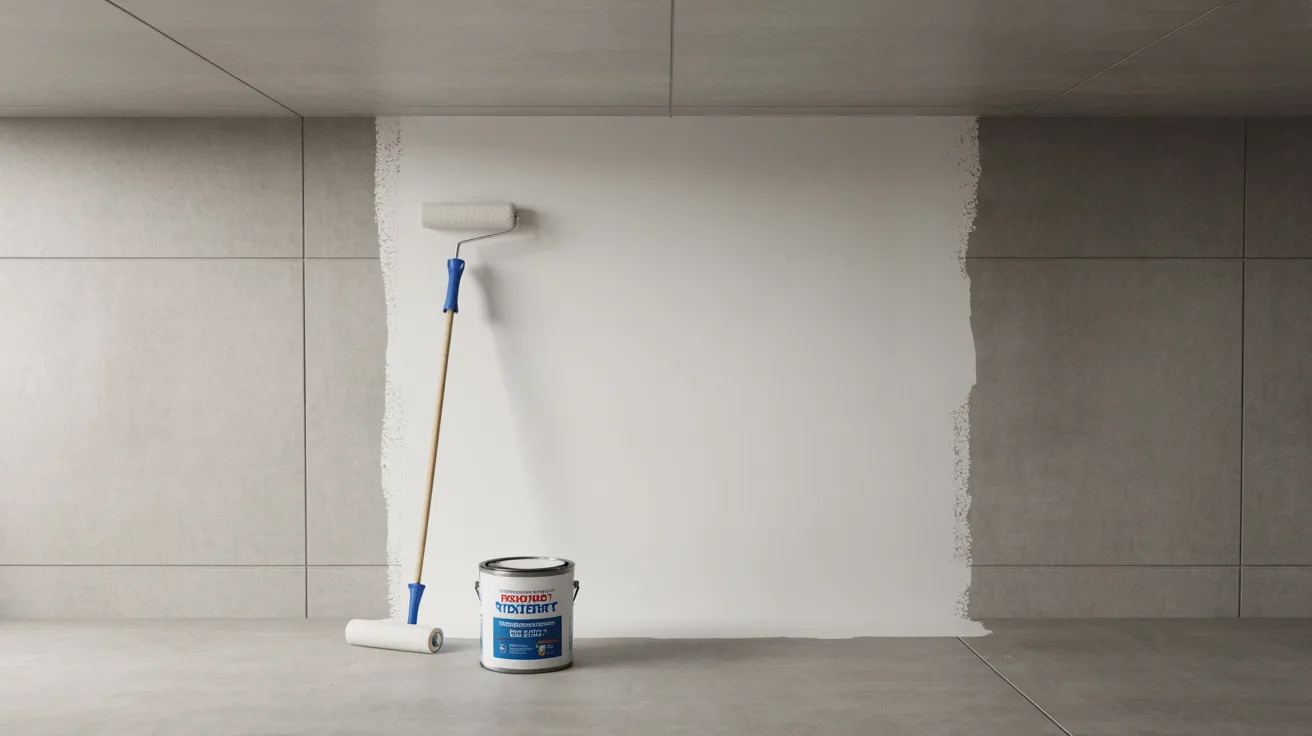
After all patches are done, apply a waterproof masonry coating over the entire wall. Use a brush or roller for two even coats. This blocks future moisture and adds lasting protection.
Method 6: Resurfacing Damaged Basement Wall Surfaces
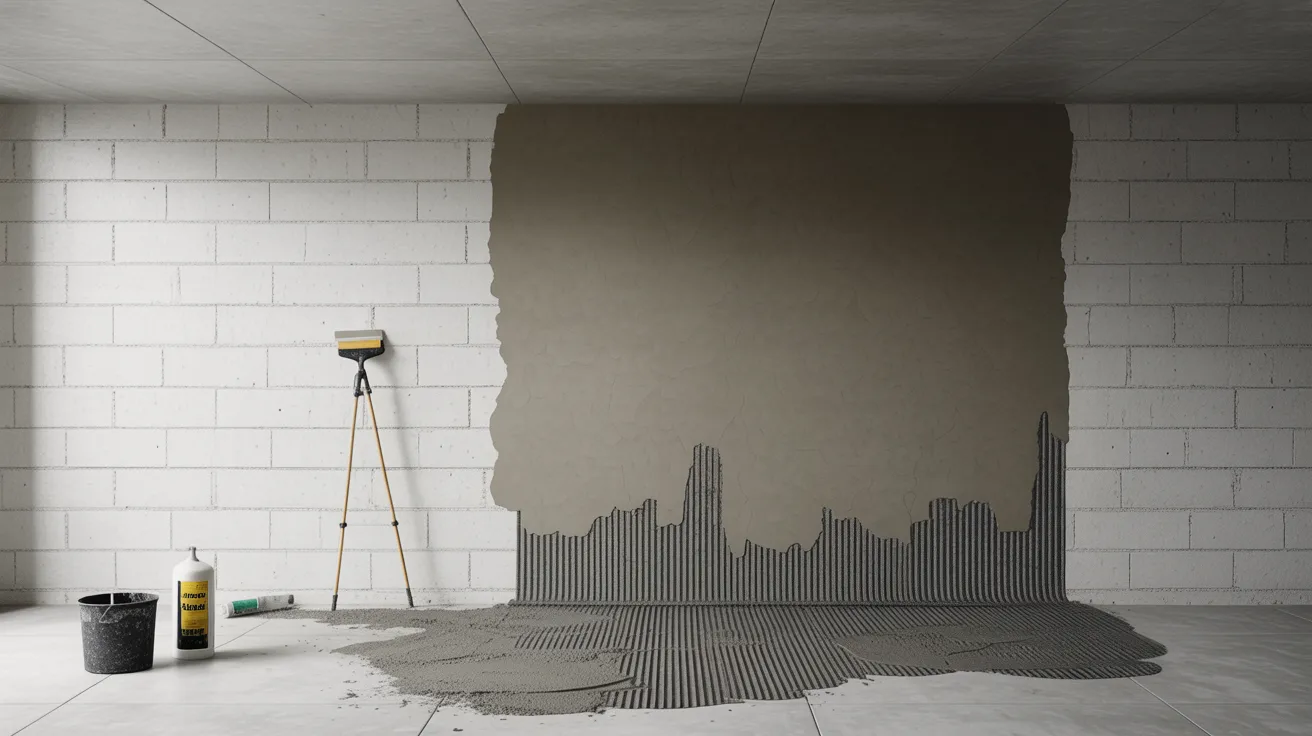
When a large section is worn or chipped, apply concrete resurfacer over the whole wall. Use a brush or squeegee for an even finish. It fills minor imperfections and gives the wall a solid, fresh surface.
Method 7: Reinforcing Weak Areas to Prevent Future Cracks
For walls that keep cracking, carbon fiber straps or wall anchors can add real stability. Some are available for DIY use. Once reinforced, patch any remaining surface cracks with the right compound.
Common Mistakes to Avoid When Patching Basement Walls
Even experienced DIYers make these mistakes. Knowing them ahead of time can save you from redoing the work.
Ignoring the Source of Moisture
Patching without fixing the cause means the crack will return. Find where the water is coming from first, whether it is poor grading, a clogged gutter, or hydrostatic pressure, and fix that before you patch.
Using the Wrong Repair Product
Each product has a specific purpose. Hydraulic cement handles active leaks. Masonry sealant works for hairline cracks. Epoxy is for structural repairs. Using the wrong one leads to early patch failure.
Applying Materials to Dirty Surfaces
Dust, oil, and loose debris stop patches from bonding. Always clean and prep the surface first. Skipping this step is the most common reason repairs fail within months.
Rushing the Drying Process
Do not paint or seal over a patch that has not fully cured. Follow the label's curing time and keep the area at a stable temperature. Rushing this step weakens the entire repair.
Tips to Keep Basement Walls in Good Condition
Small habits done consistently can stop most basement wall problems before they ever start.
- The ground around your home should slope away from the foundation by at least six inches over the first ten feet. Adding soil to correct a flat or inward-sloping yard directs rainwater away from your walls.
- Clean your gutters at least twice a year to stop water from overflowing near your foundation. Make sure downspouts push water at least four to six feet away from your home.
- Run a dehumidifier set to 50 percent or lower to keep indoor moisture from condensing on your walls. Good airflow and a properly sealed crawl space also help keep things dry.
- Make sure your dryer is vented outside and that no indoor moisture sources are left unaddressed. Trapped humidity is one of the most overlooked causes of basement wall damage.
- Walk the perimeter of your basement two to four times a year and look for new cracks, stains, or damp spots. Catching a small problem early costs far less than fixing a big one later.
When DIY Basement Wall Repairs Are Not Enough
Some problems go beyond what a homeowner can fix alone. Knowing when to call a professional can save your home from serious damage.
Cracks wider than a quarter inch, horizontal cracks, or cracks that keep growing may point to foundation failure. A structural engineer should inspect these before you touch anything.
A wall that is bowing inward is a bigger problem. Soil pressure outside is pushing harder than the wall can hold. This needs professional support, not a patch.
If water keeps coming back after multiple repairs, the real issue is drainage or waterproofing. A professional can install a long-term solution like a drain tile system or exterior membrane.
Conclusion
Patching basement walls is something most homeowners can handle on their own with the right tools and know-how. I remember the first time I saw a crack running across my own basement wall. It felt overwhelming at first.
But once I understood what caused it and which method to use, the fix was simpler than I expected. You can do this too. Start with the right method, prep the surface well, and take your time.
Have questions or tips of your own? Drop a comment below and share your experience with other readers.
Frequently Asked Questions
Can I patch basement walls myself without hiring a contractor?
Yes, most cracks and minor leaks can be fixed with DIY products from any hardware store. Only call a pro for large structural cracks or bowing walls.
How long does a basement wall patch usually last?
A good patch on a clean surface can last many years. Fix the moisture source first and use the right product for the best results.
What is the best product to stop an active water leak in a basement wall?
Hydraulic cement is the top choice. It sets fast and works even while water is still coming through the crack.
Do I need to waterproof my basement walls after patching?
Yes, it is a smart move. A waterproof masonry coating after patching helps block future moisture from getting through your walls.
How do I know if a basement wall crack is serious?
Horizontal cracks, cracks wider than a quarter inch, or a bowing wall are red flags. Get a professional to check those right away.