I've seen what a wet stone basement can do to a home. The smell alone is enough to drive you out.
Stone basement waterproofing is one of those problems that feels bigger than it is, but only if you go in without a plan. That's exactly what this guide is for.
Here, I'll walk you through why stone basements leak, how to fix it yourself step by step, and when it's time to call a pro. I've kept everything simple, practical, and honest.
No fluff. No guesswork.
By the end of this post, you'll know what's causing the water, what to do about it, and how to keep it from coming back.
Understanding Why Stone Basements Leak
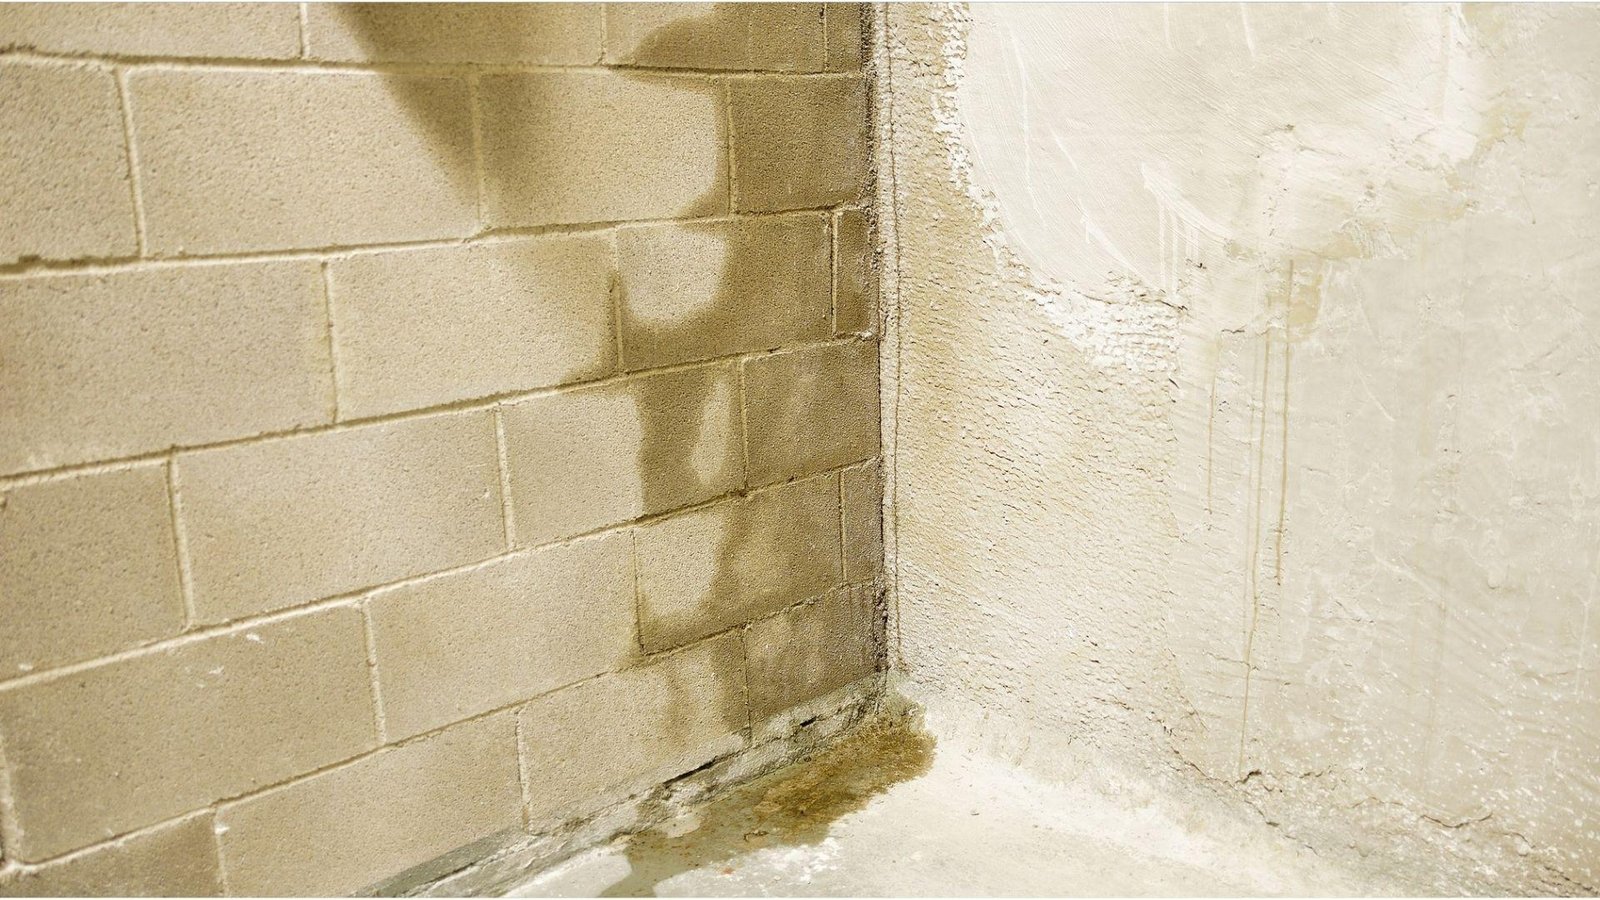
Stone basements were built to last, but they were never fully waterproof. The stone itself is porous, meaning it absorbs water slowly over time.
Mortar joints between stones age and crack, opening up small gaps where water gets in.
Hydrostatic pressure, which is the weight of water-saturated soil pushing against your foundation walls, forces moisture through even tiny openings.
Poor soil drainage around older homes makes this worse.
You'll know water is winning when you spot damp walls, a musty smell, white powder deposits called efflorescence on the stone surface, or standing water collecting in the corners of your basement floor.
Step-by-Step DIY Process for Effective Stone Basement Waterproofing
Follow these steps in order, and you'll give yourself the best shot at a dry, stable basement without wasting time or money.
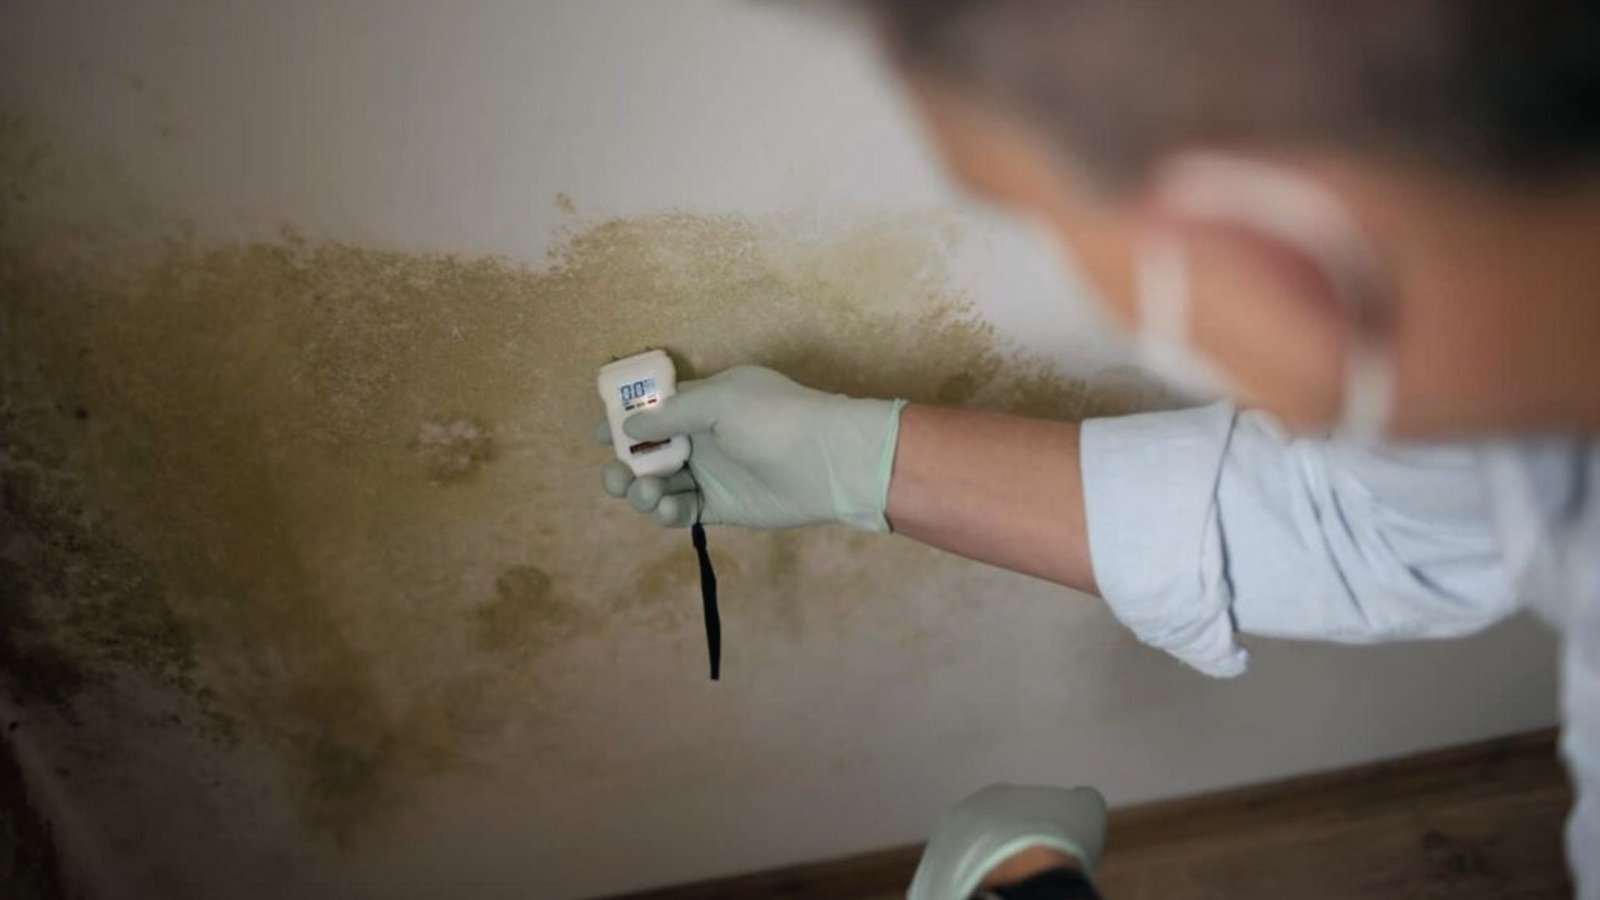
Step 1: Inspect Your Basement Before Waterproofing
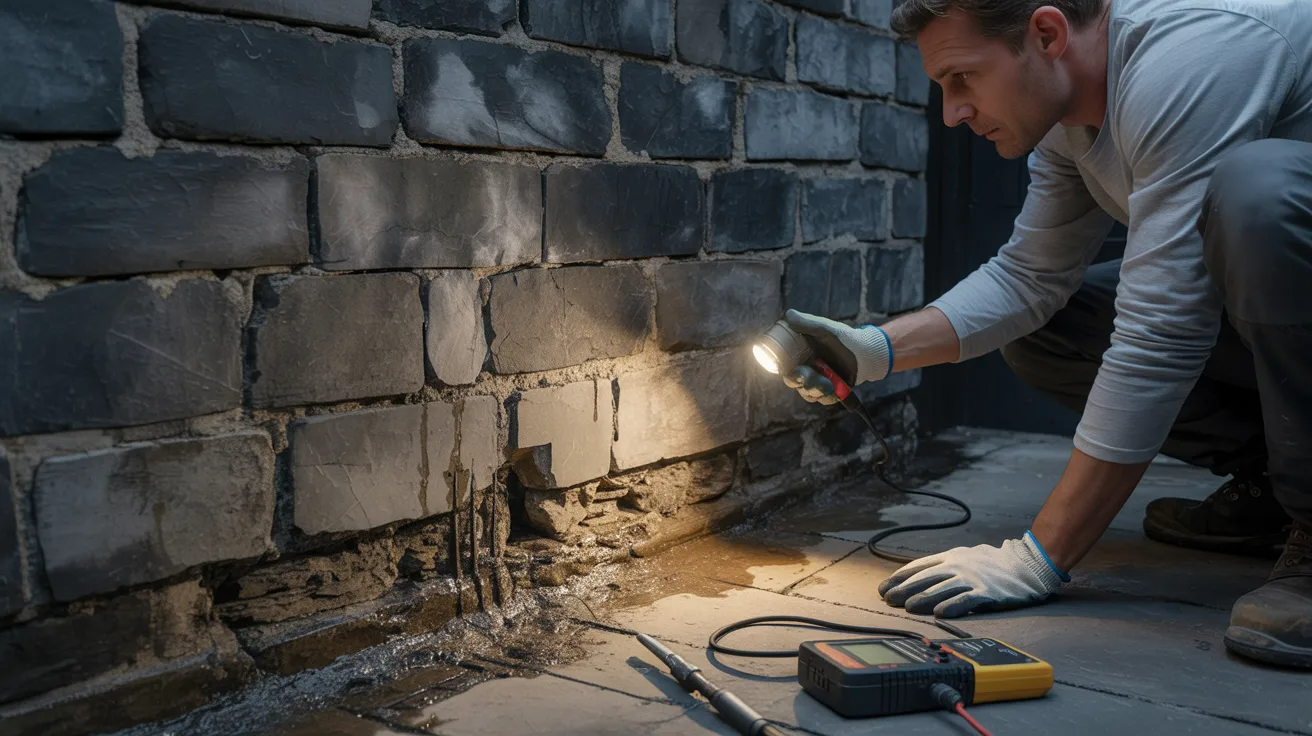
Start by checking every wall-to-floor joint for signs of seepage. Run your hand along the base of the walls after a heavy rain.
Look for cracks, crumbling mortar, or gaps between stones. Check your gutters, downspouts, and the slope of the ground outside.
A basic humidity meter can tell you how much moisture is already in the air. Skipping this step means you might fix the wrong thing first. A good inspection saves you hours of wasted work later.
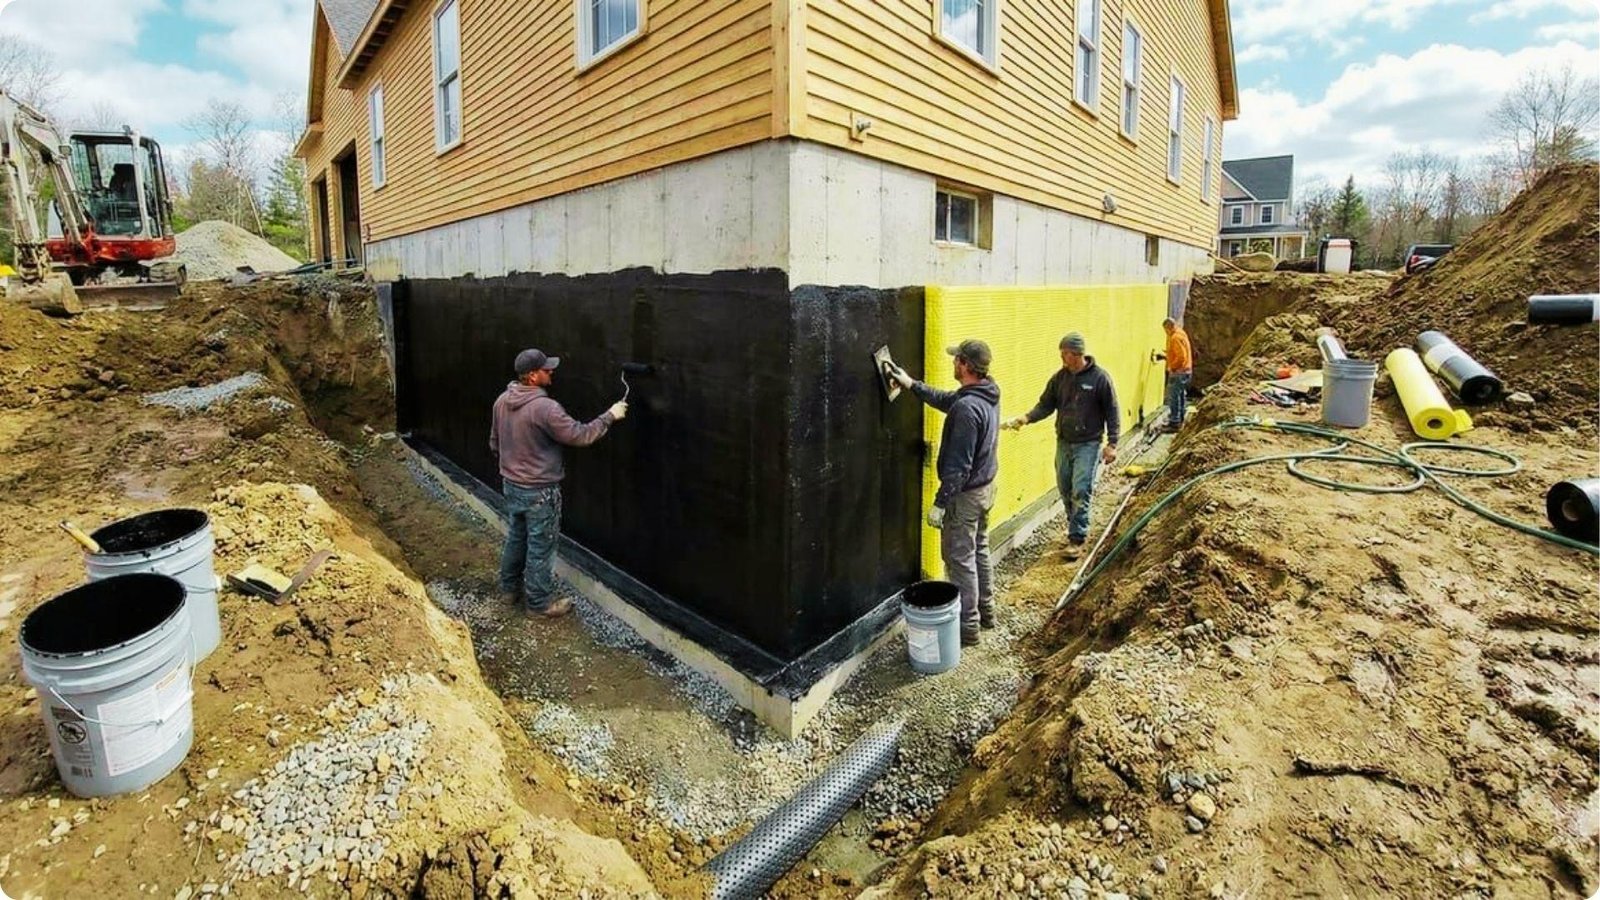
Step 2: Improve Exterior Drainage Around the Foundation
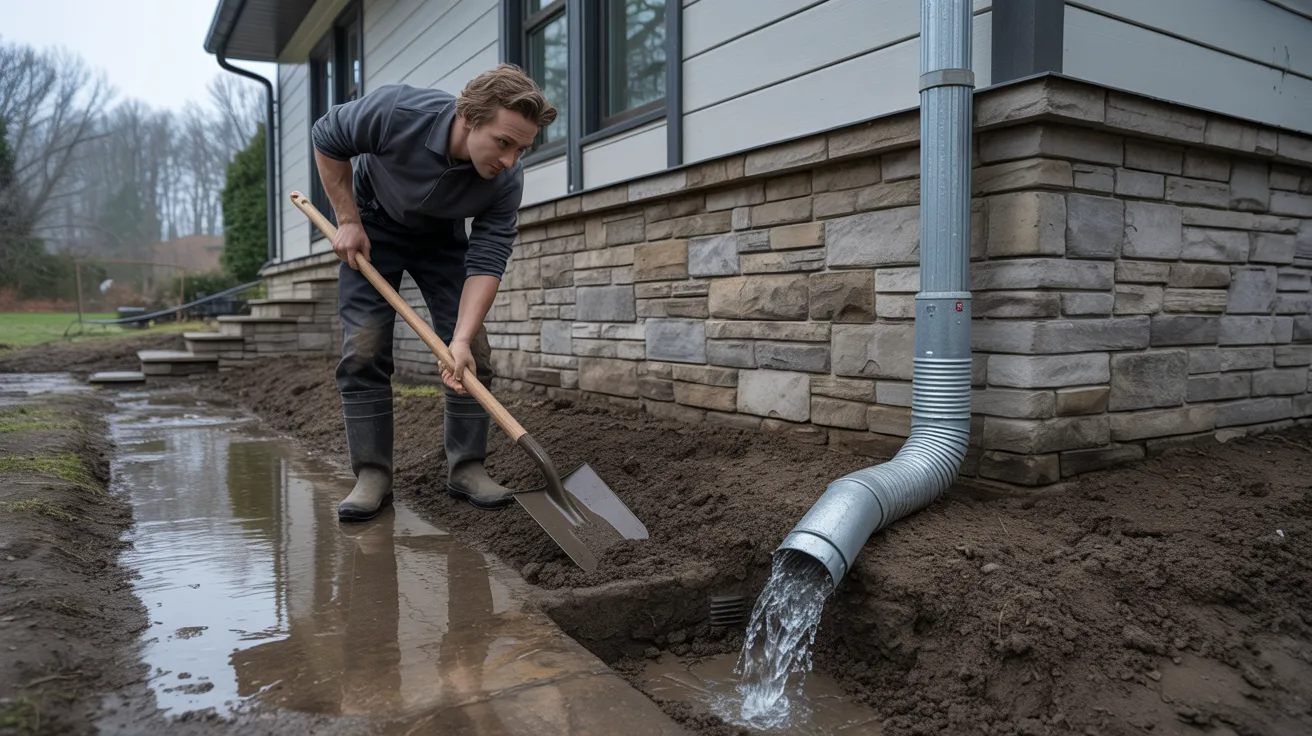
Before you touch the inside of your basement, look outside first. Make sure the ground around your home slopes away from the foundation.
Water should flow outward, not pool near your walls. Clean your gutters and extend your downspouts so roof water lands at least 6 to 10 feet from the house.
Fix any low spots in your yard where water collects after rain. Sorting out exterior drainage first means your interior work actually holds up long-term.
Step 3: Repair and Seal Stone Foundation Walls

This is one of the most hands-on parts of the process. Repointing means removing old, crumbling mortar and packing in fresh mortar between your stone joints.
Use a chisel and a tuck-pointing tool. Fill small cracks with a masonry repair product. Once repairs are dry, apply a breathable masonry sealant to the wall surface.
Note that sealing alone won't stop active water intrusion in stone basement waterproofing. It works best as a layer of protection after the source of water has been addressed.
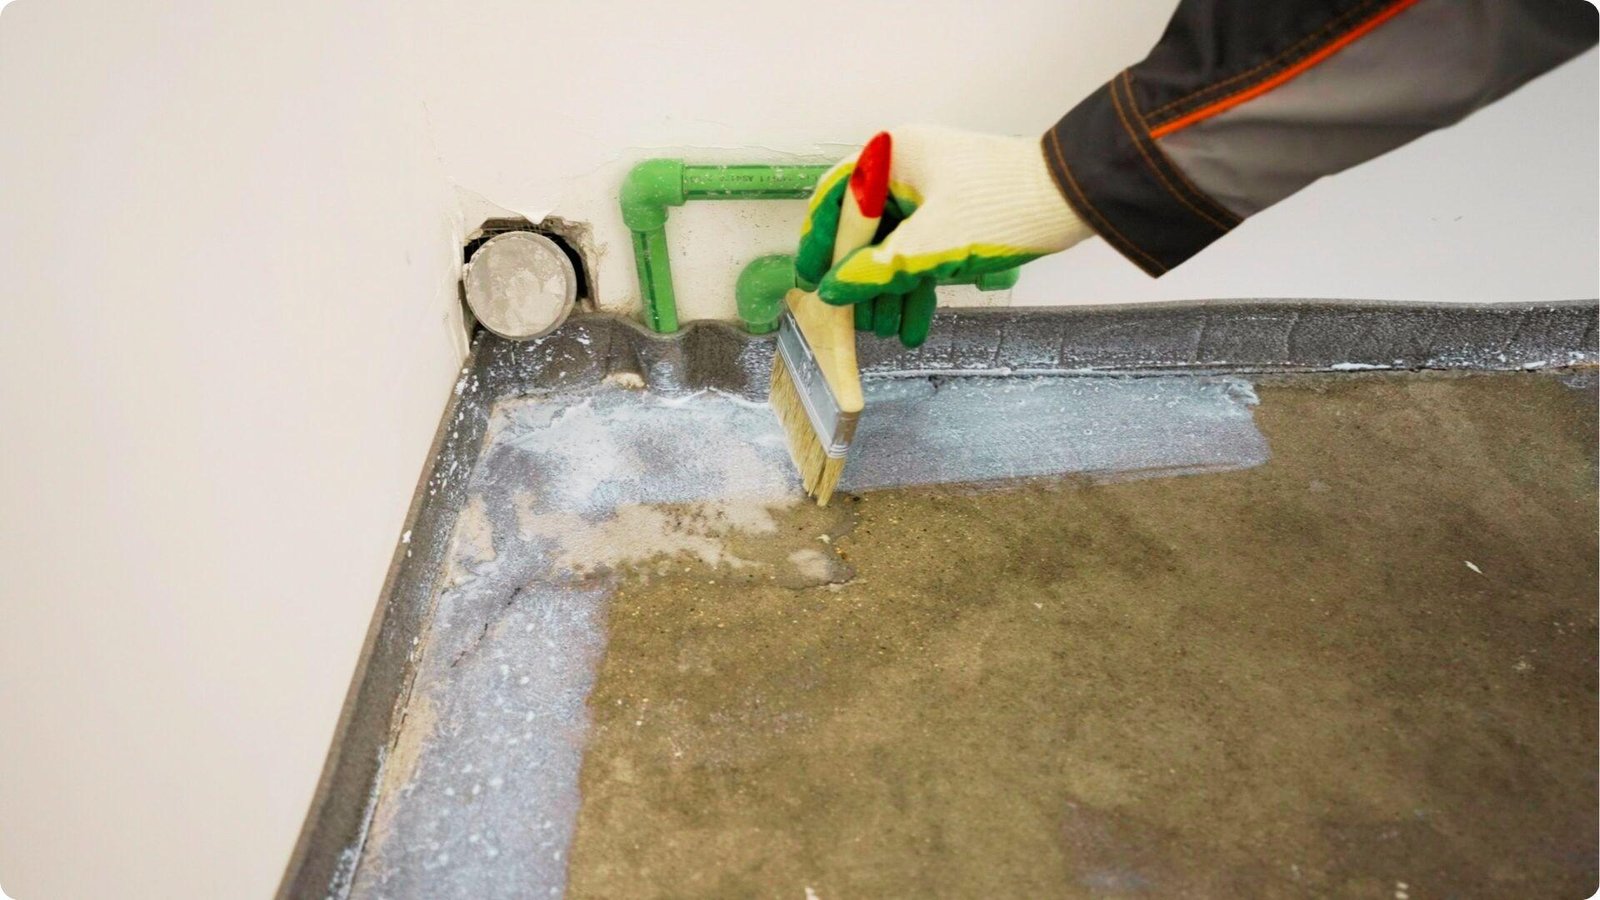
Step 4: Install Interior Water Management System
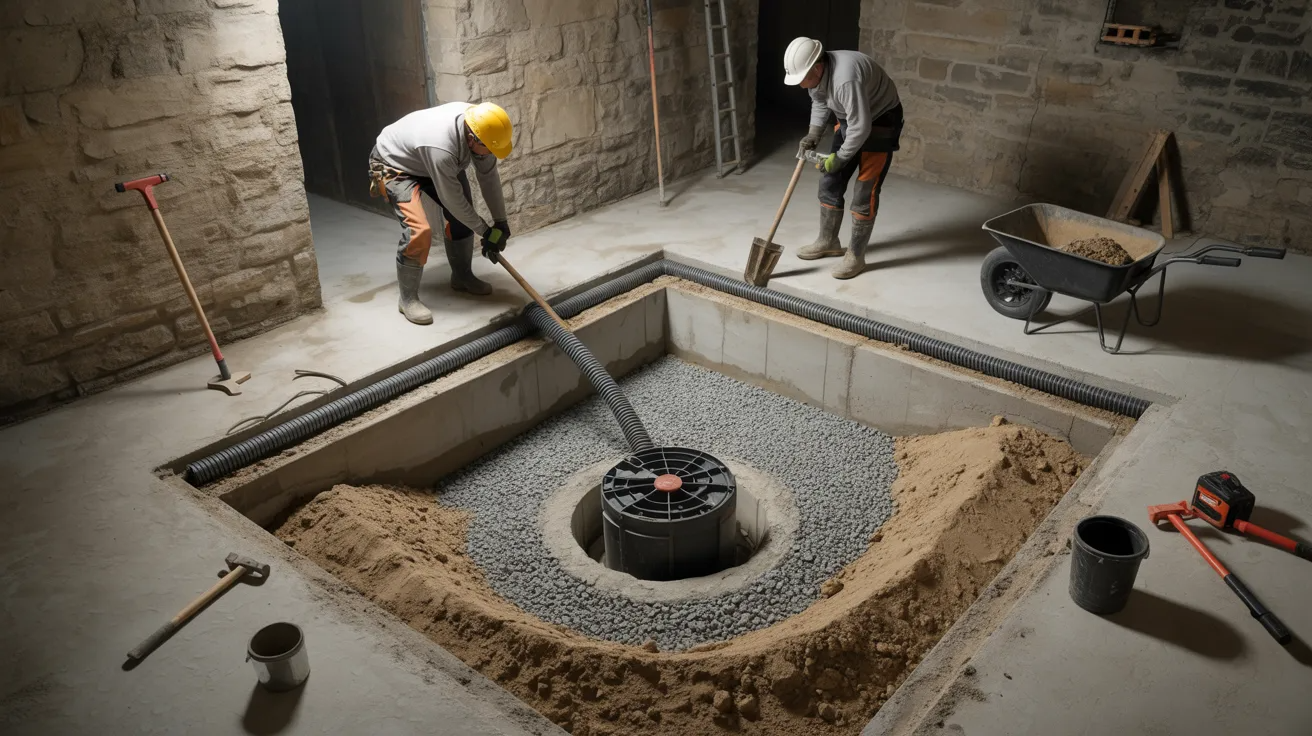
An interior drainage system sits along the edges of your basement floor, under the concrete. It collects water that gets through the walls and channels it toward a sump pit.
A sump pump then pushes that water out of your home. This is not a glamorous fix, but it's one of the most dependable long-term solutions for wet basements.
Add a battery backup to your sump pump so it keeps working during storms when power goes out. That's exactly when you need it most.
Step 5: Manage Basement Moisture and Humidity
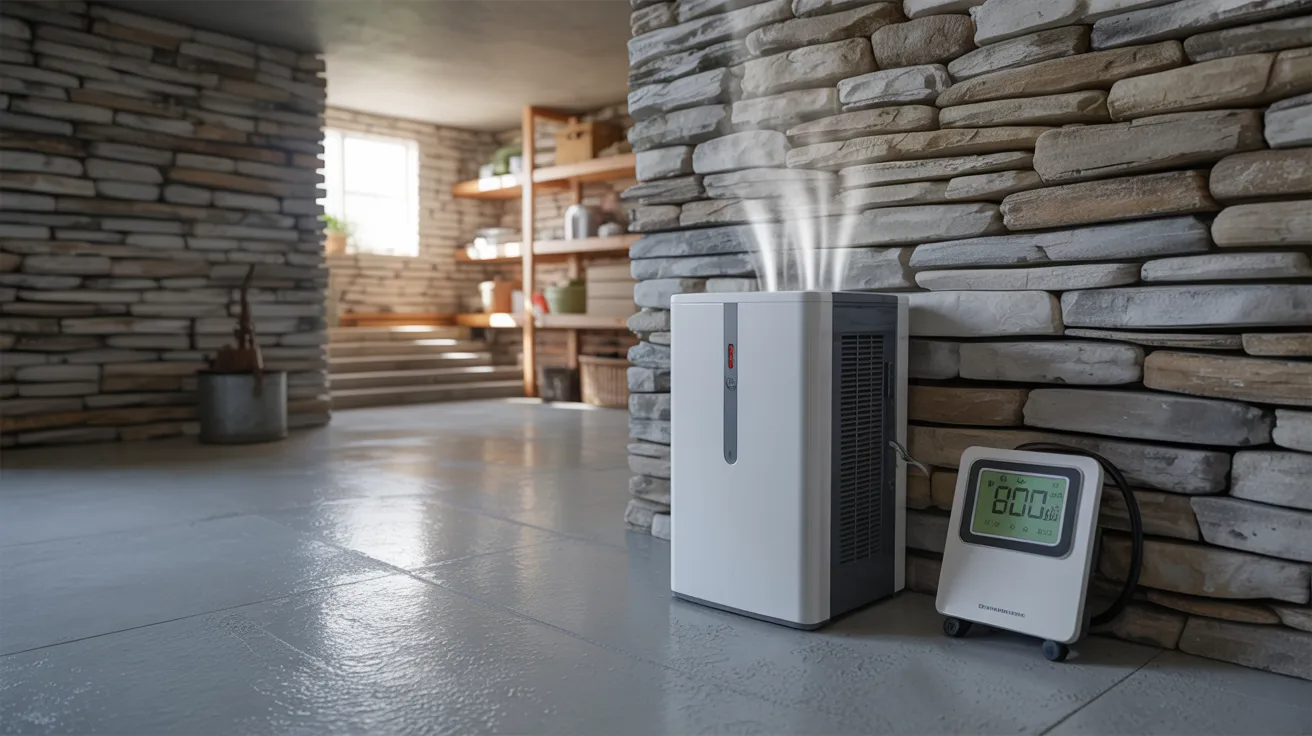
Even after waterproofing, moisture stays in basement air. A good dehumidifier pulls that out. Aim to keep humidity below 50 percent.
You can check this with a simple hygrometer from any hardware store. Also look at airflow. Blocked vents and poor circulation let damp air sit, which leads to mold.
If your basement has windows, use them when outdoor air is dry. Managing humidity after waterproofing protects your work and keeps the space healthy for the long run.
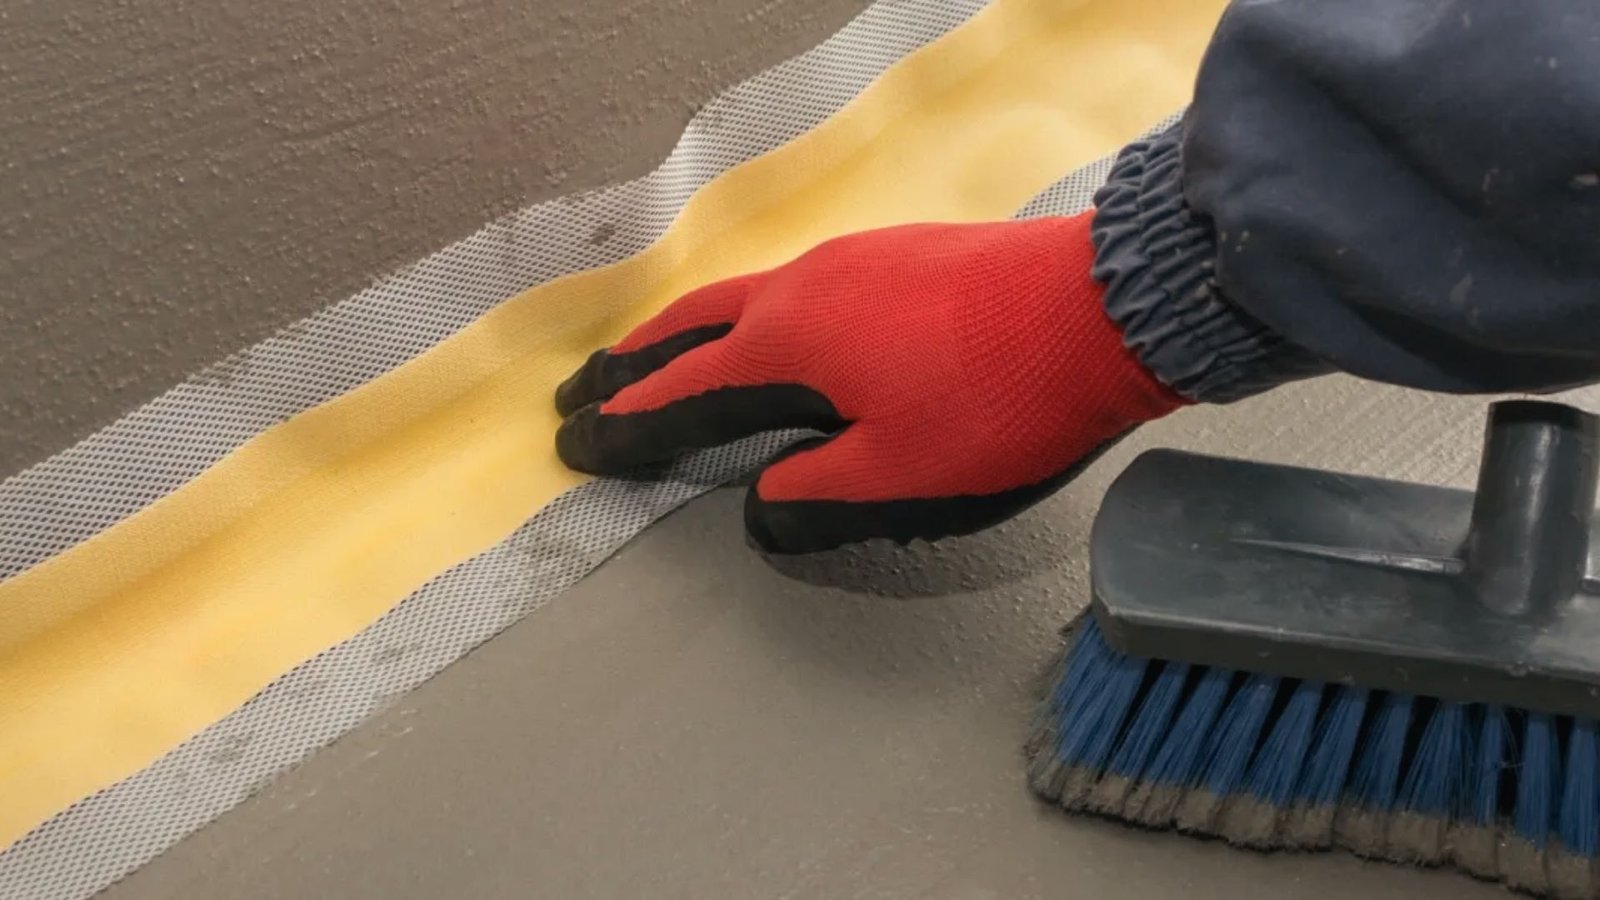
Step 6: Apply Wall Protection Systems
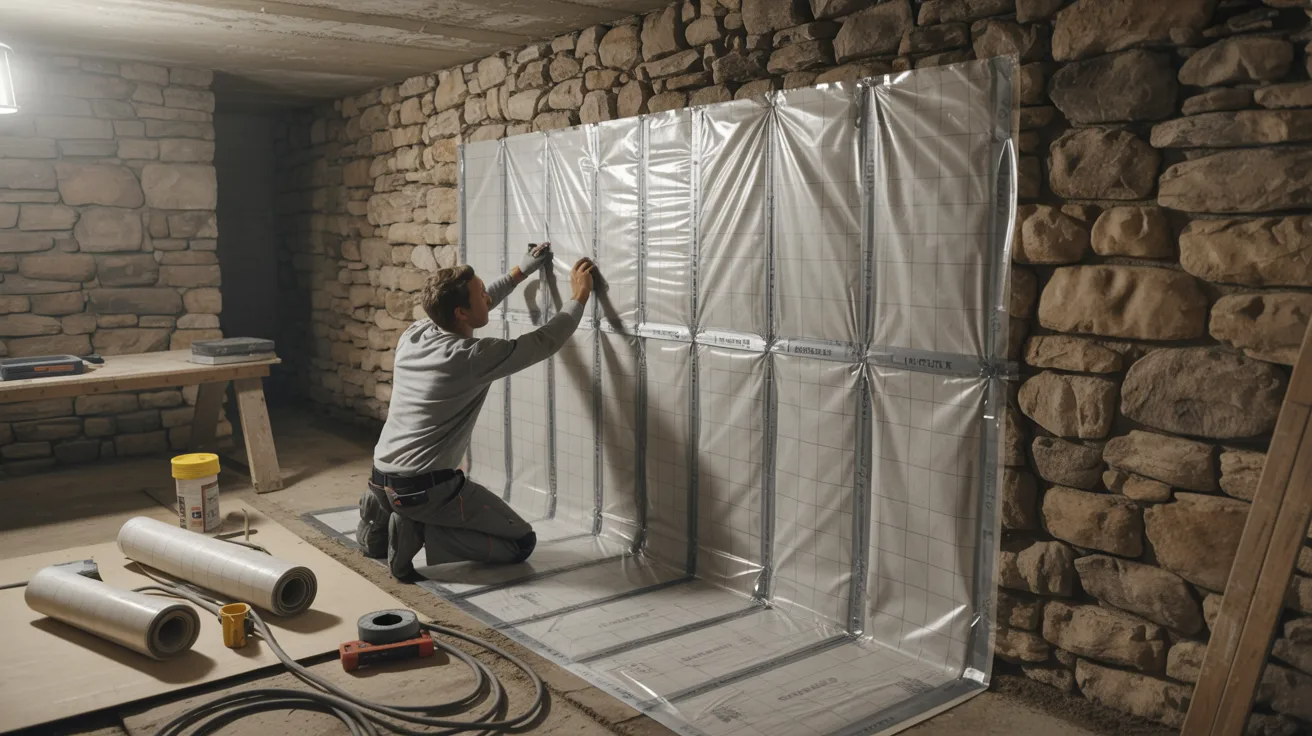
If your stone walls are uneven or still show signs of minor seepage after other repairs, vapor barriers and wall liner systems are worth considering.
These products attach to the wall surface and redirect any remaining moisture downward toward your drainage system instead of letting it soak into the room.
This step works best when combined with an interior drainage system already in place. For severe seepage or walls with heavy moisture, skipping this step can undo all your earlier work.
Step 7: Long-Term Maintenance for a Dry Stone Basement
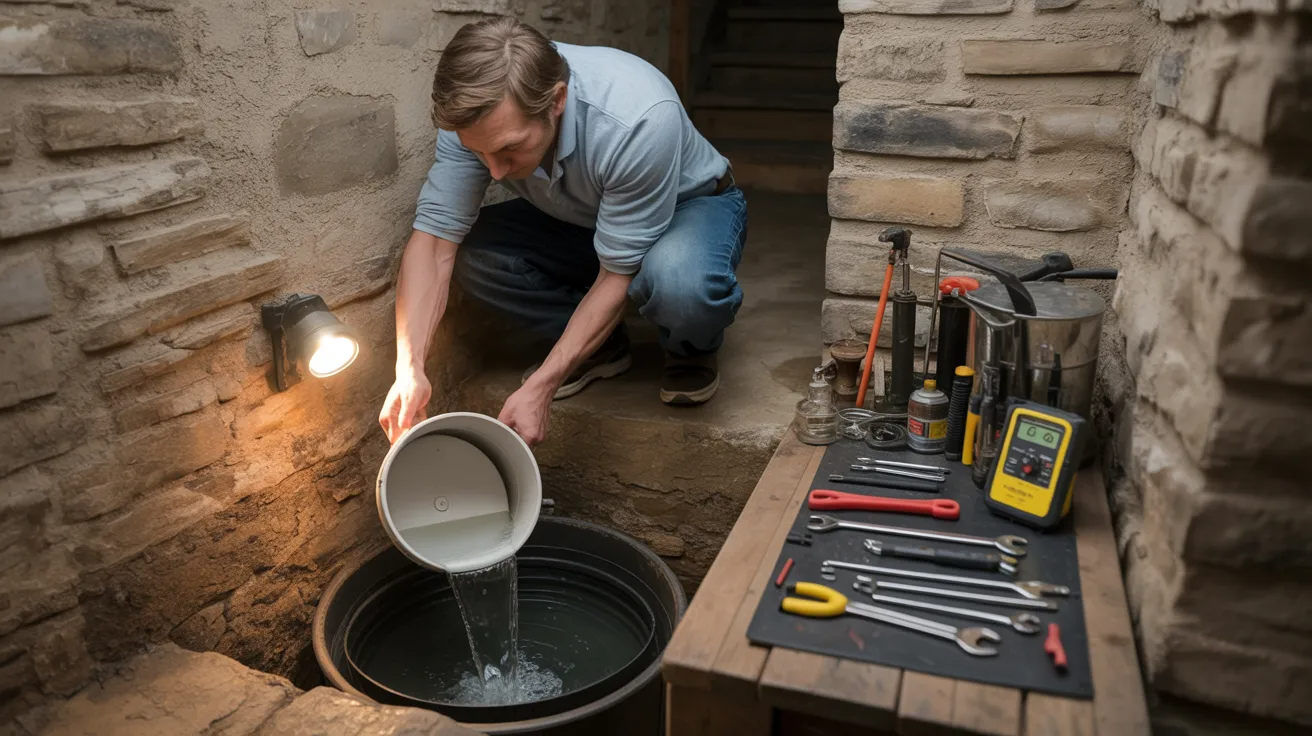
Stone basement waterproofing is not a one-time job. It needs seasonal attention. Check your sump pump every few months by pouring water into the pit and watching it respond.
Inspect walls and floors after heavy rain or snowmelt. Look for new cracks or damp spots. Clear gutters in spring and fall. Recheck the ground slope if soil has shifted.
A simple yearly walkthrough catches small problems before they grow. Staying consistent with maintenance is what makes your waterproofing last for years, not just months.
Common Mistakes to Avoid
Too many people make these mistakes and end up fixing the same problem twice. Here's what to watch out for.
- Ignoring exterior drainage and focusing only on interior fixes, which never fully solves the problem at its source
- Sealing walls without addressing the water source means pressure builds up and the sealer fails fast
- Skipping sump pump installation in basements with active water intrusion leaves collected water with nowhere to go
- Using non-breathable coatings on stone walls traps moisture inside the wall, which causes spalling and damage over time
- Underestimating hydrostatic pressure leads to repairs that hold for a season but fail once soil gets saturated again
Fix the source first. Work from outside in. That's the rule.
When DIY Isn't Enough
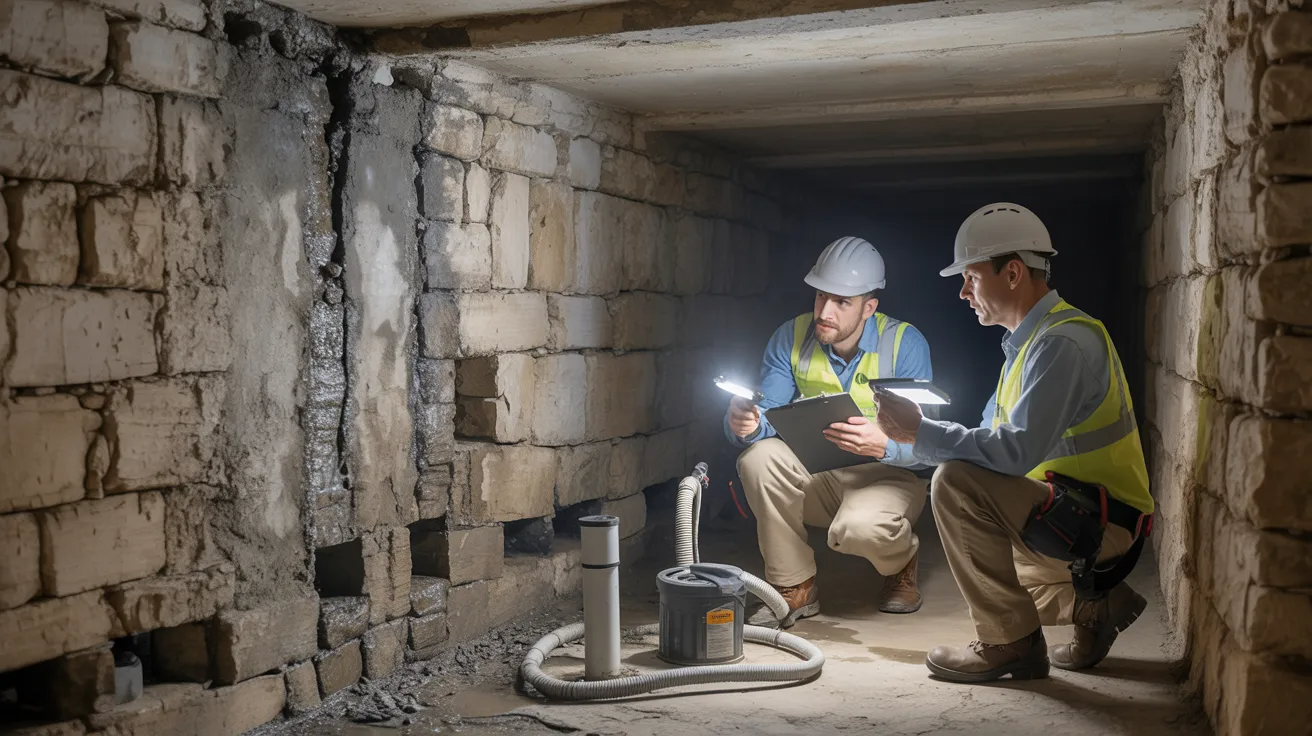
Some basement water problems go beyond what a weekend project can handle. If you've gone through every step above and water keeps coming back, that's a sign the issue runs deeper.
Bowing or cracked foundation walls point to structural stress that no sealant or drainage system can fix on its own.
If mortar joints are failing across large sections of wall or water is entering multiple spots at once, a waterproofing contractor with experience in stone foundations needs to assess the space.
Large-scale foundation problems require professional systems, sometimes including exterior excavation, French drains, or structural reinforcement that most homeowners can't safely do alone.
Conclusion
I know how frustrating a wet basement feels. You fix one spot, and water finds another.
But stone basement waterproofing gets easier once you stop reacting and start with a real plan. Work from the outside in, fix what's broken, and stay on top of it each season.
I've seen this process work, and it can work for you too.
Drop a comment below and tell me what's been the toughest part. Share this with someone who needs it.
Frequently Asked Questions
What is the best way to waterproof a stone basement?
The most reliable approach combines exterior drainage fixes, mortar repointing, interior drainage systems, and a sump pump working together.
Can I waterproof a stone basement myself?
Yes, most of the steps in stone basement waterproofing are DIY-friendly if the damage is not structural.
How long does stone basement waterproofing last?
With proper maintenance, a well-done waterproofing system can last 10 to 20 years or more.
Why does my stone basement smell musty even when it looks dry?
Moisture in the air, not just standing water, causes that smell, so a dehumidifier and better ventilation usually fix it.
Does waterproofing paint work on stone basement walls?
Waterproofing paint can reduce minor dampness but is not strong enough to stop active water intrusion on its own.