Adding a bathroom to your basement sounds expensive. But it does not have to be.
I have done this myself, and I know exactly where costs spiral and where you can pull them back without losing quality.
In this guide, I will walk you through the cheapest plumbing options, budget materials, smart layout choices, waterproofing tips, and a full step-by-step DIY breakdown.
I spent months on this project, made mistakes, and figured out what actually works.
If you want a basement bathroom that holds up and does not break your budget, this guide will show you how to get there.
Planning a Basement Bathroom on a Budget
Planning saved me more money than any single material swap or shortcut. Before touching a wall, I spent time locating my existing rough-in plumbing, measuring the space, and mapping out a layout that worked with what was already there.
Skipping this step is where most people waste money. When you plan around your existing drain lines, you avoid concrete cutting, reduce pipe runs, and keep labor costs manageable.
I also checked local permit requirements early, which helped me avoid surprises mid-build. A few hours of planning at the start can save you hundreds, sometimes thousands, before the first tool comes out.
Step-by-Step DIY Basement Bathroom Build (Real Experience)
Taking each step in the right order keeps the build clean, avoids rework, and protects your budget from the start.
Step 1: Framing the Bathroom Walls on a Budget
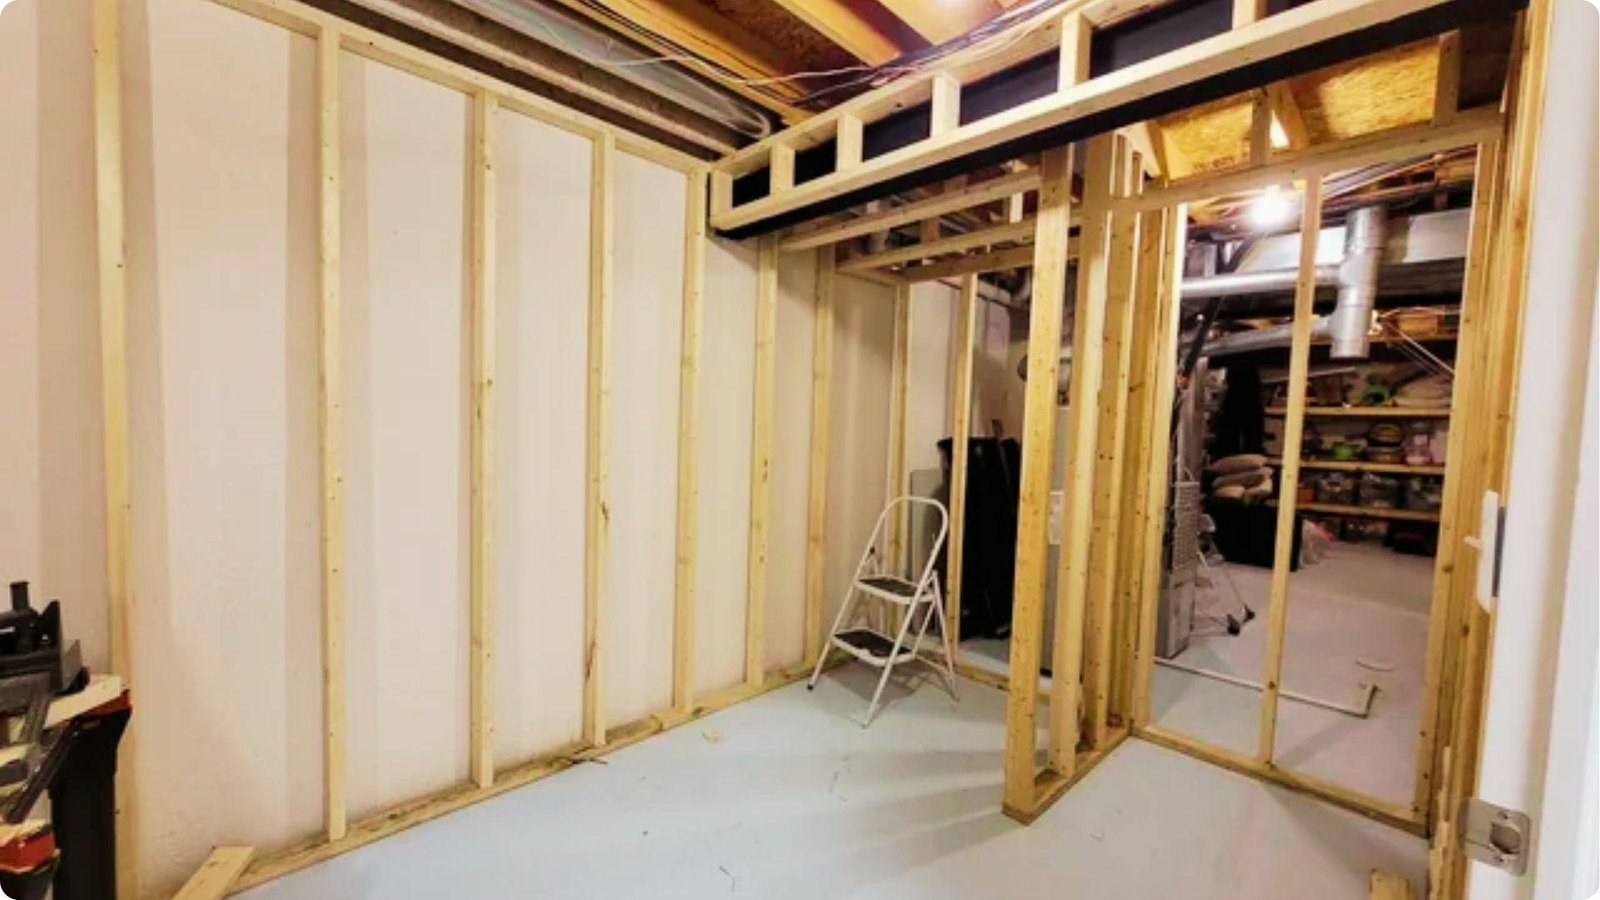
Use pressure-treated lumber for the bottom plate on concrete and standard 2×4 studs for the walls.
Mark your layout with a chalk line, build wall sections flat on the floor, then stand them up and secure them in place.
Step 2: Electrical Work and Ventilation Setup
Your basement bathroom needs GFCI outlets, a vanity light, a switched ceiling light, and a ventilation fan rated at least 80 CFM vented to the outside.
If you are not confident with panel wiring, hire a licensed electrician for that part only.
Step 3: Installing Subfloor and Plumbing Connections
Tile directly on concrete after applying a crack isolation membrane, or add cement board for a more finished feel.
For macerating systems, run a small PVC discharge pipe up the wall to your drain stack following the manual closely.
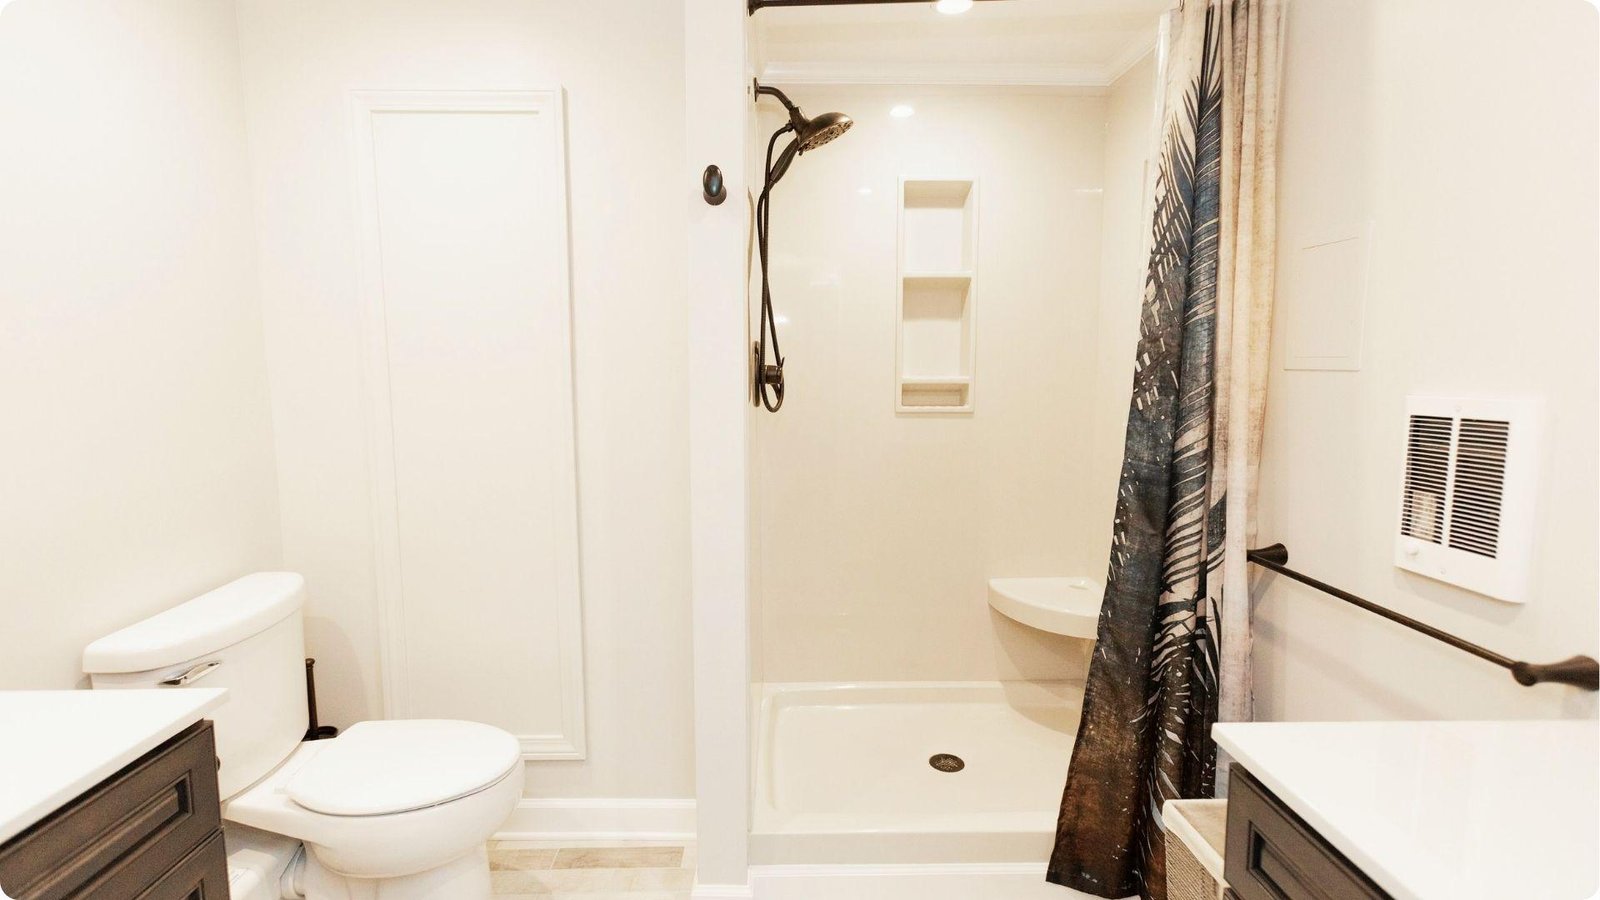
Step 4: Installing Tub/Shower and Final Fixture Setup
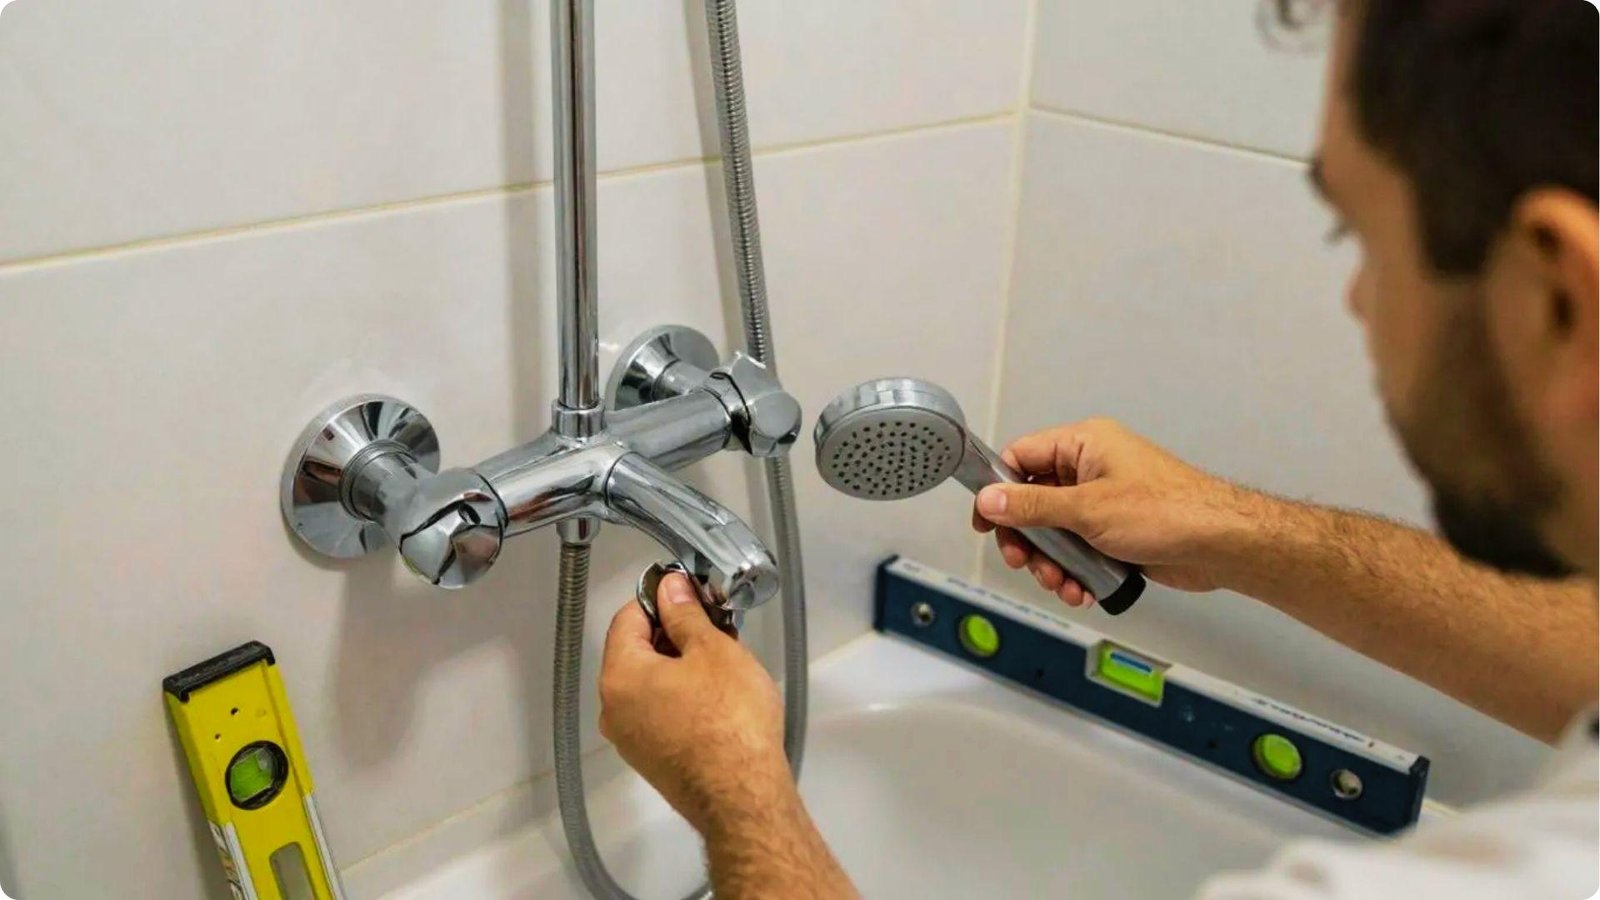
Install the tub or shower before closing up your walls so you have full access to the drain and framing.
Finish by setting the toilet, installing the vanity, hanging the mirror, and connecting all supply lines carefully.
Waterproofing a Basement Bathroom (What Actually Works Best)
Getting waterproofing right the first time is cheaper than fixing water damage later, so do not rush this step.
Cement Board vs Waterproof Foam Board (Kerdi System Experience)
Cement board is affordable and holds tile well, but it still needs a waterproofing membrane applied over it before tiling.
The Kerdi foam board system from Schluter costs $2 to $4 more per square foot but creates a fully waterproof surface in fewer steps.
Sealing Seams, Corners, and Screw Holes Properly
Tape every cement board seam with alkali-resistant mesh tape, coat it with waterproofing membrane, and seal every screw hole and inside corner.
This adds a couple of hours of work but can prevent thousands of dollars in water damage later.
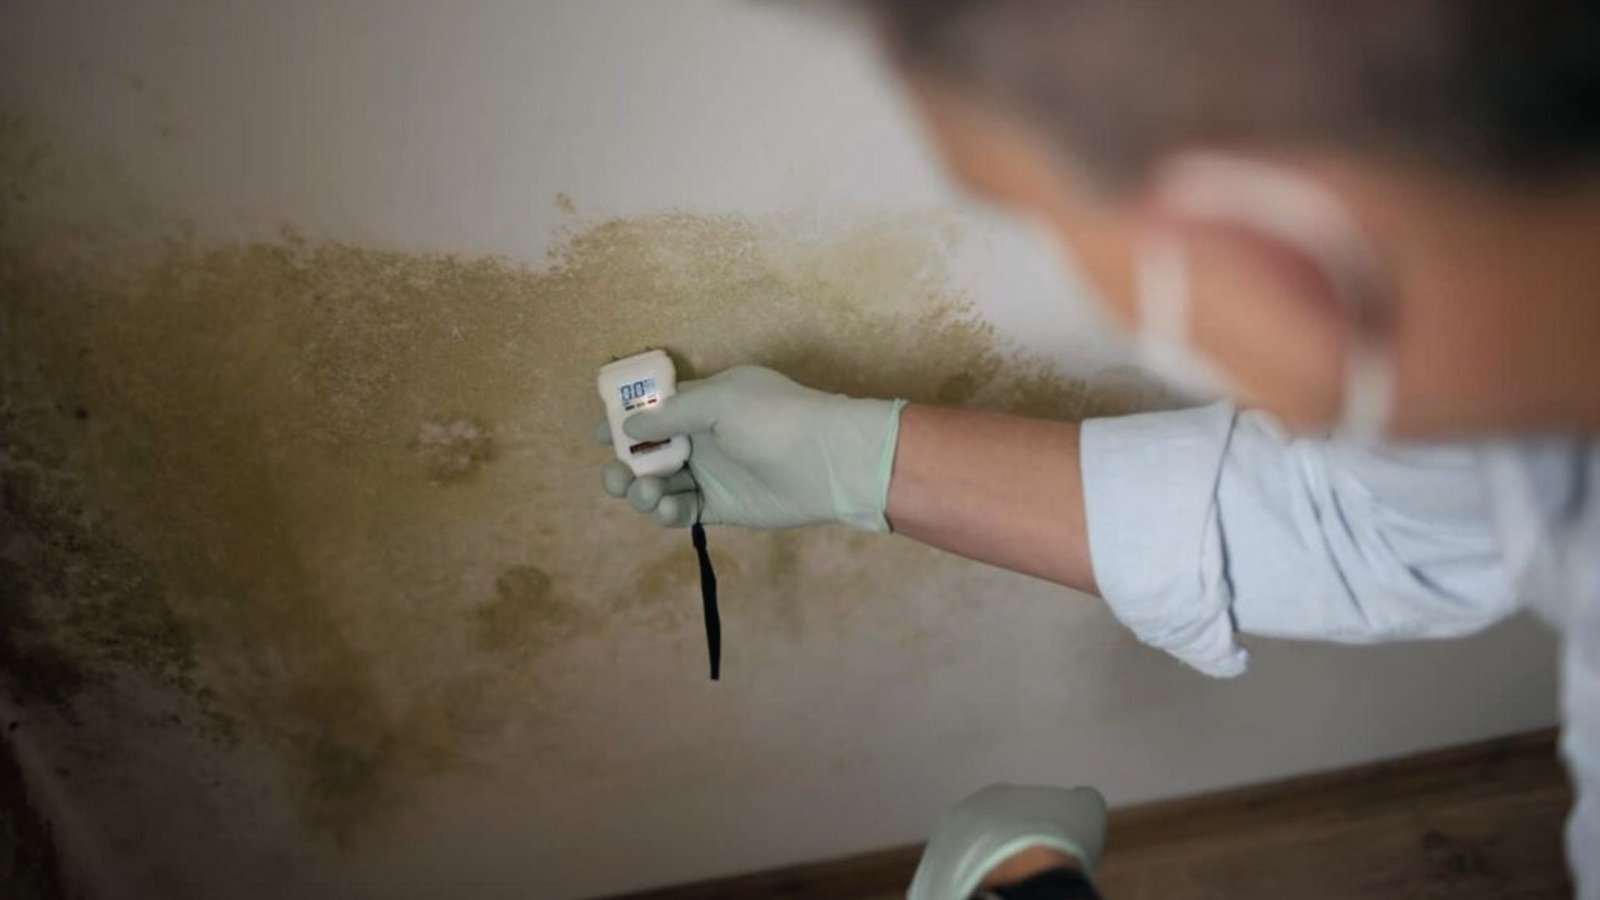
Preventing Mold and Long-Term Moisture Issues
Run your exhaust fan during every shower and for at least 20 minutes after.
Use mold-resistant paint on walls and ceilings, seal grout lines annually, and consider epoxy grout in the shower for long-term moisture resistance.
Lessons Learned From Waterproofing Mistakes
I rushed the corner sealing in my shower to get to tiling faster, and a damp spot appeared on the wall a few months later.
I had to pull tiles, re-seal, and retile that corner, which cost me an entire weekend I did not plan to spend.
Cheapest Materials for a DIY Basement Bathroom

Choosing the right materials at the right price point is where smart shoppers save the most without cutting corners on quality.
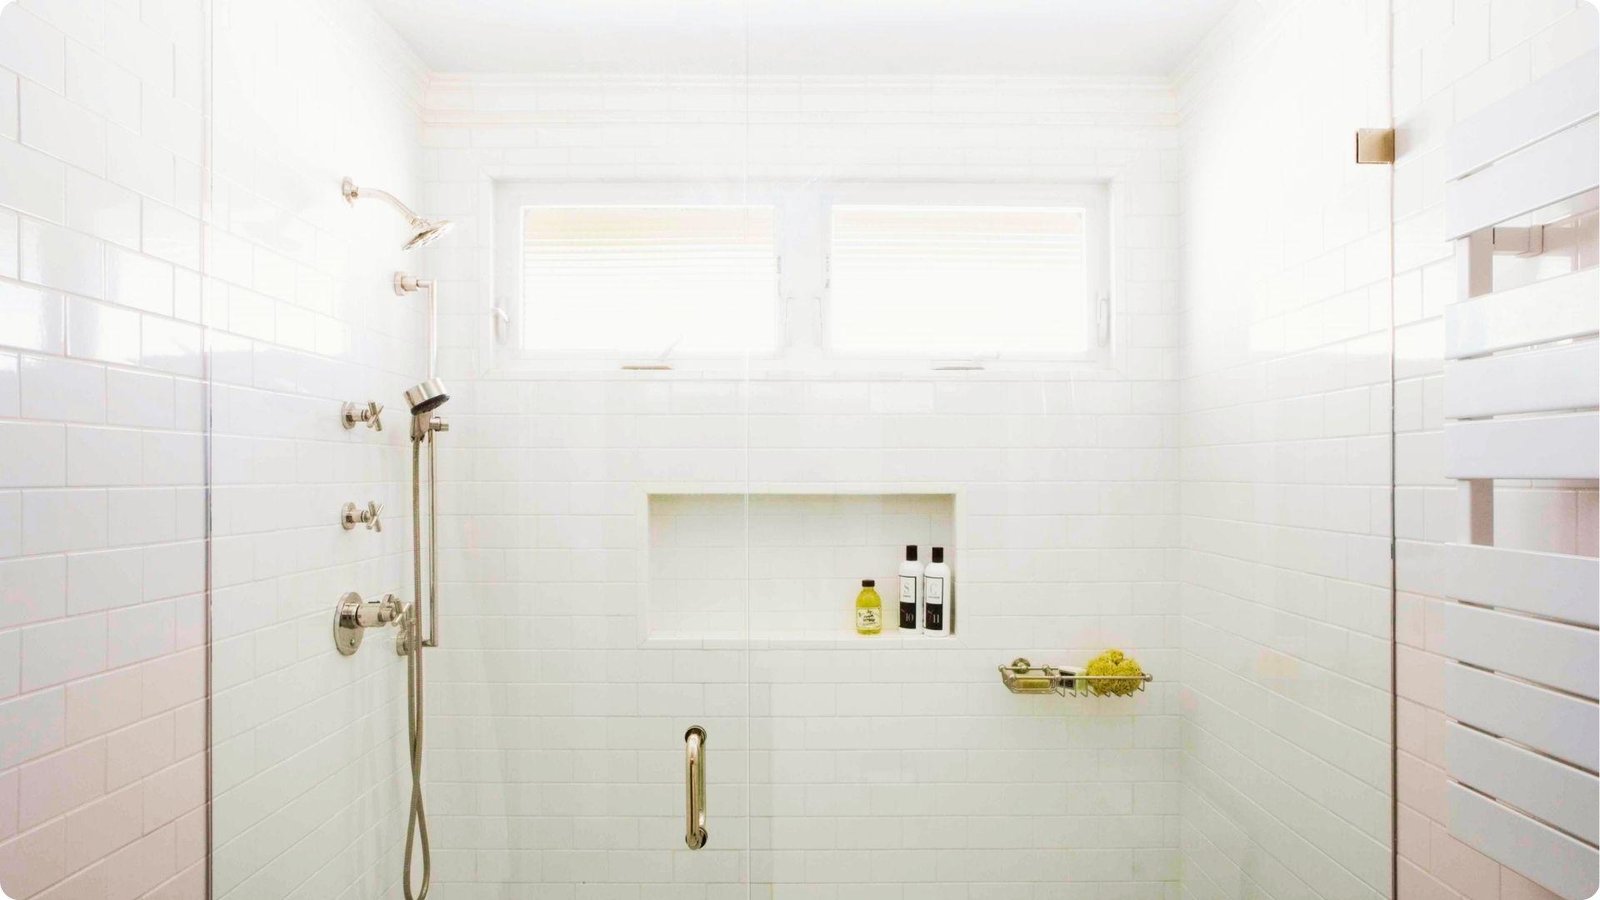
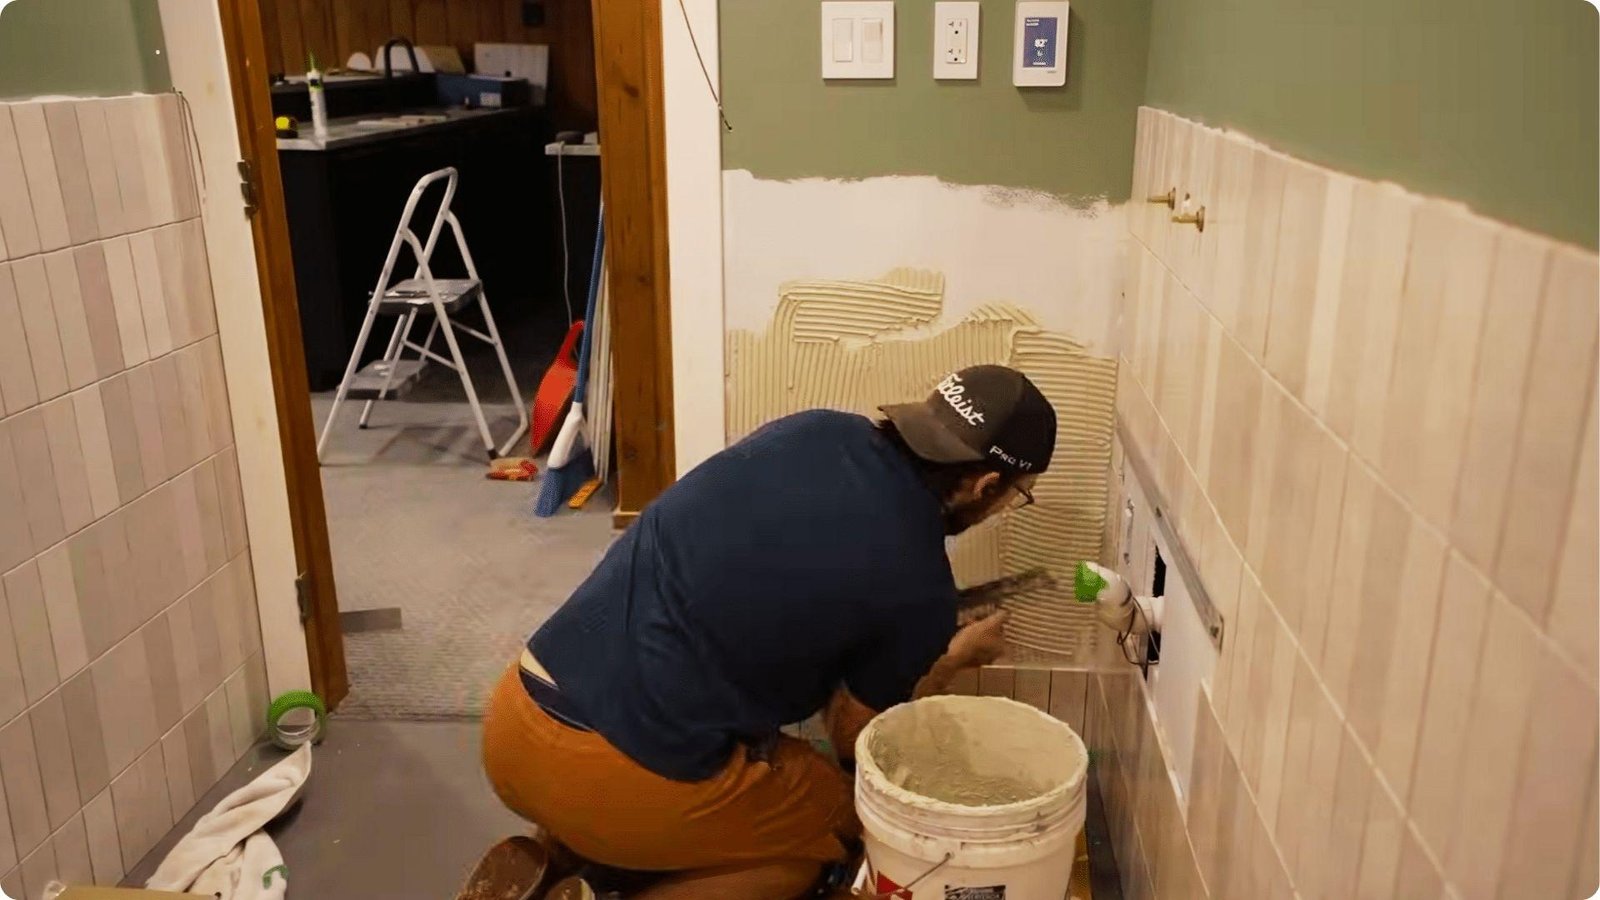
Budget Tile Options and DIY Tiling Experience
Basic ceramic tile starts at $0.50 to $1.50 per square foot at discount stores, and a small bathroom under 50 square feet can be tiled for under $150 in materials.
Laying it yourself saves significant money, and a first-time tiler can get solid results with patience.
Vinyl Flooring as a Cost-Effective Alternative
Peel-and-stick vinyl tiles start at around $0.50 per square foot, while click-lock vinyl plank runs $1 to $3 per square foot and installs without glue or nails.
Always choose vinyl rated for full water exposure, not just moisture resistance, especially around the toilet and shower base.
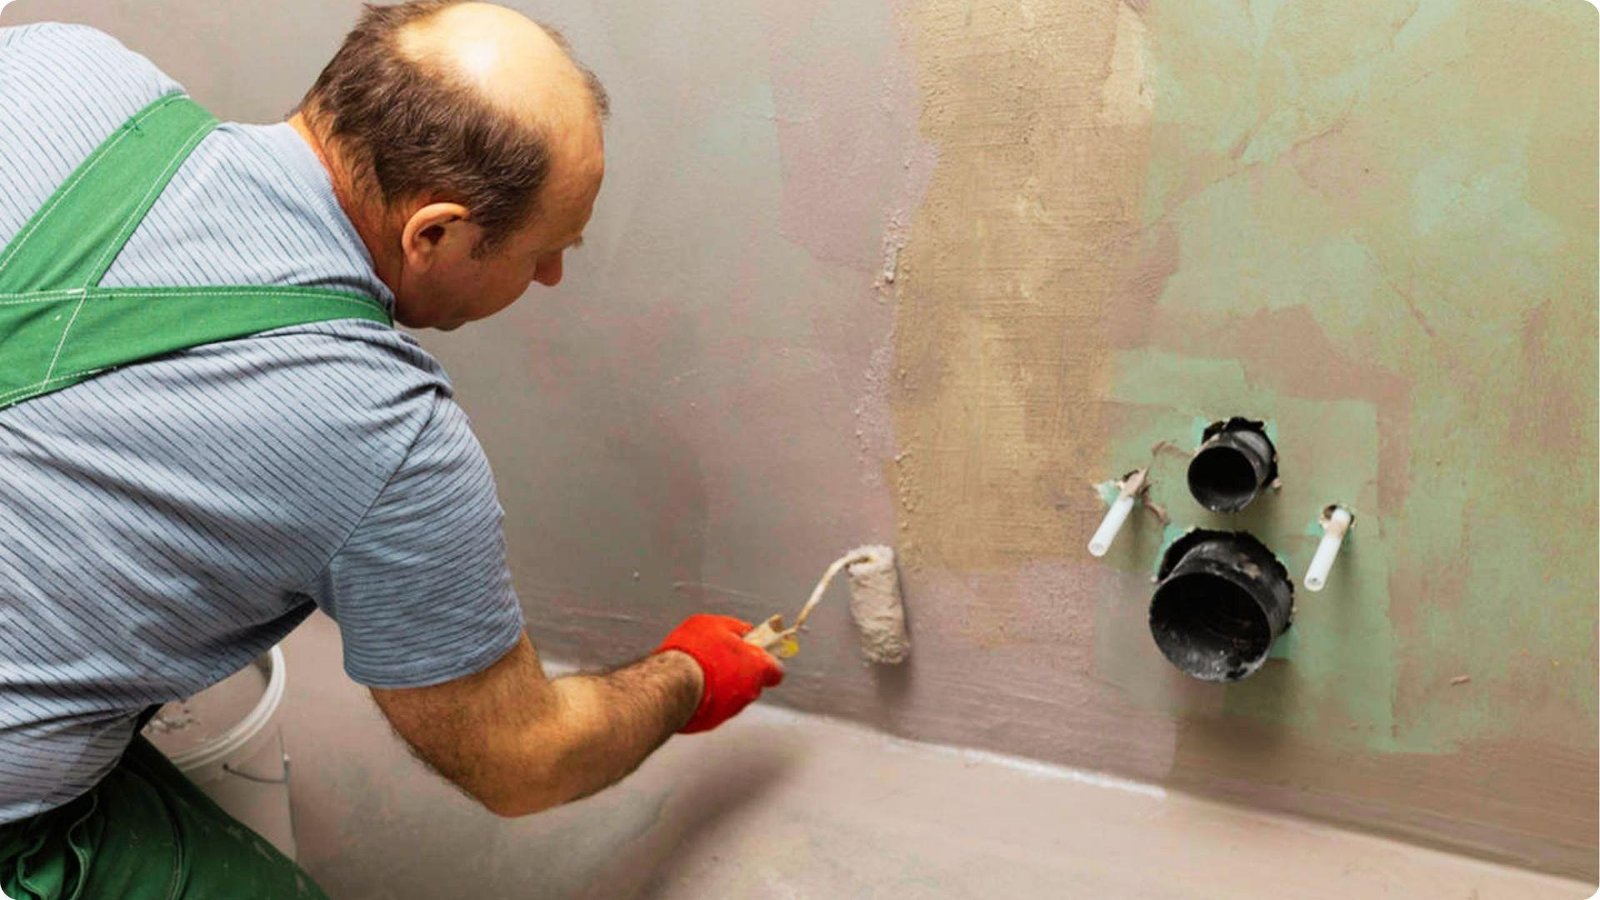
Low-Cost Paint and Moisture-Resistant Wall Finishes
Skip standard interior paint and use a bathroom-specific formula with mildew-resistant additives instead.
Brands like Behr and Zinsser offer solid options for $25 to $50 per gallon, which is enough to cover a small bathroom with two coats.
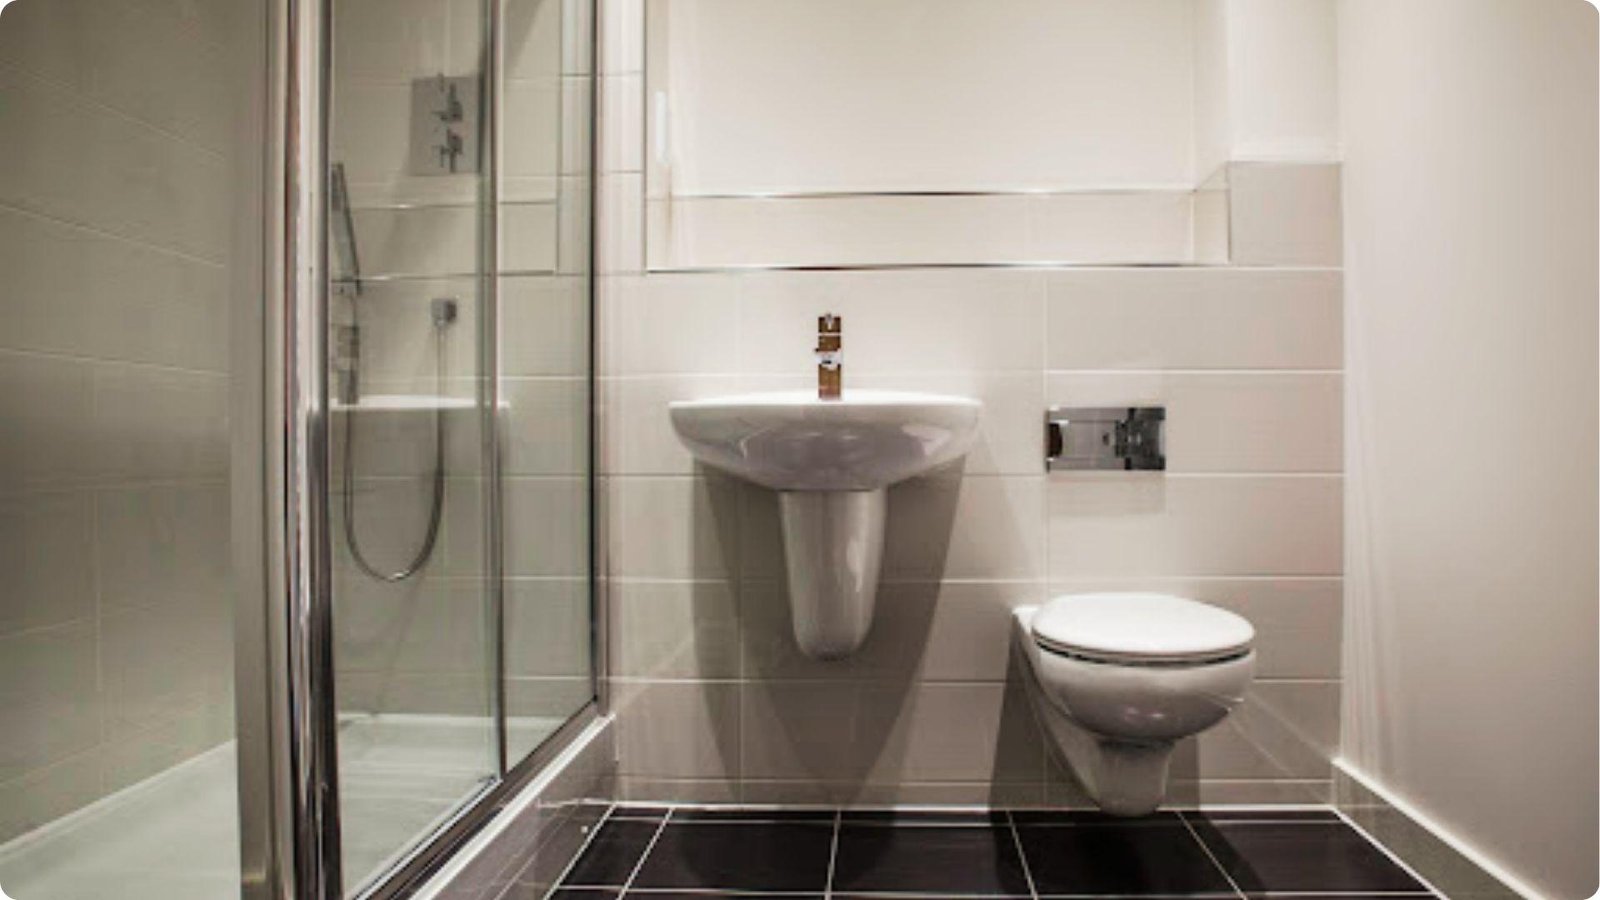
Affordable Vanity, Toilet, and Fixture Selection
Vanity combos with cabinets, sink, and faucet start at $150 to $300 at big-box stores, and used options on Facebook Marketplace can cost even less.
I found a solid wood vanity for $40 that only needed a new faucet, which brought the total to under $80.
My Real DIY Experience – Lessons From Building a Basement Bathroom
This is the honest part, covering not just what worked but what went wrong and what I wish I had handled differently.
Unexpected Plumbing and Alignment Challenges
When I uncovered the floor, my rough-in drain was about eight inches off from where I had planned to center the toilet.
Always locate and measure your actual plumbing position before doing any layout planning on paper.
Issues Faced During Tub Installation and Drainage Setup
My one-piece acrylic tub barely fit through the stairwell and took two people just to get it downstairs.
Measure your stairwell opening before ordering a tub, and consider a sectional shower kit if access is tight.
When I Had to Hire a Professional (And Why It Was Worth It)
I handled the wiring myself but paid an electrician $150 to connect it to the panel, and he caught a GFCI issue I had missed.
That small cost saved me from a failed inspection and potential safety risk.
What I Would Do Differently to Save More Money
I would keep the layout simpler, buy tile in person to check color batches, and invest more time in waterproofing from the start.
That corner repair cost me a full weekend that better prep work would have prevented entirely.
Tips for the Cheapest Way to Put Bathroom in Basement
Small decisions made early in the project can add up to serious savings by the end.
- Always work around existing rough-in plumbing to avoid concrete cutting costs.
- Choose a macerating toilet system to skip excavation entirely.
- Keep your layout simple and rectangular to reduce framing and tiling complexity.
- Waterproof thoroughly from day one, especially at corners and seams.
- DIY the framing, tiling, and painting. Hire pros only for panel wiring and complex plumbing.
Conclusion
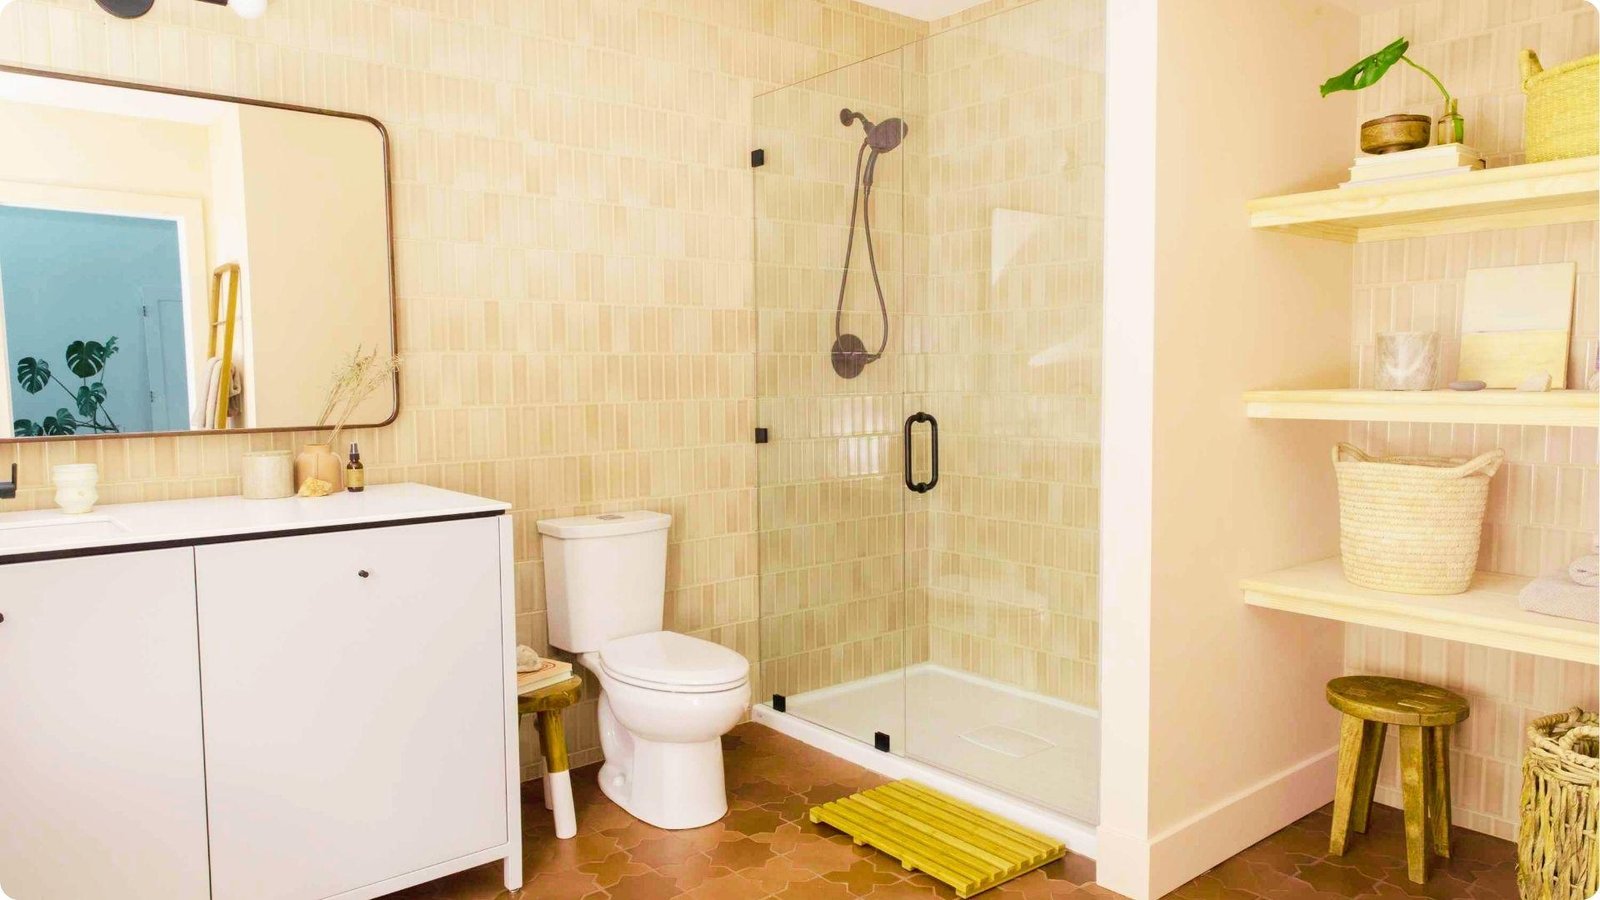
Building the cheapest way to put a bathroom in the basement is absolutely doable, and I say that from real experience.
There were moments I questioned every decision, but finishing that bathroom felt like one of the most satisfying things I have done as a homeowner.
Start with your plumbing choice, keep the layout tight, and never skip waterproofing. Those three things alone will protect your budget and your build.
If this guide helped you, drop a comment below with your questions or share it with someone planning the same project. I read every single one.
Frequently Asked Questions
What is the cheapest way to install a basement bathroom?
Use a macerating toilet system and build around your existing rough-in plumbing. This avoids concrete cutting and keeps the project manageable as a DIY build.
Can I install a bathroom without breaking concrete?
Yes. Macerating and ejector pump systems both sit above the floor and connect to your drain stack through the wall. No concrete cutting is needed for either option.
How much does a DIY basement bathroom cost?
A basic half bath runs $1,500 to $2,500, while a full bathroom with a shower typically costs $3,000 to $6,000 using budget materials and a macerating system.
What plumbing system is best for budget basement bathrooms?
A macerating toilet system is the top choice for most budget builds. It costs less overall, requires no concrete work, and can be installed without a professional plumber.
Do I need a permit to add a basement bathroom?
Most areas require a plumbing permit and sometimes an electrical permit as well. Check with your local building department before starting to stay code-compliant and avoid issues later.