Framing floating basement walls can feel tricky if you've never done it before. But with the right steps, it's very manageable.
In this guide, I'll walk you through everything you need to know, from tools and planning to step-by-step framing and finishing.
I've worked on basement projects where skipping the floating gap caused real damage later. That experience taught me how important getting this right really is.
You'll learn why floating walls matter, how to build them correctly, and what mistakes to avoid. By the end, you'll feel confident starting your own basement project.
Why Floating Basement Walls Are Required
Floating walls exist for a real reason. Skipping them can lead to serious structural damage.
Soil beneath your home absorbs water and swells. When it dries, it shrinks. This constant movement shifts your basement floor over time. If your wall is fixed to both the floor and ceiling, that movement cracks and warps the frame.
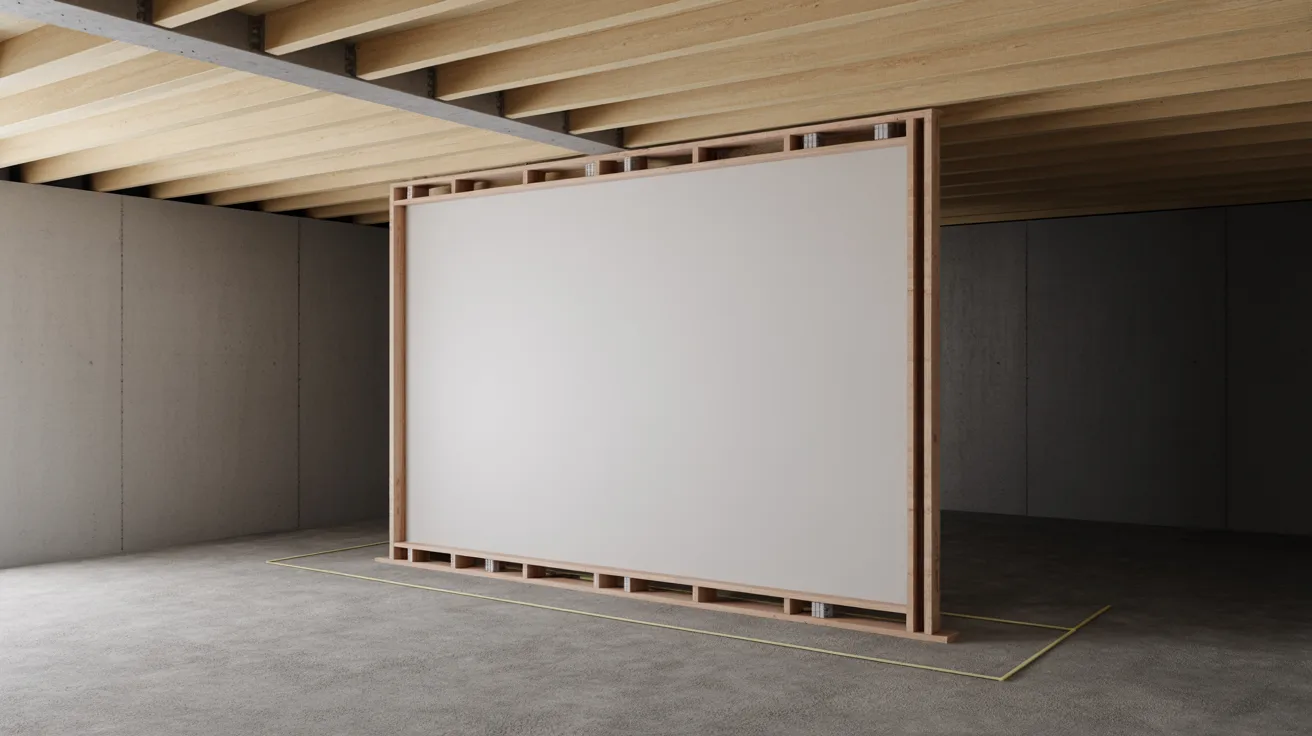
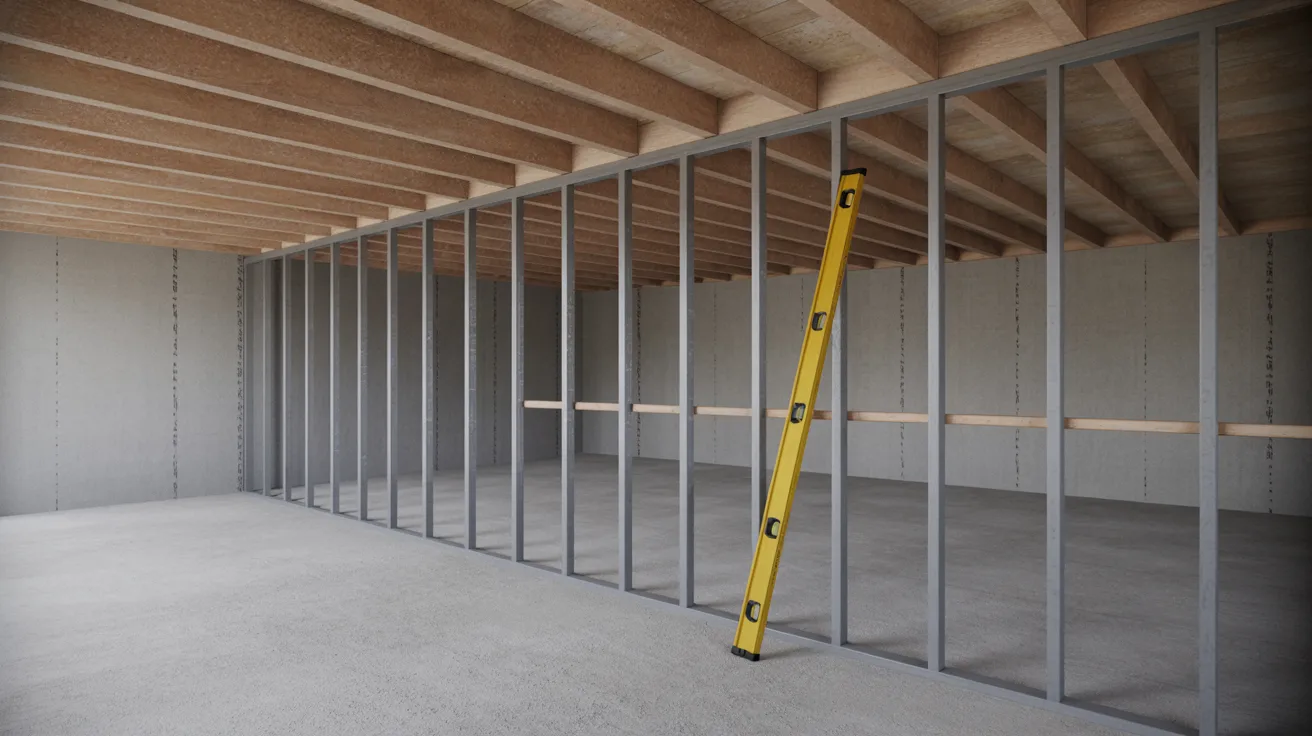
A floating wall is anchored only at the top. The bottom plate rests on the floor but is not locked to it. This small gap lets the floor move freely without damaging the wall.
Most local codes require this gap, usually 1 to 2 inches. Always check your local requirements before you start framing.
Tools and Materials Needed for Floating Wall Framing
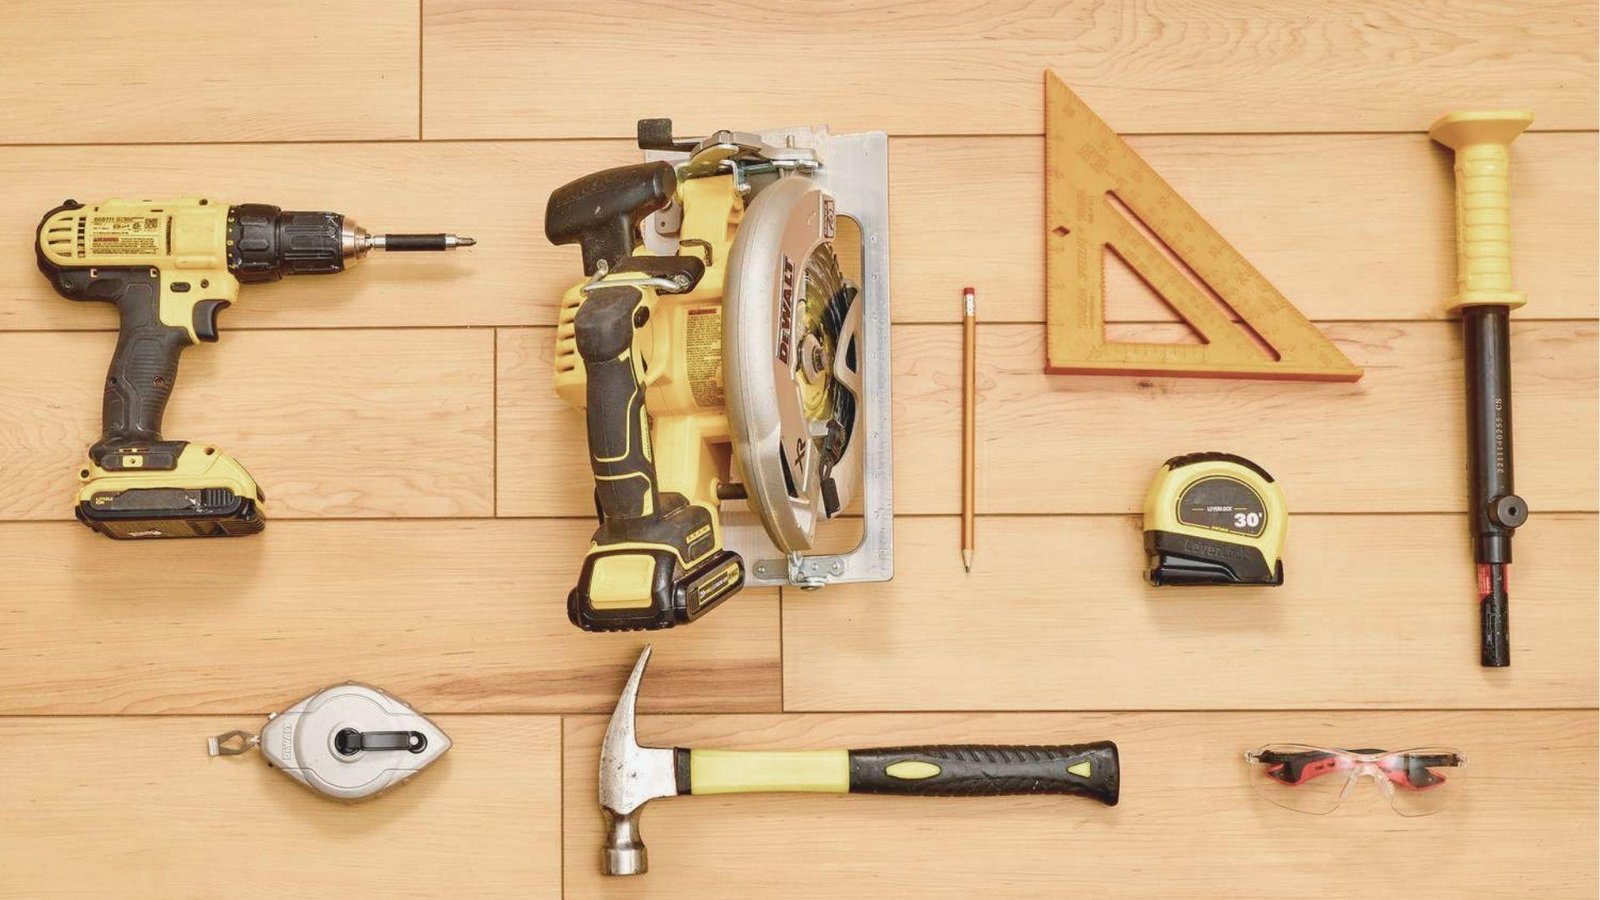
Getting the right tools and materials ready before you start saves time and prevents mistakes.
Use pressure-treated lumber for the bottom plate since it resists moisture and rot on concrete floors. Standard 2×4 or 2×6 studs work for the wall frame. Make sure all lumber is straight and dry before use.
For fasteners, you will need concrete screws or anchors for the top plate and landscape spikes for the bottom plate. Spikes keep the plate from sliding without locking it to the floor. Use coated or galvanized framing nails and screws throughout to resist basement moisture.
For tools, keep a 4-foot level, chalk line, hammer drill, circular saw, tape measure, and speed square on hand. A laser level is a helpful upgrade if you have one.
Always wear safety glasses, ear protection, a dust mask, and knee pads. Concrete dust and power tool noise are real risks you should not ignore.
Planning the Basement Wall Layout
Good planning saves hours of rework. Measure carefully before you touch a single board.
Measuring Basement Ceiling Height and Floor Variations
Basement floors are rarely level. Use a long level or laser level to check the floor along your planned wall. Measure floor to ceiling at several points. These numbers decide your stud lengths.
Marking the Wall Locations
Snap a chalk line on the floor for your bottom plate. Use a plumb bob or laser level to transfer that line to the ceiling. Make sure lines are straight and square before marking permanently.
Checking Floor Joists and Ceiling Alignment
Find your floor joists with a stud finder before marking the ceiling. If your wall runs parallel to the joists, add blocking between them. Never fasten your top plate to just drywall or subfloor.
Determining the Required Floating Gap
The floating gap is 1 to 2 inches between the stud bottoms and the floor. The bottom plate still sits on the floor. The gap is between the plate and where the studs end. This lets the floor shift without pushing the wall.
Choosing Between Build-in-Place and Lift-Up Methods
Build-in-place works best in tight spaces or where ceiling height varies. The lift-up method is faster for long, straight walls. You build the wall flat on the floor, then raise it up. Pick the method that fits your space.
Step-by-Step Process for Framing Floating Basement Walls
Follow these steps carefully. Each one builds on the last. Taking shortcuts here often creates bigger problems during the finish stage.
Step 1: Install the Pressure-Treated Bottom Plate
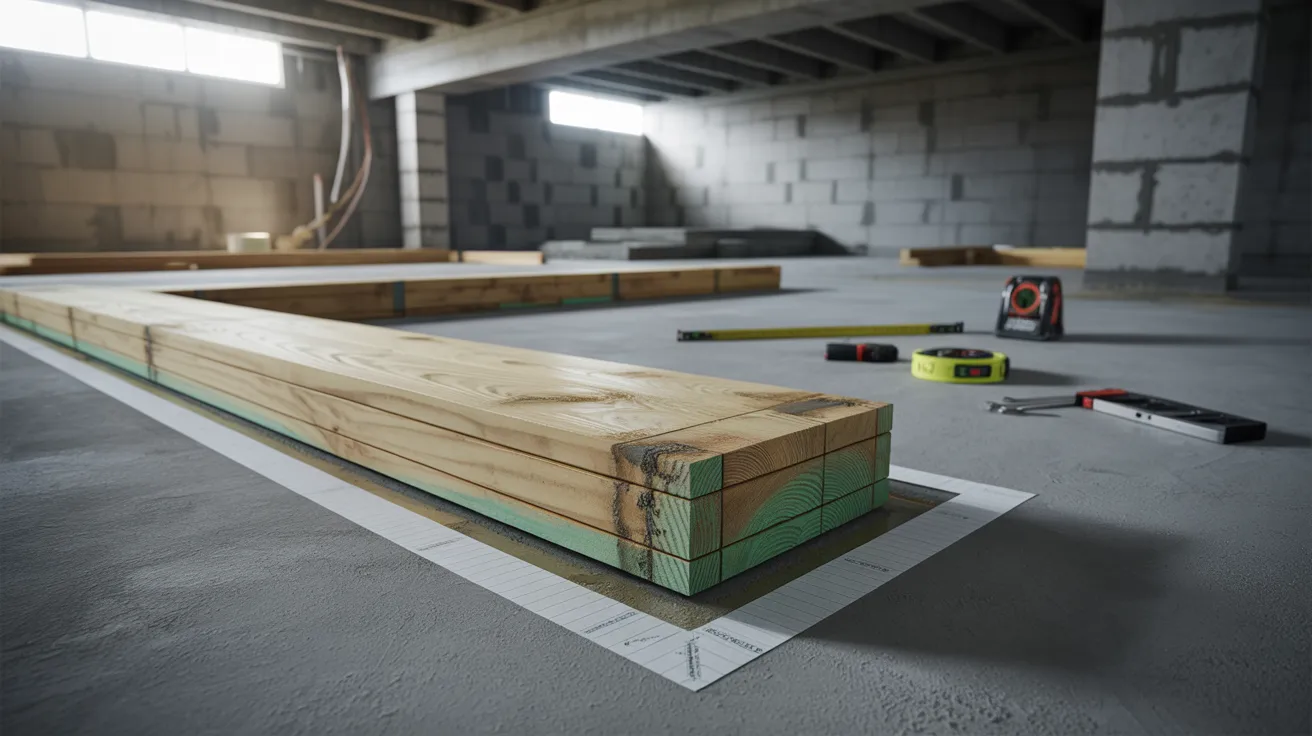
Cut your pressure-treated 2×4 or 2×6 to the length of your wall. Set it on the chalk line you marked on the floor.
Use construction adhesive underneath if you want a temporary hold. Do not fasten it permanently yet. Make sure it sits flat on the floor across its full length.
Step 2: Mark the Wall Stud Layout

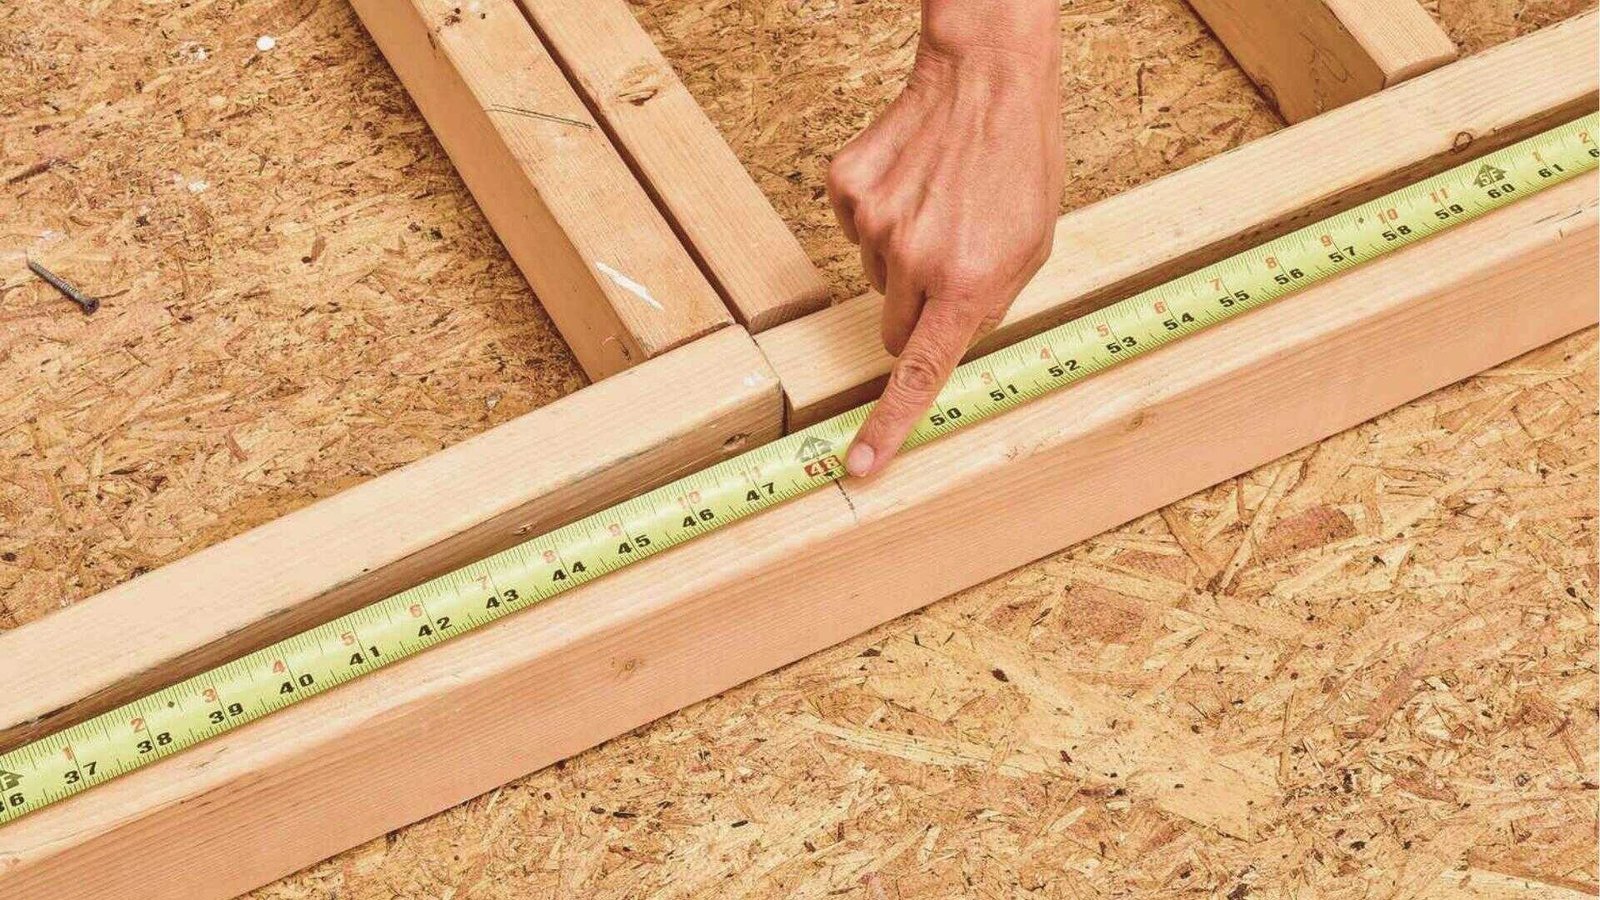
Use a tape measure and pencil to mark stud locations on the bottom plate. Standard spacing is 16 inches on center.
Mark an X on the layout side of each line so you know exactly where each stud face sits. This prevents misalignment when nailing or screwing.
Step 3: Attach the Top Plate to the Ceiling Joists
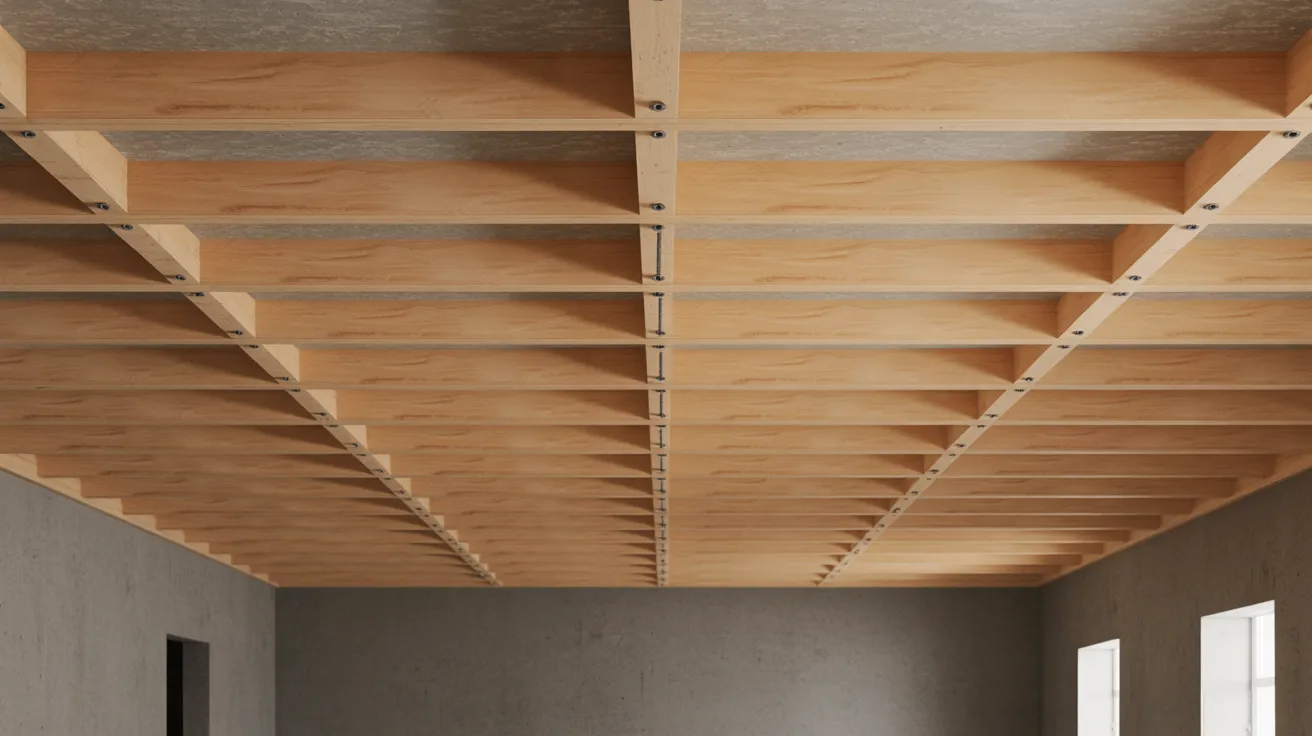
Cut your top plate to the same length as the bottom plate. Hold it against the ceiling on your marked line.
Drill through the plate into each joist and drive screws or nails to fasten it. Use at least two fasteners per joist. Check that it is straight and aligned with the bottom plate before final tightening.
Step 4: Measure and Cut the Wall Studs
Measure the distance from the top of the bottom plate to the underside of the top plate. Subtract your floating gap (usually 1 to 1.5 inches) from this measurement.
Cut all your studs to this shorter length. Even a small variation from stud to stud can cause problems with drywall alignment, so be precise.
Step 5: Build the Wall Frame on the Floor

If using the lift-up method, lay the top and bottom plates flat on the floor. Place your cut studs between them at the marked locations. Nail or screw through the plates into the ends of each stud.
Use two fasteners per stud end. Check the frame for square by measuring diagonally corner to corner. Both measurements should match.
Step 6: Raise the Floating Wall Into Position
With help from another person, tilt the wall upright. Slide it into position under the ceiling top plate. The bottom plate should sit directly on your chalk line.
Use a sledgehammer or mallet to tap it into the final position if needed. Hold the wall plumb while your helper checks alignment.
Step 7: Secure the Wall to the Top Plate
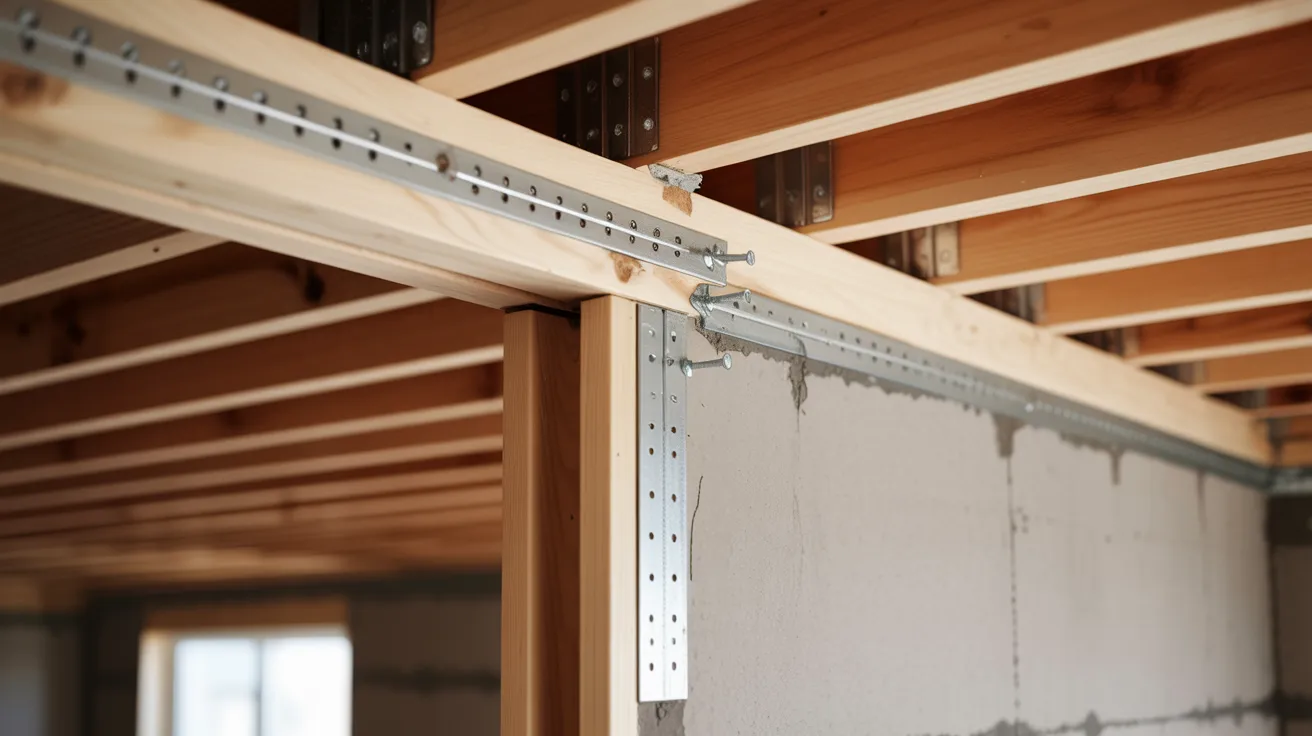
Nail or screw the wall's top plate directly to the ceiling top plate you already fastened. Use framing nails driven at an angle (toenailed) or metal framing connectors.
Make sure the connection is tight. This is what holds the floating wall in place since it is not fastened to the floor.
Step 8: Drill Holes for the Floating Spikes
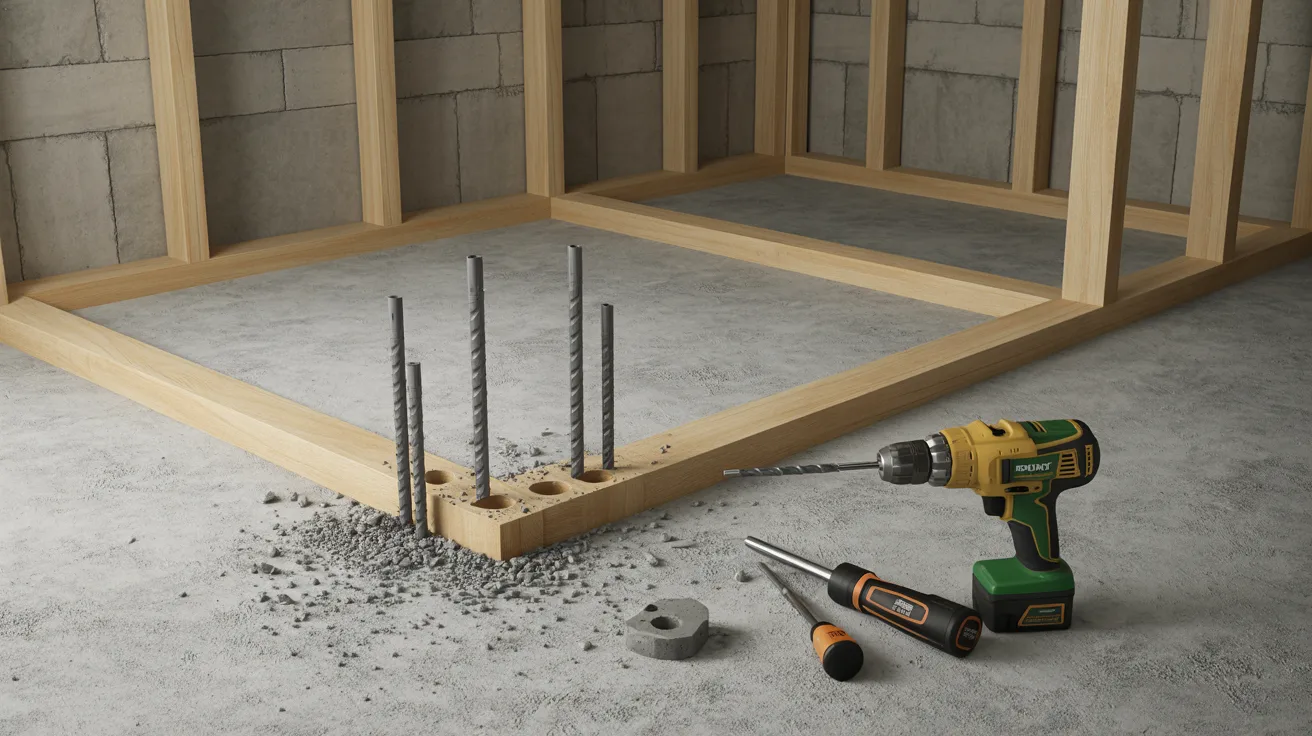
Use a hammer drill to drill holes through the bottom plate into the concrete below. Space the holes about 24 to 32 inches apart. Make the holes slightly larger than your landscape spikes.
This extra space is what allows the vertical movement. If the holes are too tight, the floor movement will be transferred into the wall.
Step 9: Install Landscape Spikes or Anchors
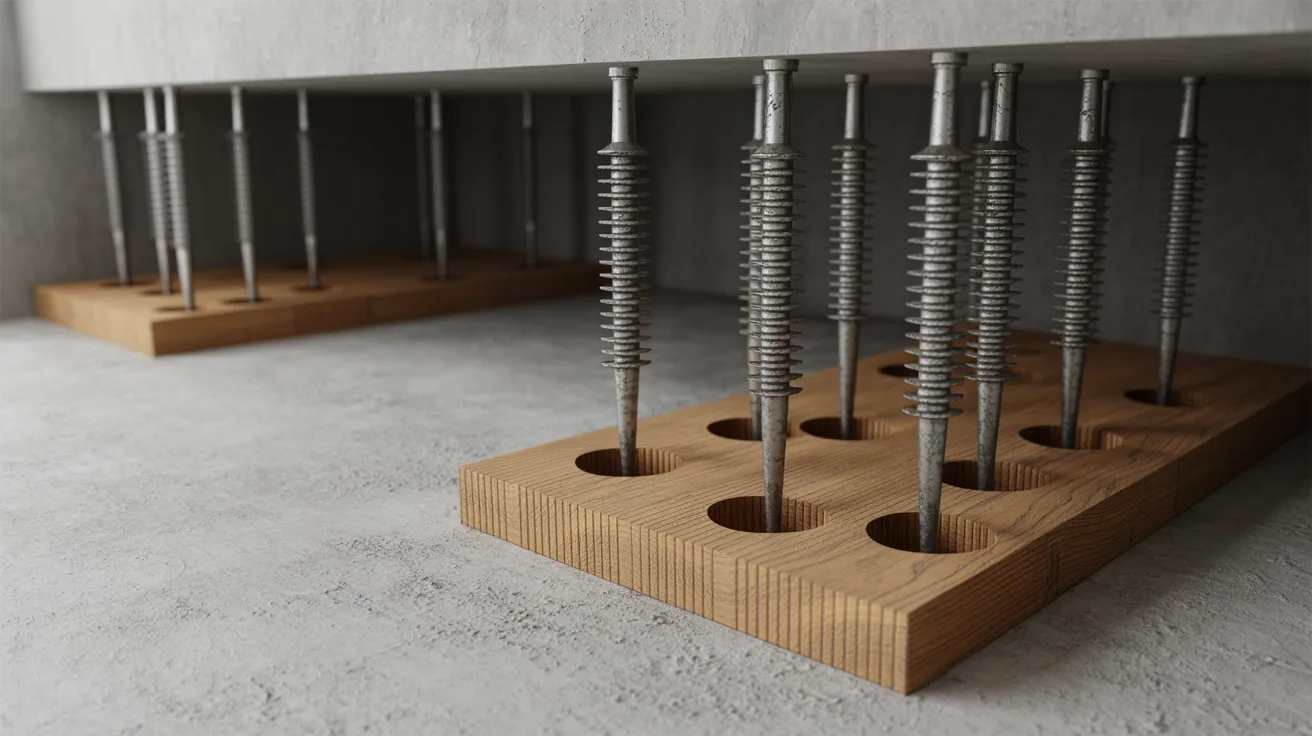
Drop landscape spikes into the drilled holes through the bottom plate. Do not drive them in tight. They should fit loosely so the plate can slide up and down slightly without the spike holding it fixed.
The spike just prevents the plate from sliding sideways. This is the key part of the floating wall system.
Step 10: Check the Wall for Level and Plumb
Use your level to check the wall from side to side and front to back. Adjust if needed before anything is permanently finished.
A wall that is slightly out of plumb will cause problems when hanging drywall and installing trim. Make small corrections now while everything is still accessible.
Common Mistakes to Avoid When Framing Floating Basement Walls
Small errors during framing can lead to big problems later. Here are the five most common mistakes and how to avoid them.
- Always leave a 1 to 2 inch floating gap so the floor can shift without damaging the wall frame.
- Buy kiln-dried lumber and reject any board with a visible bow or twist before framing.
- Keep stud spacing at exactly 16 inches on center so drywall edges always land on a stud.
- Use landscape spikes through oversized holes to hold the bottom plate from sliding sideways.
- Pull permits and read local codes before framing to avoid failed inspections and costly rework.
Finishing Floating Basement Walls After Framing

Once framing is done, a few simple steps get your walls ready for drywall and trim.
Leaving Proper Drywall Gaps Near the Floor
Do not let drywall touch the floor. Leave at least a half-inch gap at the bottom. This prevents cracking from floor movement and protects against moisture.
Use a scrap piece of lumber as a spacer while hanging the bottom sheet.
Installing Baseboards to Cover Expansion Gaps
Baseboard trim covers the gap at the bottom of the drywall. Attach it to the wall only, not the floor. This lets the floor move freely without cracking the trim.
Run a flexible caulk line at the base for a clean look.
Adding Insulation Around Basement Walls
Fill stud bays with unfaced fiberglass batts. In colder climates, add rigid foam board against the concrete wall before framing.
Check local energy codes for the R-value required in your area.
Preparing Walls for Drywall Installation
Do a final check before hanging drywall. Make sure every stud is plumb and no fasteners are sticking out. Confirm blocking is in place at corners.
Make sure all electrical rough-in is done and inspected. Once drywall goes up, fixing anything behind it gets costly.
When to Hire a Professional for Floating Basement Wall Framing
Some basement projects are fine for a DIYer. Others need expert hands.
If you spot large cracks, bowing walls, or major floor heaving, call a structural engineer before framing anything. Skipping permits can lead to fines or demolished work, so always check local codes first.
Professionals work faster, carry insurance, and handle tricky issues like out-of-square foundations or awkward beams. If the budget is tight, hiring out the framing and doing the finish work yourself is a smart middle ground.
Tips for Stronger and Easier Floating Wall Framing
A few smart habits during framing lead to cleaner walls and fewer problems at the finish stage.
- Use a laser level for straight, accurate lines on both the floor and ceiling.
- Break long walls into shorter sections to make lifting safer and framing more accurate.
- Add a double top plate to stiffen the wall and tie sections together at the ceiling.
- Store lumber flat off the ground with spacers between boards to prevent warping.
- Plan all electrical and plumbing rough-in work before drywall goes up.
Conclusion
I hope this guide makes your basement project feel less overwhelming. Floating walls are not complicated once you understand the why behind them. I remember the first time I framed a basement wall without leaving a proper gap.
The drywall cracked within a year. That lesson stuck with me. Now I always double-check the gap before moving forward. Take your time with planning, use the right materials, and follow local codes.
If you found this helpful, share it with someone working in their basement or drop a comment below. I'd love to hear how your project goes.
Frequently Asked Questions
What is the correct floating gap for basement walls?
The standard floating gap is 1 to 2 inches between the bottom of the studs and the floor. This lets the floor shift freely without damaging the wall.
Do I need a permit to frame floating basement walls?
Yes, in most areas. Basement framing usually requires a permit and inspection. Check with your local building department first.
Can I use regular lumber for the bottom plate in a basement?
No. Always use pressure-treated lumber. It resists moisture and rot better than standard lumber when sitting on a concrete floor.
How do landscape spikes work in a floating wall system?
They drop through oversized holes in the bottom plate into the concrete. This stops the plate from sliding sideways while still allowing up and down movement.
What happens if I skip the floating gap?
The floor movement pushes directly into the studs. This cracks drywall and bows the frame, leading to costly repairs.