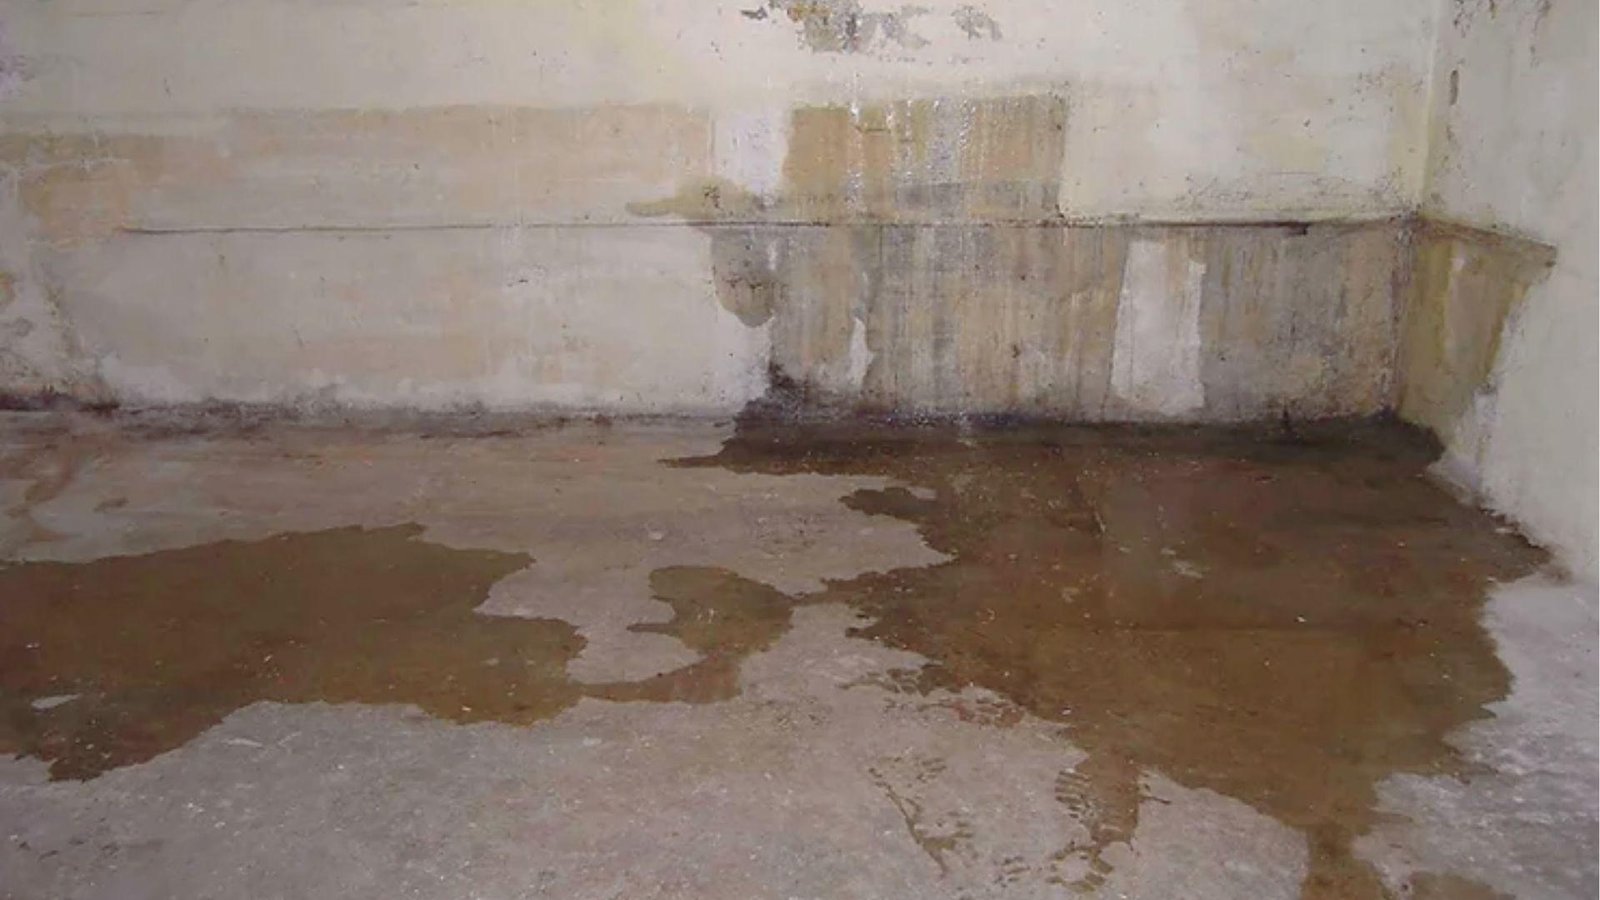
A wet basement is a real headache. It can ruin flooring, walls, and everything you've worked hard to build down there.
In this article, I'll walk you through waterproofing a finished basement step by step. You'll learn what causes moisture problems, how to fix them, and how to keep your basement dry for years.
I've seen basements go from soggy messes to fully dry living spaces with the right approach. This guide covers everything from spotting early warning signs to choosing the best waterproofing method.
You're in the right place. Let's get this fixed.
What You Should Know Before Waterproofing a Finished Basement

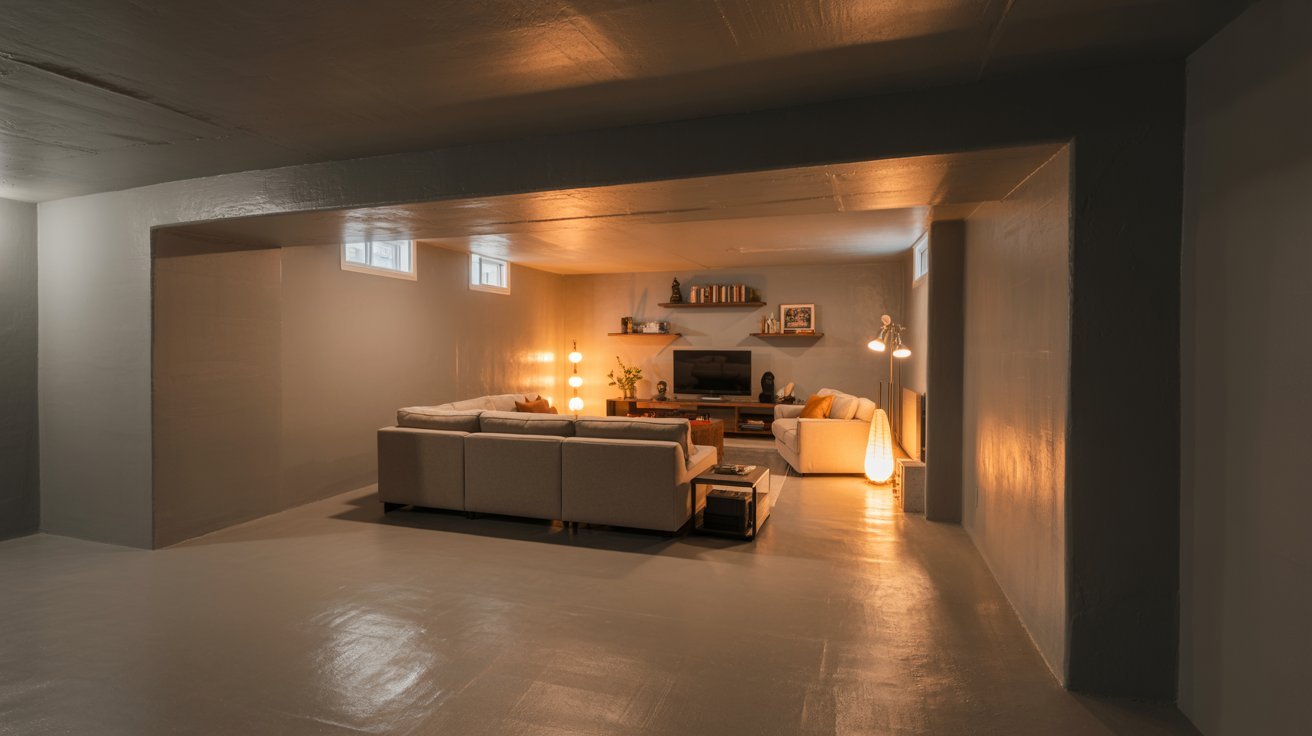
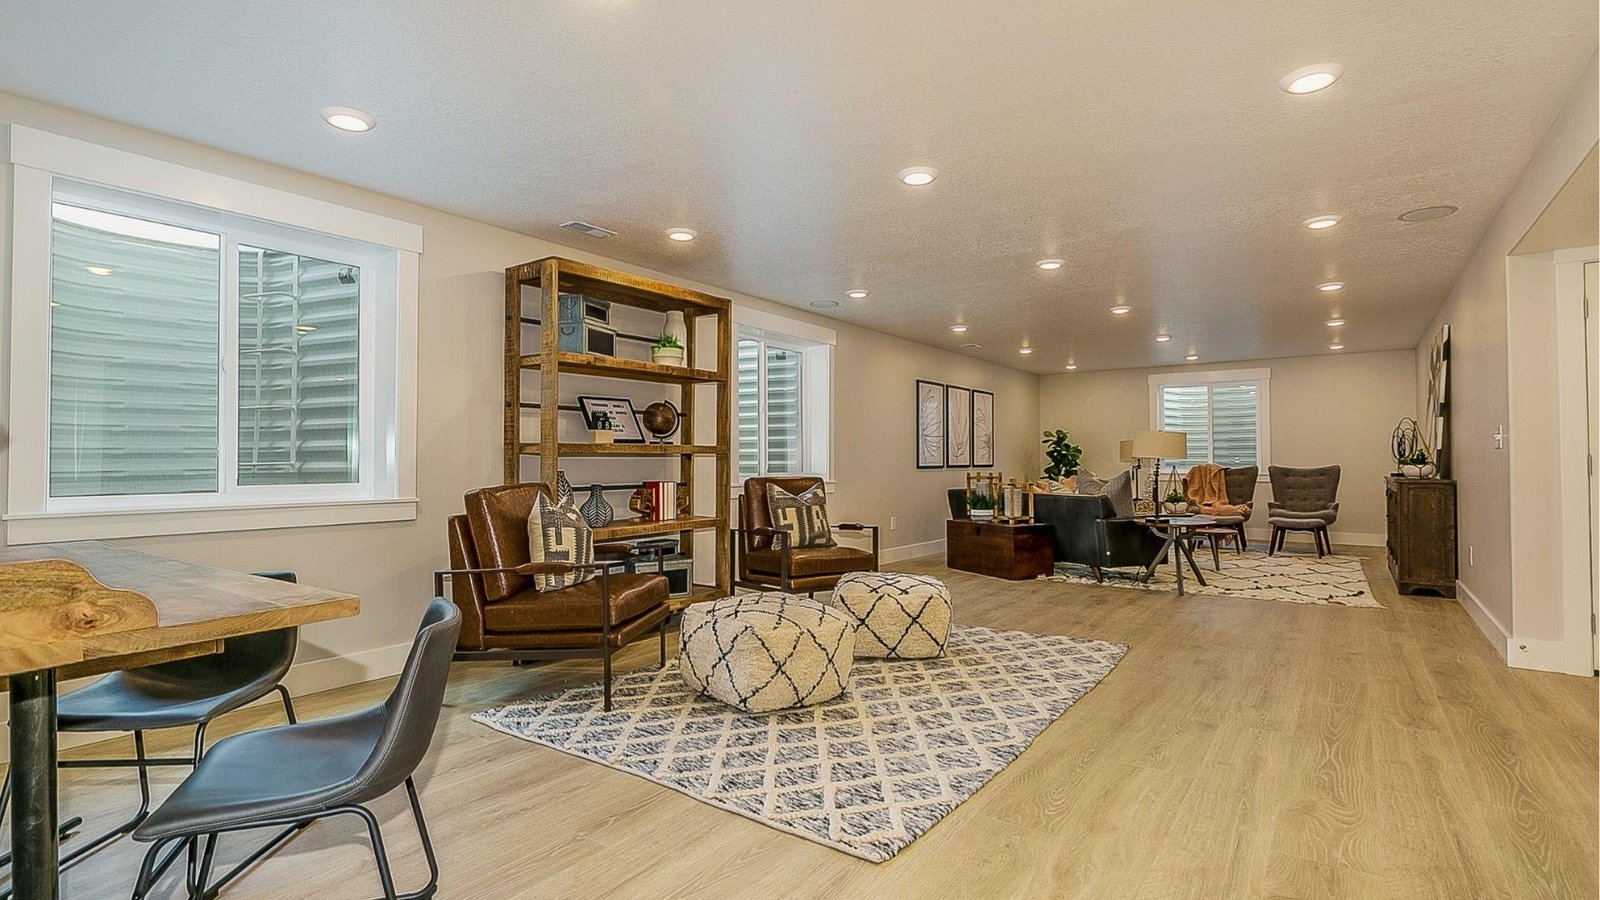
Finished basements hide moisture problems. Drywall, flooring, and insulation make it hard to spot water until real damage is done. Unfinished basements let you see issues right away. Finished ones don't.
Water gets in through foundation cracks, poor drainage, condensation, leaking pipes, or faulty window seals. Knowing your source helps you pick the right fix.
Minor issues like small cracks or condensation can often be handled without tearing out drywall. But if water is coming in behind finished walls, some drywall may need to come down. It's better to fix it properly than cover it up.
For small cracks and damp walls, DIY works fine. For large foundation cracks, bowing walls, or repeated flooding, hire a professional. If water keeps coming back no matter what you do, call a pro.
Signs Your Finished Basement Needs Waterproofing
Catching moisture problems early saves you money and stress. These are the warning signs you should never ignore.
Musty Odors and Damp Air
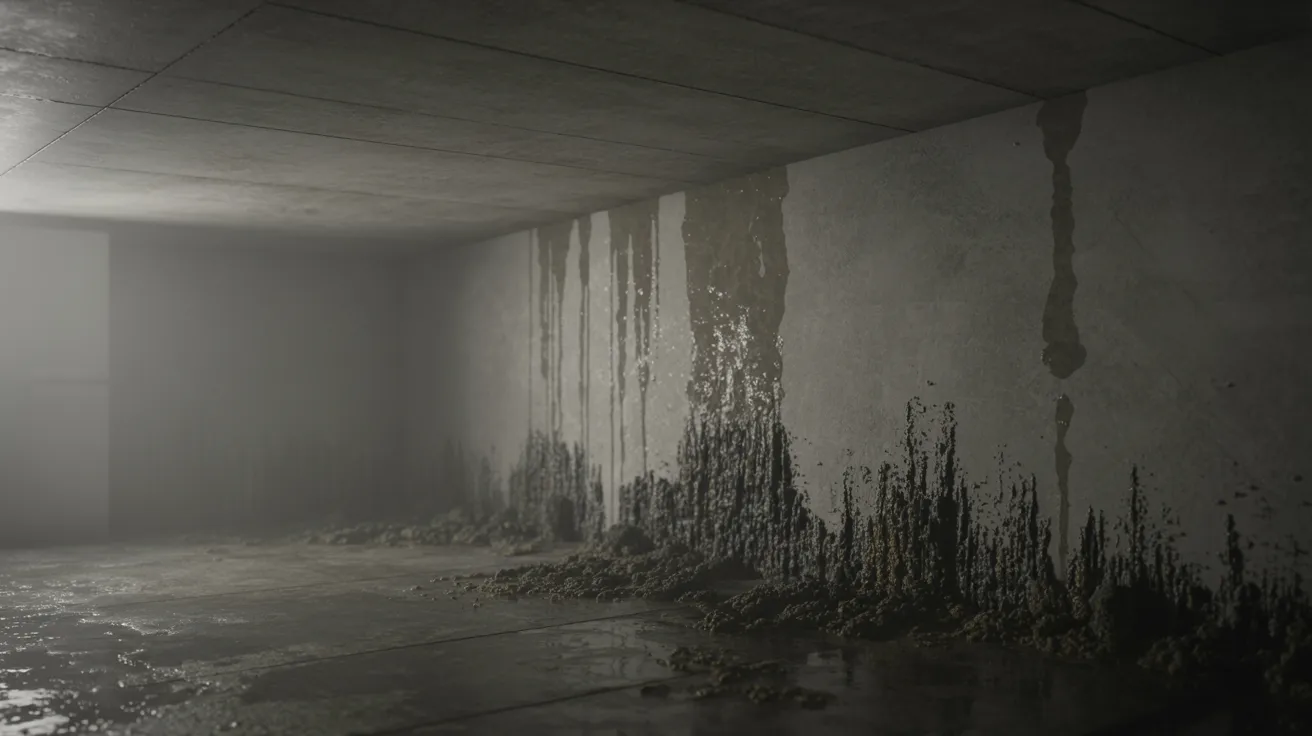
A musty smell is one of the first signs of moisture. It usually means mold or mildew is growing somewhere, even if you can't see it. If your basement smells like a wet towel, take it seriously.
Water Stains on Walls or Floors
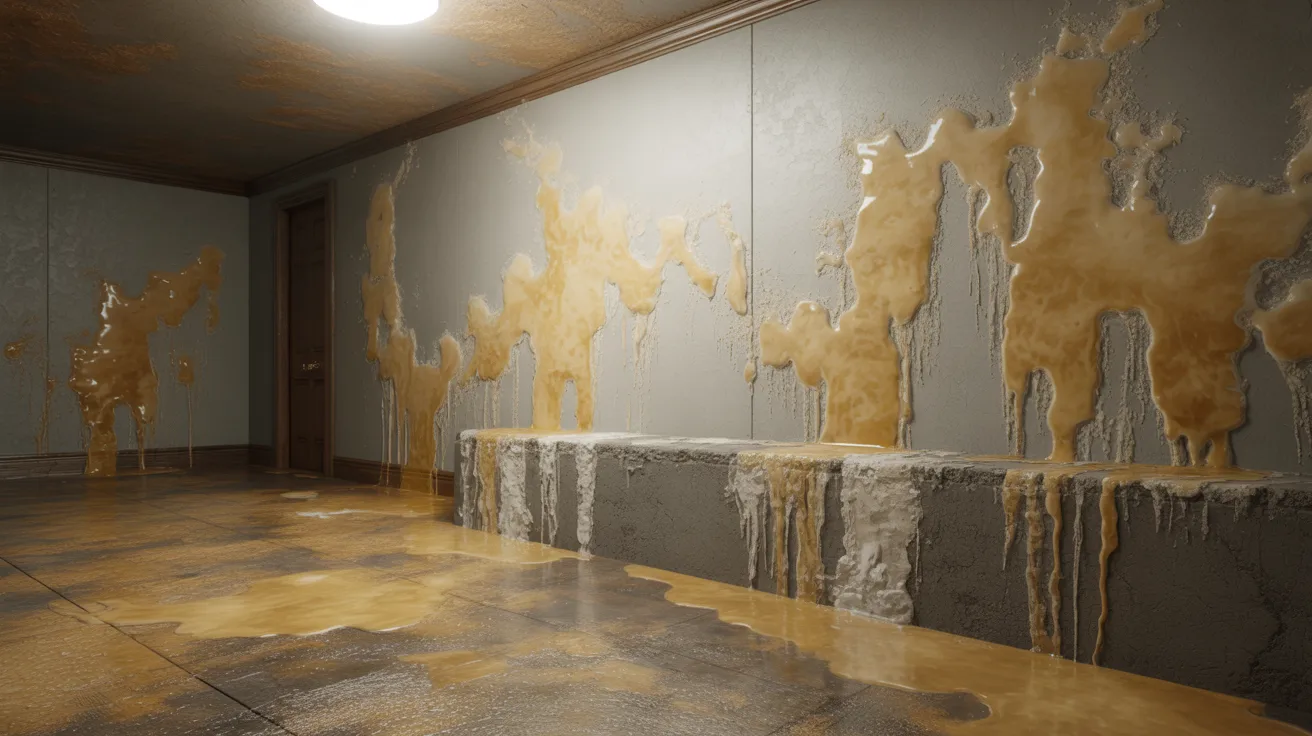
White chalky marks on concrete walls are called efflorescence. They form when water moves through concrete and leaves behind minerals. Brown or yellow stains on flooring or baseboards are also signs of past or ongoing water intrusion.
Peeling Paint or Bubbling Drywall

Paint peels when moisture gets trapped beneath it. Drywall bubbles or warps when it absorbs water. Both are clear signs that water is getting in somewhere it shouldn't be.
Mold and Mildew Growth

Mold can appear as black, green, or white spots on walls, floors, or furniture. It grows fast in damp, dark spaces. Mold is a health risk and should be dealt with right away, not just cleaned up on the surface.
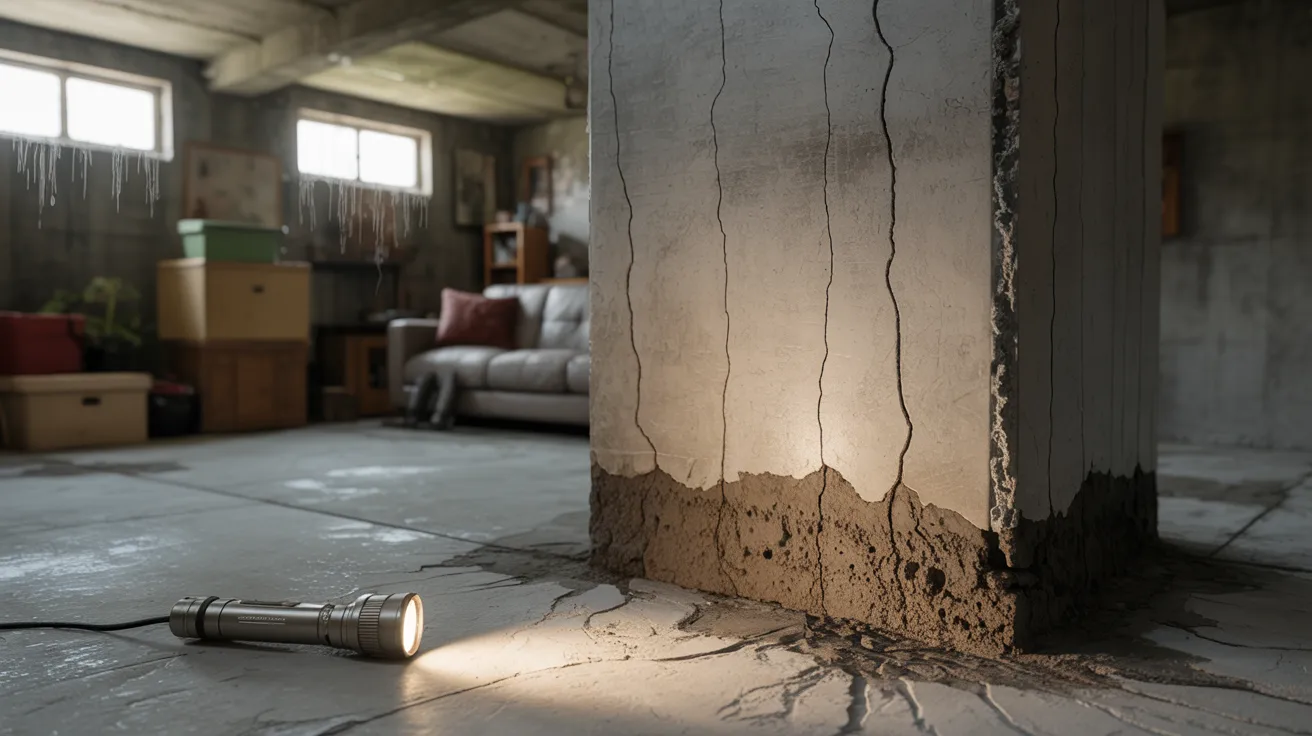
Cracks in Basement Walls or Flooring
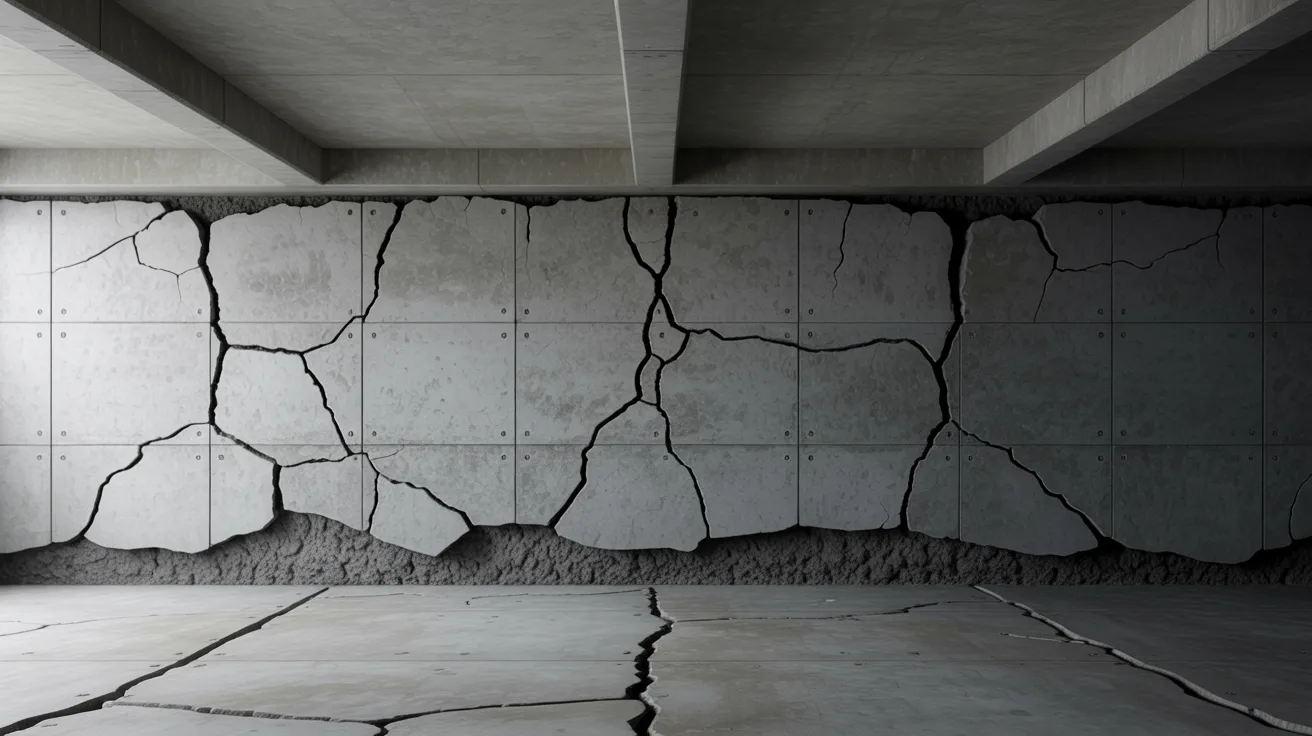
Hairline cracks in concrete are common and often harmless. But wider cracks, horizontal cracks, or cracks that keep growing are a sign of water pressure or foundation movement. These need to be sealed or inspected professionally.
What Causes Water Problems in Finished Basements?
Understanding the root cause of water intrusion is the first step toward solving it for good.
Poor Exterior Drainage
If the ground around your home slopes toward the foundation, rainwater flows directly toward your basement walls. Over time, that water builds up pressure and finds a way in.
Foundation Cracks and Gaps
Concrete naturally shifts and settles over time. This creates small cracks in the foundation walls and floor. Water finds these gaps and seeps through, especially after heavy rain.
Faulty Gutters and Downspouts
Clogged gutters cause water to overflow and fall right next to the foundation. Short downspouts dump water too close to the house. Both send water straight toward your basement.
Hydrostatic Pressure Around the Foundation
When soil around the foundation becomes saturated with water, it pushes against the walls with a lot of force. This is called hydrostatic pressure. It can push water through even solid concrete walls over time.
Leaking Basement Windows and Pipe Openings
Window wells fill up with water during storms. Old or cracked caulk around window frames and pipe penetrations lets that water seep inside. These small gaps are easy to miss but cause real damage.
Tools and Materials Needed for Basement Waterproofing
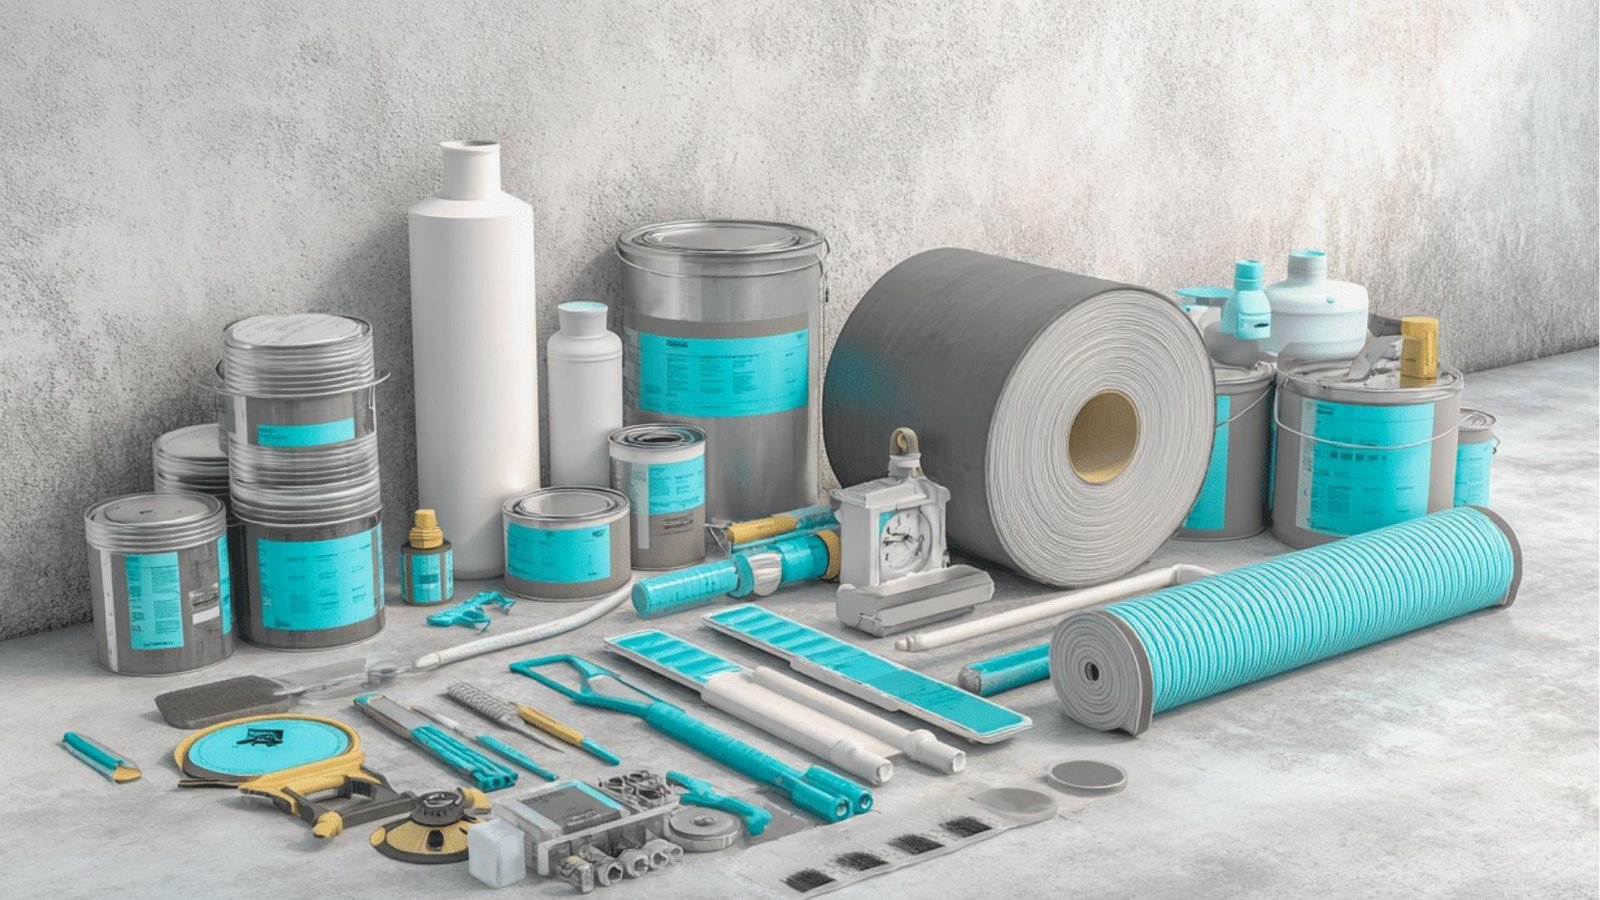
Having the right tools makes the job easier and the results better.
For tools, you'll need a caulking gun, wire brush, putty knife, shop vacuum, and a utility knife. These cover everything from cleaning out cracks to cutting away damaged drywall.
For materials, stock up on hydraulic cement, polyurethane crack sealant, waterproof masonry paint, silicone caulk, and a dehumidifier. Together, these handle most common moisture problems in a finished basement.
Waterproofing a Finished Basement Step by Step
Here's the full process broken down into simple steps you can follow at your own pace.
Step 1 – Inspect the Basement for Moisture Entry Points
Start with a full walkthrough before doing anything else.
Check all walls, floors, corners, and window frames for damp spots or staining. Look for visible cracks in concrete or block walls. Press your hand against suspicious areas. If it feels cold and wet, moisture is getting through.
Use a flashlight to check dark corners and behind furniture. Mapping entry points first helps you work smarter.
Step 2 – Remove Moisture and Dry the Area
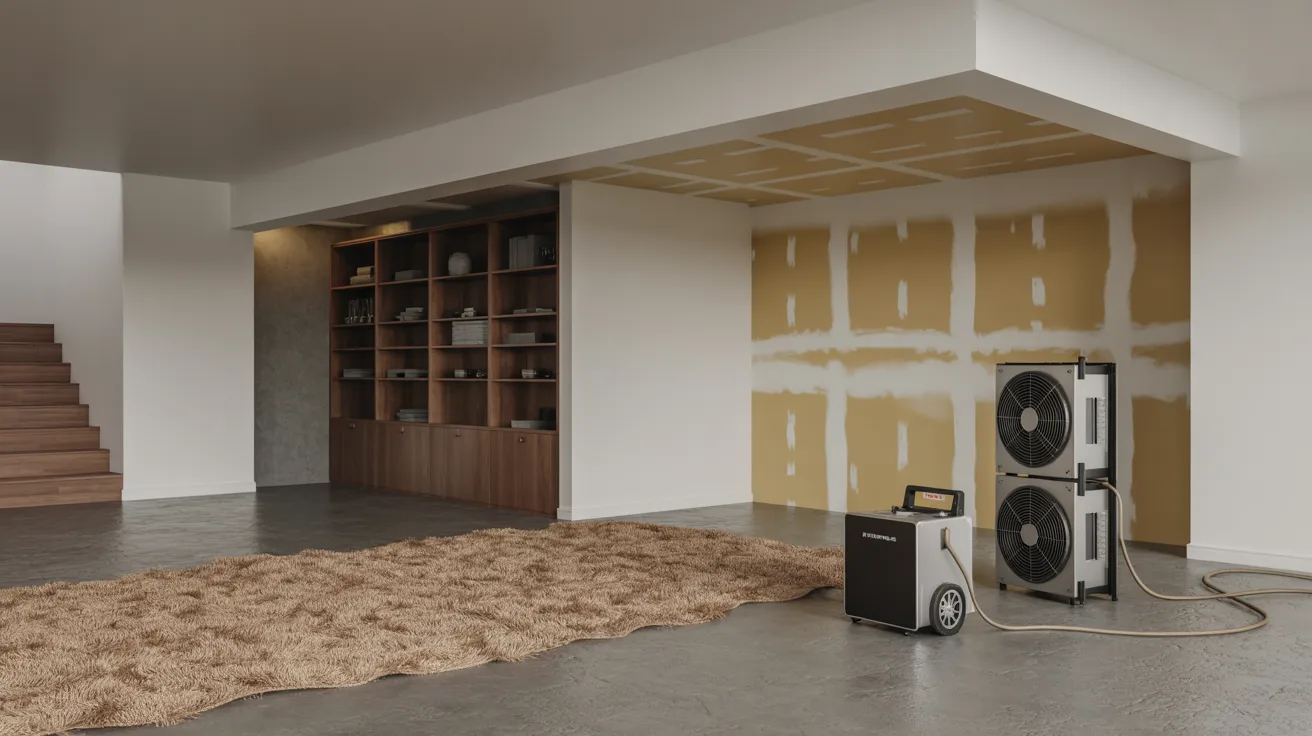
Never apply sealant over a wet surface. It won't bond and will trap moisture inside.
Set up fans and a dehumidifier to dry the space out. Remove wet carpets or flooring sections. Check drywall by pressing on it. If it feels soft, remove it before mold starts growing.
Wait at least 24 to 48 hours before moving forward.
Step 3 – Seal Cracks and Foundation Gaps
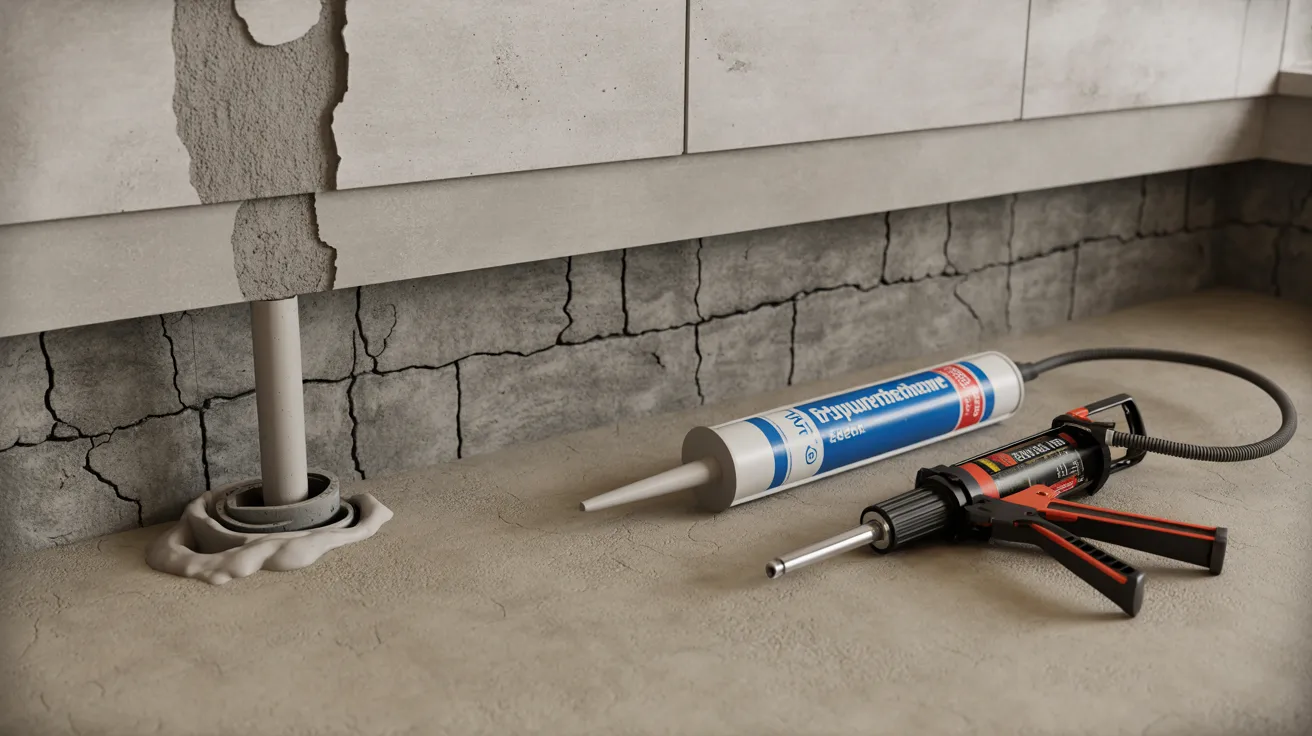
Clean every crack with a wire brush before applying anything. Loose debris stops sealant from bonding.
Use hydraulic cement for active leaks or wide cracks. Work fast as it sets quickly. For dry cracks, use polyurethane crack sealant with a caulking gun. Seal all pipe openings and utility gaps with silicone caulk.
Don't skip small cracks. Water will find them.
Step 4 – Waterproof Basement Walls and Floors
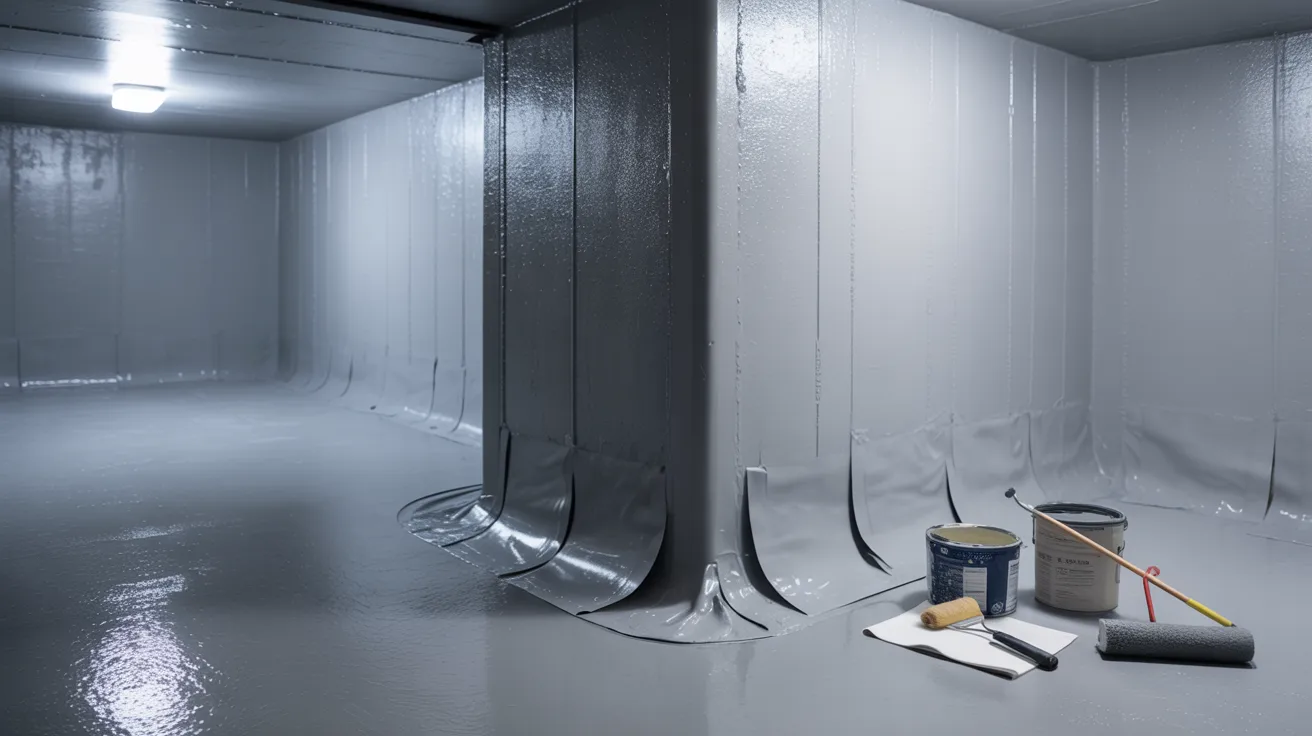
Clean walls thoroughly with a wire brush or power washer before applying anything.
Apply waterproof masonry paint or concrete sealant in even coats. Let each coat dry fully before adding the next. Most products need at least 24 hours between coats.
Focus extra attention on floor-to-wall corners as these spots take the most pressure.
Step 5 – Reseal Basement Windows and Doors
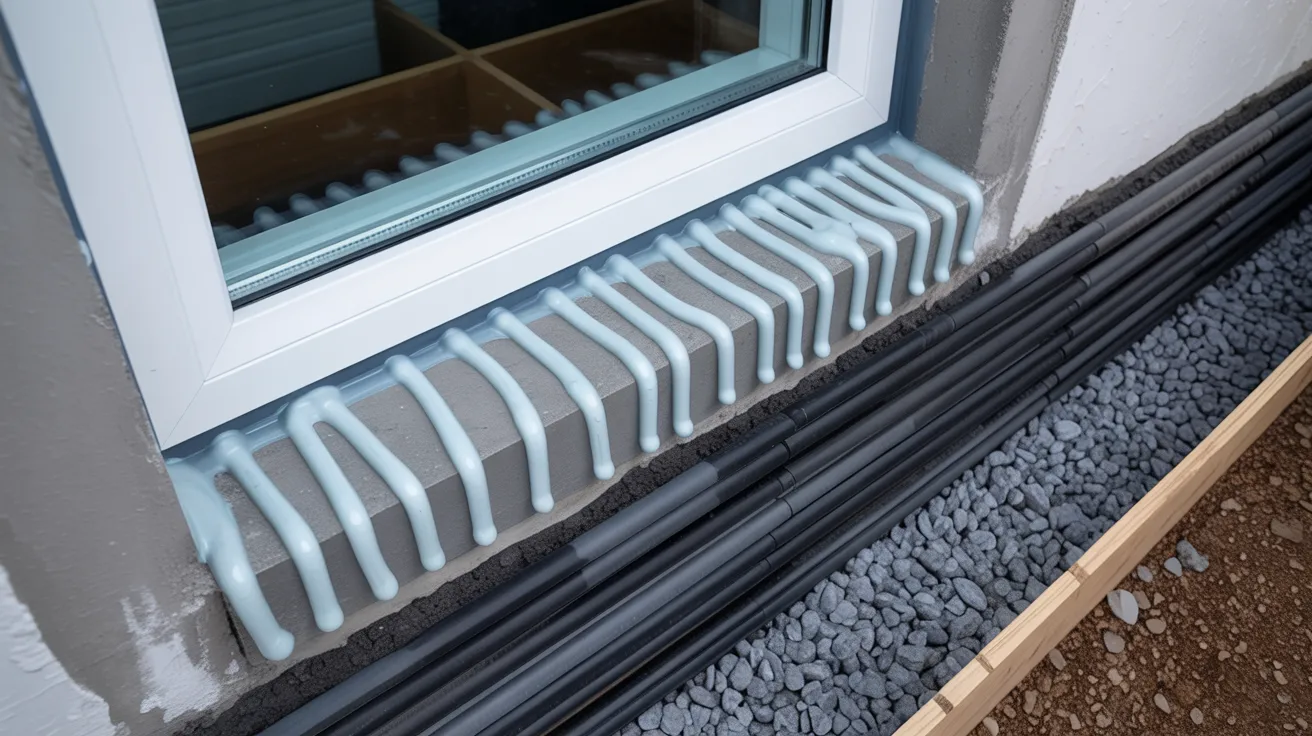
Cut out all the old cracked caulk completely with a utility knife. Applying new caulk over old caulk won't last.
Apply fresh silicone caulk around all window frames and sills. Add gravel to window wells that hold standing water. Install weather stripping along door thresholds where water or air sneaks through.
Step 6 – Improve Exterior Drainage Around the Home

Outside drainage matters just as much as interior sealing.
Extend downspouts at least 6 feet from the foundation. Clean gutters twice a year to prevent overflow. Check your yard's grading and make sure it slopes away from the house. Add soil to low spots near the foundation if needed.
Remove anything near the foundation that traps water, like pots, tarps, or debris.
Step 7 – Install or Maintain a Sump Pump
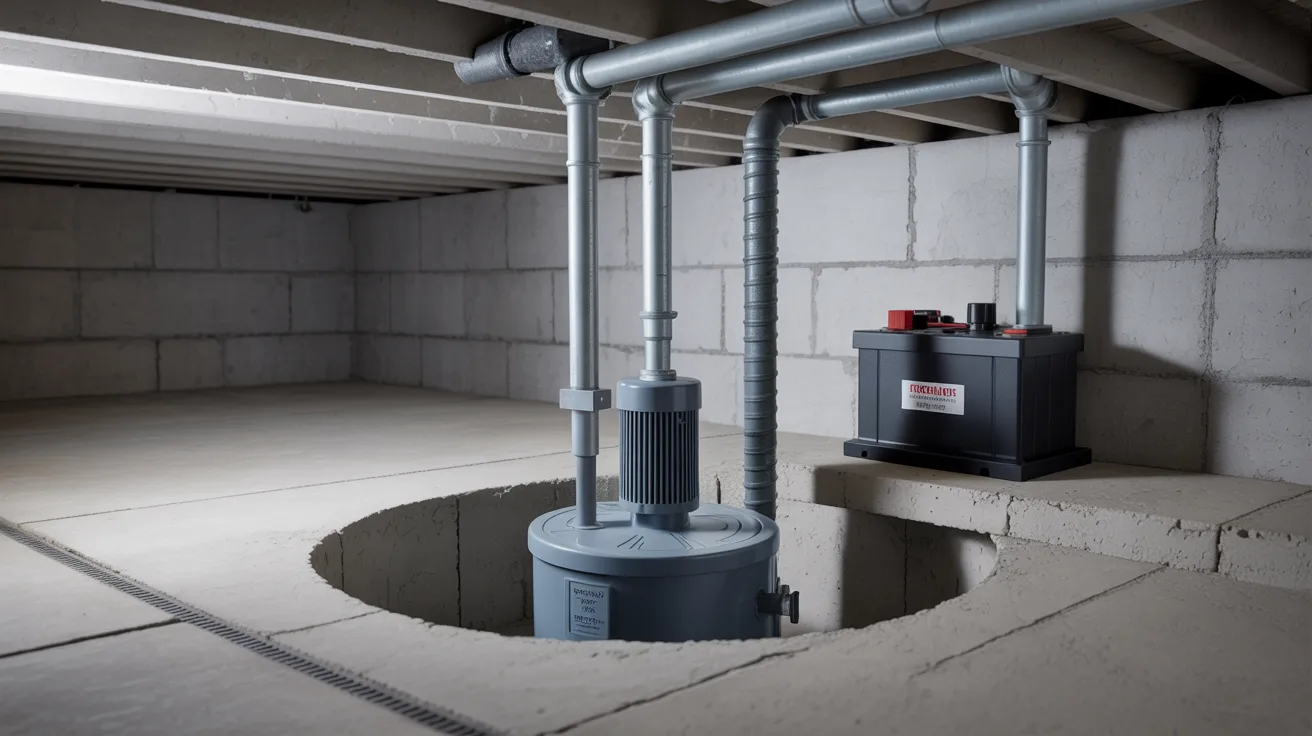
A sump pump sits in a pit on the basement floor. When groundwater rises, it automatically pumps water away from the house.
Keep it maintained:
- Test it every few months by pouring water into the pit
- Clean the pit and intake screen once a year
- Add a battery backup pump for storms that cause power outages
A working sump pump can prevent thousands of dollars in water damage.
Step 8 – Consider a French Drain for Ongoing Water Problems

If water keeps coming back despite your efforts, a French drain may be necessary.
Interior French drain: Runs along the basement floor perimeter, collects seeping water, and directs it to the sump pump. Less disruptive to install.
Exterior French drain: Installed outside around the foundation to stop groundwater before it reaches the walls. More effective long term but requires excavation.
Talk to a waterproofing contractor to find out which option works best for your home.
Common Mistakes to Avoid During Basement Waterproofing
Even with the best intentions, small oversights can undo all your hard work and let water back in.
- Small cracks grow bigger over time, and what looks minor today can turn into a serious leak next year. Seal every crack you find, no matter how small it appears right now.
- Waterproof paint alone will not stop water if hydrostatic pressure is pushing through the walls. It works best when combined with proper crack sealing and drainage improvements outside.
- Sealing the inside of your basement without fixing the drainage outside is only a temporary fix. Always sort out exterior drainage first so you are stopping the water at its actual source.
- Applying new drywall or insulation over wet walls traps moisture inside and creates the perfect conditions for mold to grow fast. Always dry the walls completely and check for mold before closing up any surface.
- Waterproofing is not something you do once and forget about. Caulk dries out, gutters clog, and sump pumps wear down over time, so make it a habit to inspect everything at least once a year.
When DIY Waterproofing Is Not Enough
Sometimes the problem is beyond what a homeowner can handle on their own.
If your basement floods every time it rains, water keeps coming back after repairs, or you see cracks wider than a quarter inch, it's time to call a professional.
Horizontal cracks, stair-step cracks in block walls, or walls that appear to be leaning inward are signs of foundation movement. These are not DIY fixes.
Persistent mold is another red flag. If it keeps returning despite your efforts, the moisture source hasn't been fully addressed. A professional can find what you can't see.
Don't wait too long. The longer you ignore serious water issues, the more damage builds up.
Tips to Keep a Finished Basement Dry Long Term
Fixing the problem is only part of the work. These simple habits will help you stay ahead of moisture before it becomes a bigger issue.
- Use a dehumidifier year-round to keep indoor humidity between 30% and 50% and stop mold before it starts.
- Check the basement after heavy rain for new damp spots, wall moisture, or pooling water on the floor.
- Clean gutters twice a year and make sure downspouts push water well away from your foundation.
- Test your sump pump every few months by pouring water into the pit and confirming it activates properly.
- Track humidity with a digital hygrometer and act quickly if indoor levels climb above 60%.
Conclusion
If you've made it this far, you're already ahead of most homeowners. A dry basement doesn't happen by accident. It takes the right steps, a bit of patience, and regular upkeep.
I remember the first time I noticed water creeping along the basement wall after a heavy storm. It felt overwhelming. But once I worked through each step, the problem was manageable.
You've got what you need now. Start with the inspection, fix what you find, and stay on top of it.
Have questions or want to share your experience? Drop a comment below!
Frequently Asked Questions
How long does it take to waterproof a finished basement?
A basic DIY job usually takes two to three days. Larger projects with drainage systems can take longer.
Is it possible to waterproof a basement from the inside only?
Yes, interior waterproofing works for minor moisture issues. Pairing it with exterior drainage gives better long-term results.
How much does basement waterproofing cost for a finished basement?
DIY materials cost between $100 and $500. Professional waterproofing can range from $2,000 to $15,000 depending on the work needed.
Can mold come back after waterproofing a basement?
Mold returns if the moisture source is not fully fixed. Sealing cracks and controlling humidity with a dehumidifier helps prevent regrowth.
Do I need a permit to waterproof my basement?
Most basic interior waterproofing jobs do not require a permit. Structural repairs or French drain installations may need one based on local codes.